Blender仿真
Blender仿真
众所周知,blender是一款十分优秀的3D影视建模软件。但同时,由于其开源及优秀的拓展性,我们也可以在其中像Houdini一样写代码。
0. 准备工作
0x00 熟悉面板
注意
本文默认读者已经了解blender的基础操作逻辑,将不会在基础操作上多做赘述。
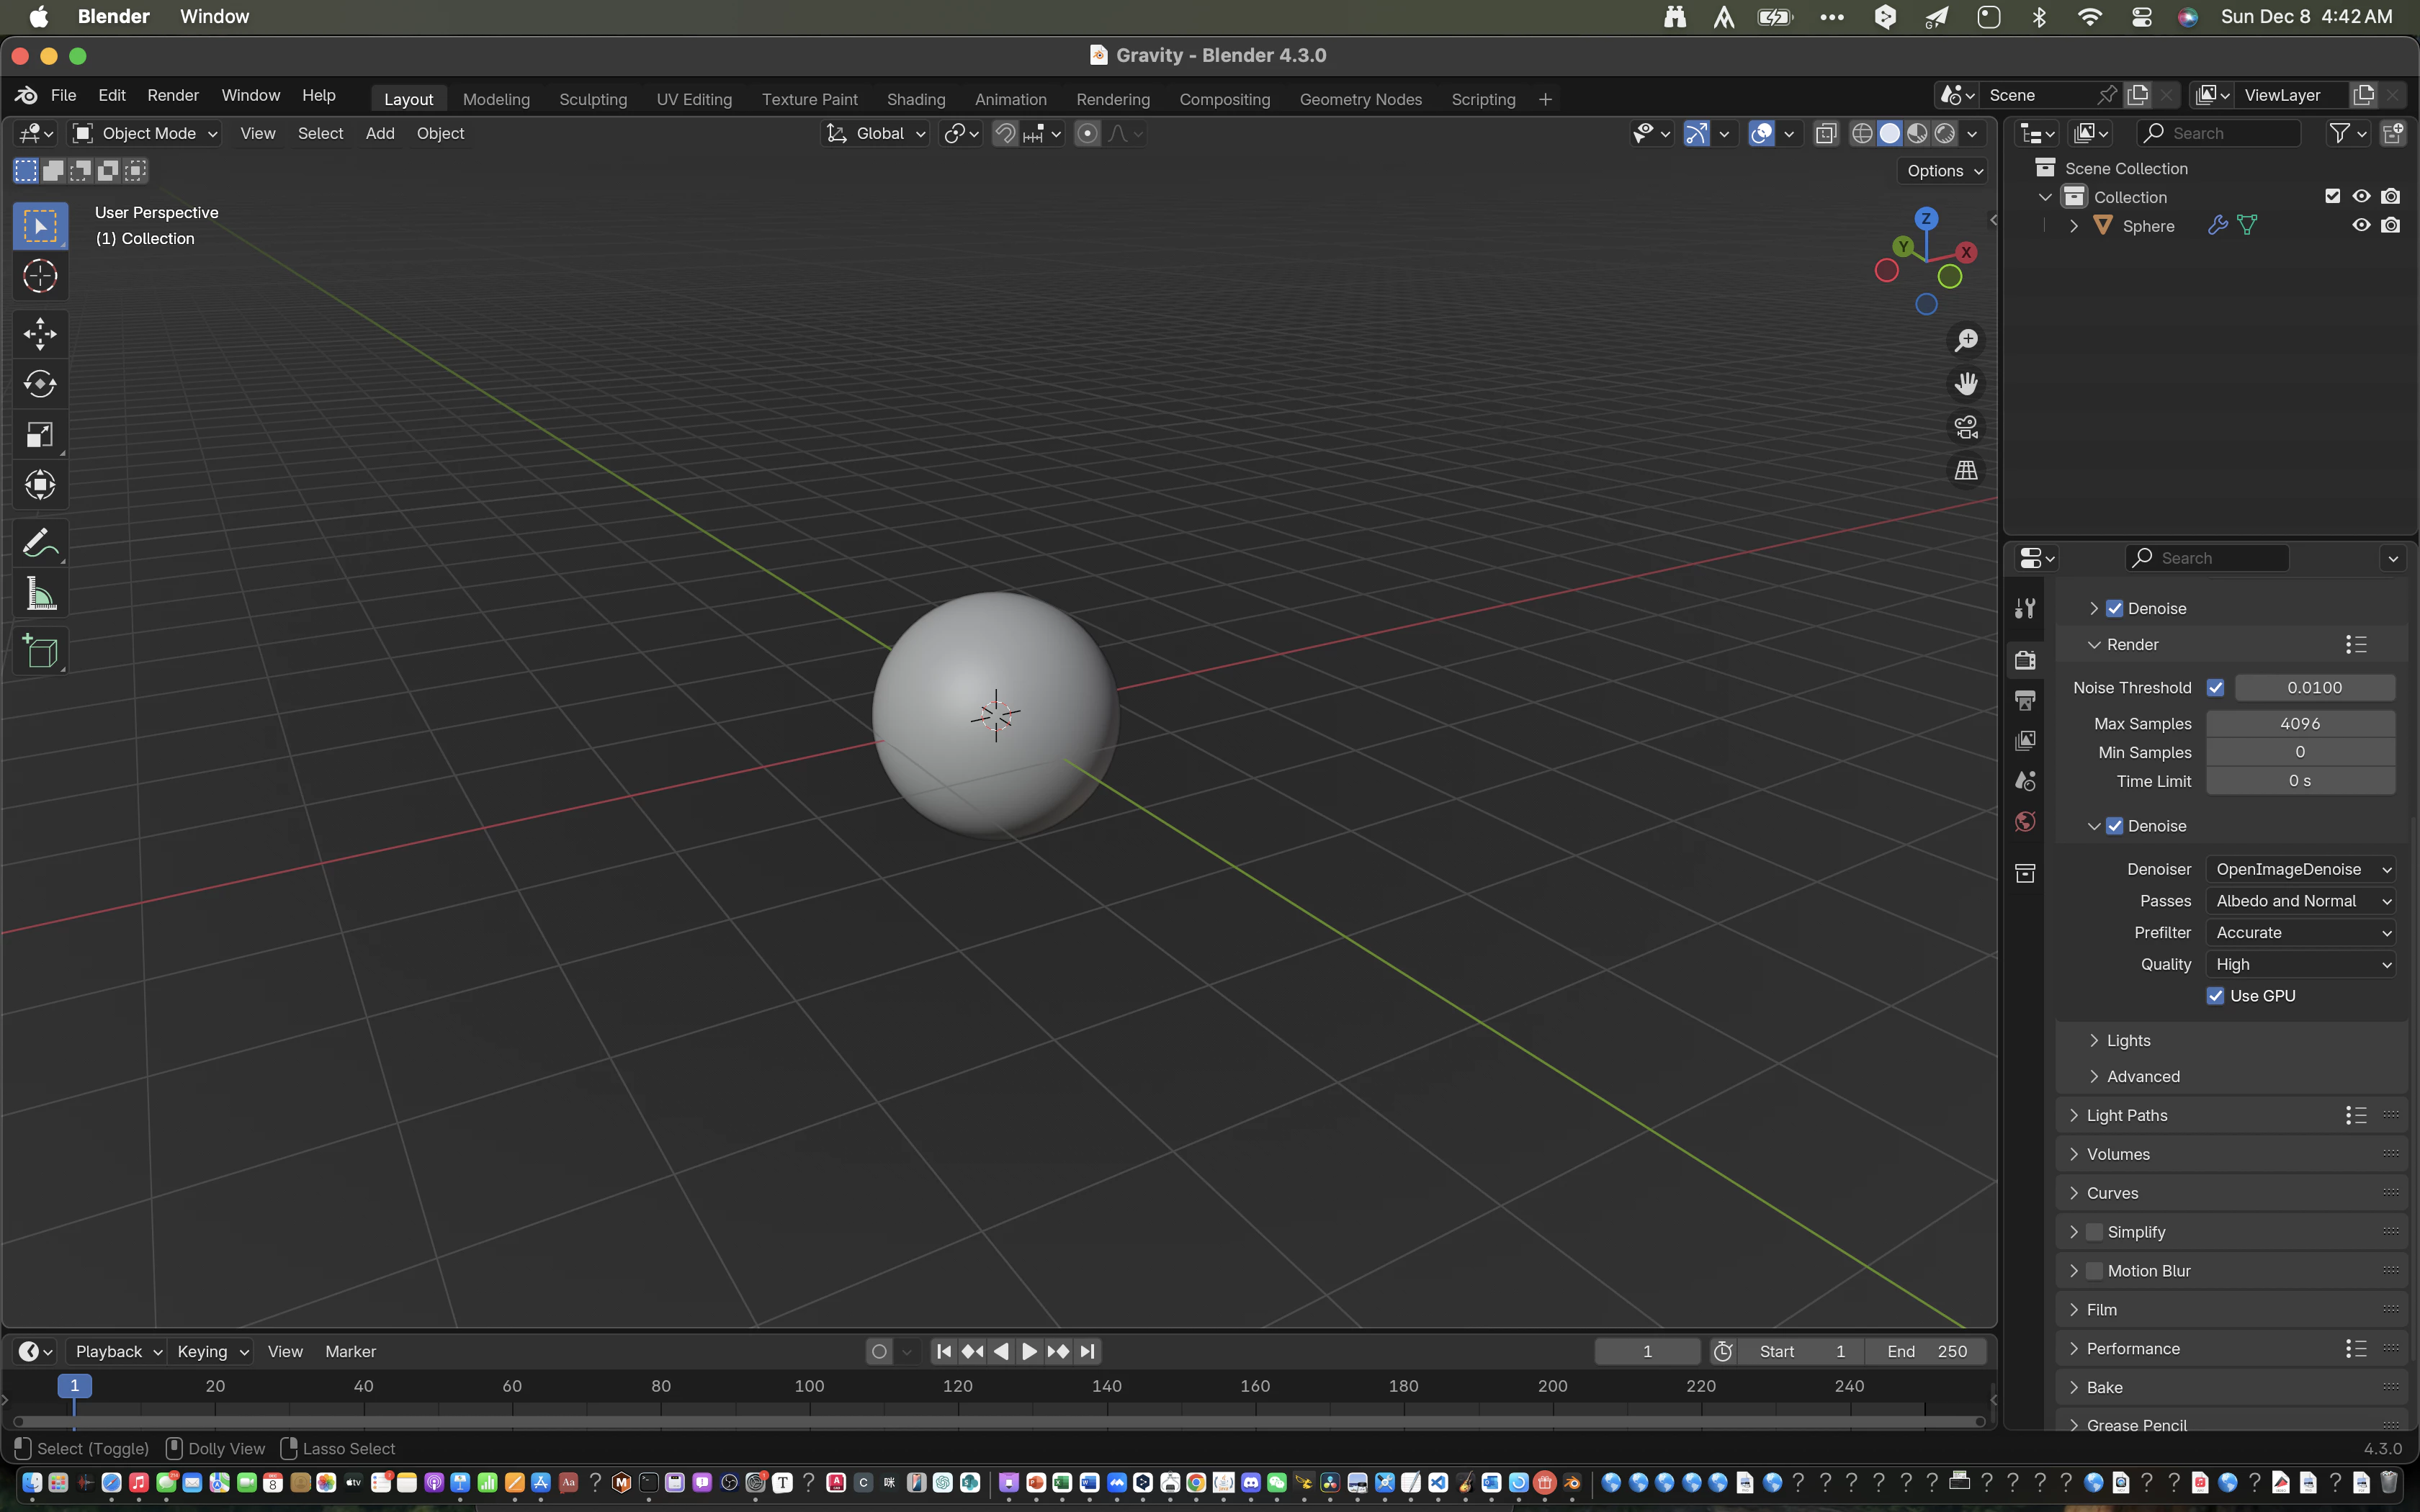
打开一个项目,按下a x删掉所有东西,并切换到Scripting一栏
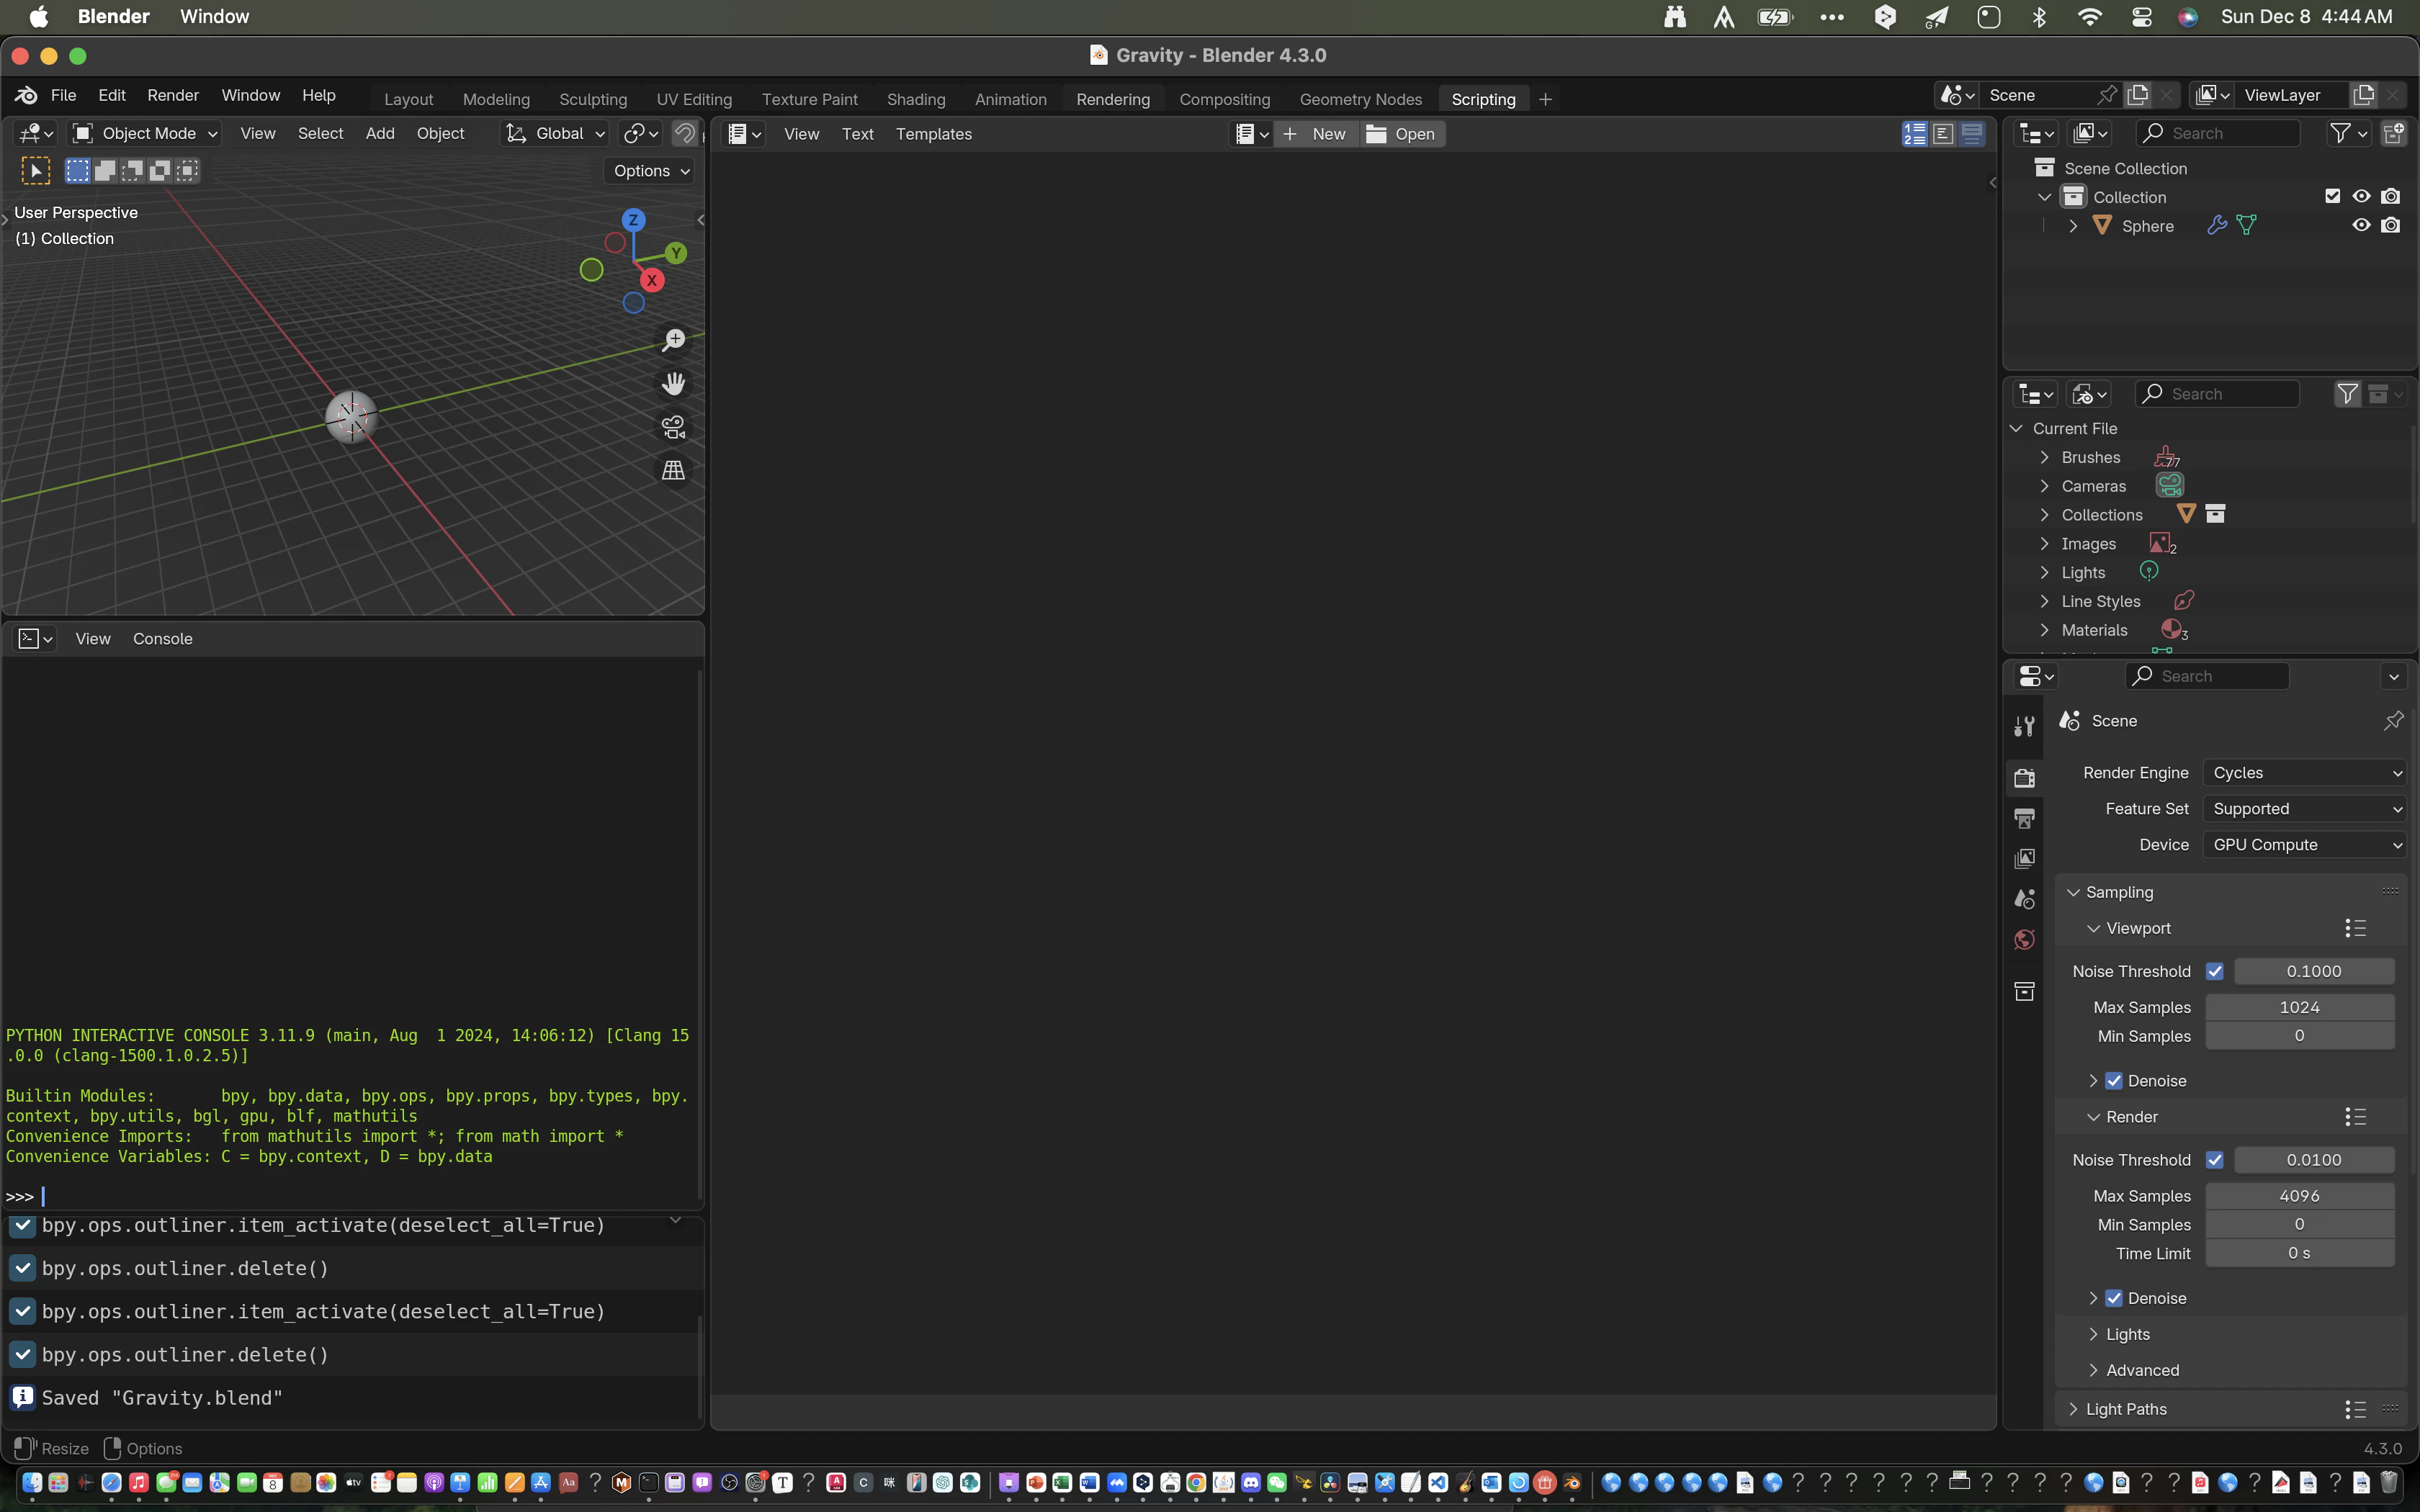
可以看到,右边有一个脚本区,左边是3D视图和终端
我们按new
然后在下面输入代码
import bpy # 导入blender支持库

bpy.ops.mesh.primitive_cube_add() # 添加一个立方体
运行后效果如下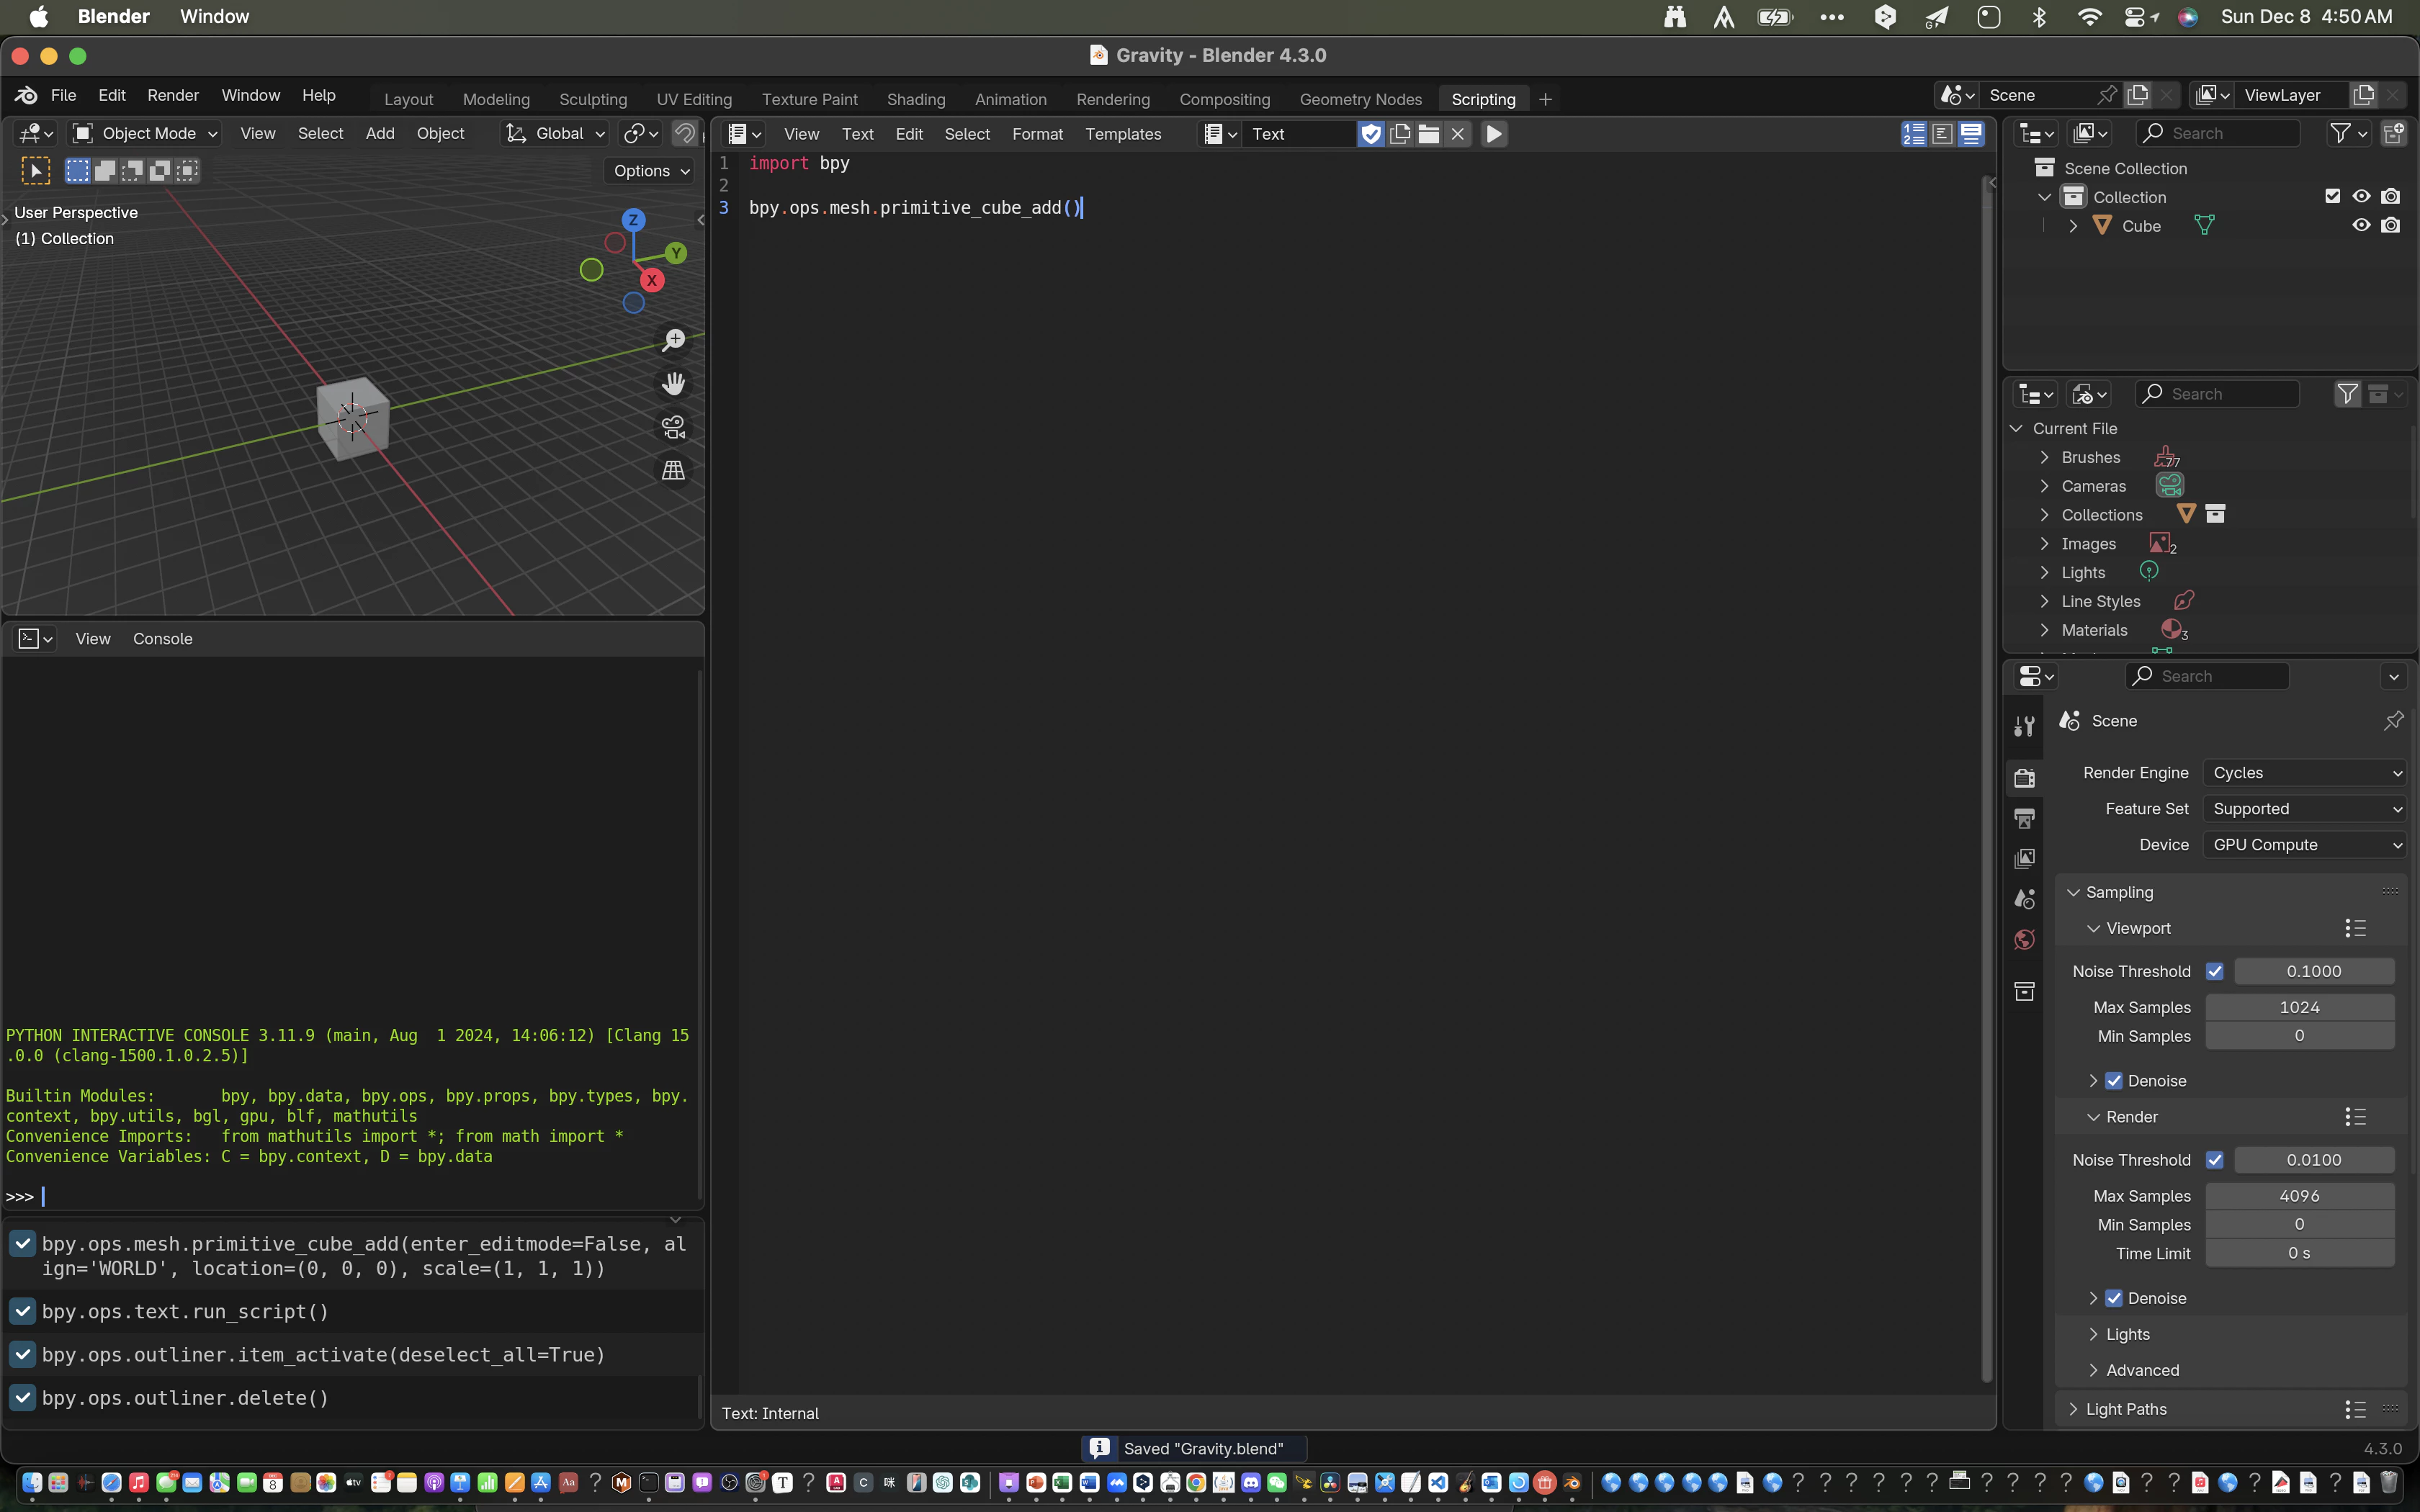
提示
我们打代码调试时经常要使用print,但blender的终端是不会输出这些io的。因此,建议MacOS用户打开blender的可以执行文件:
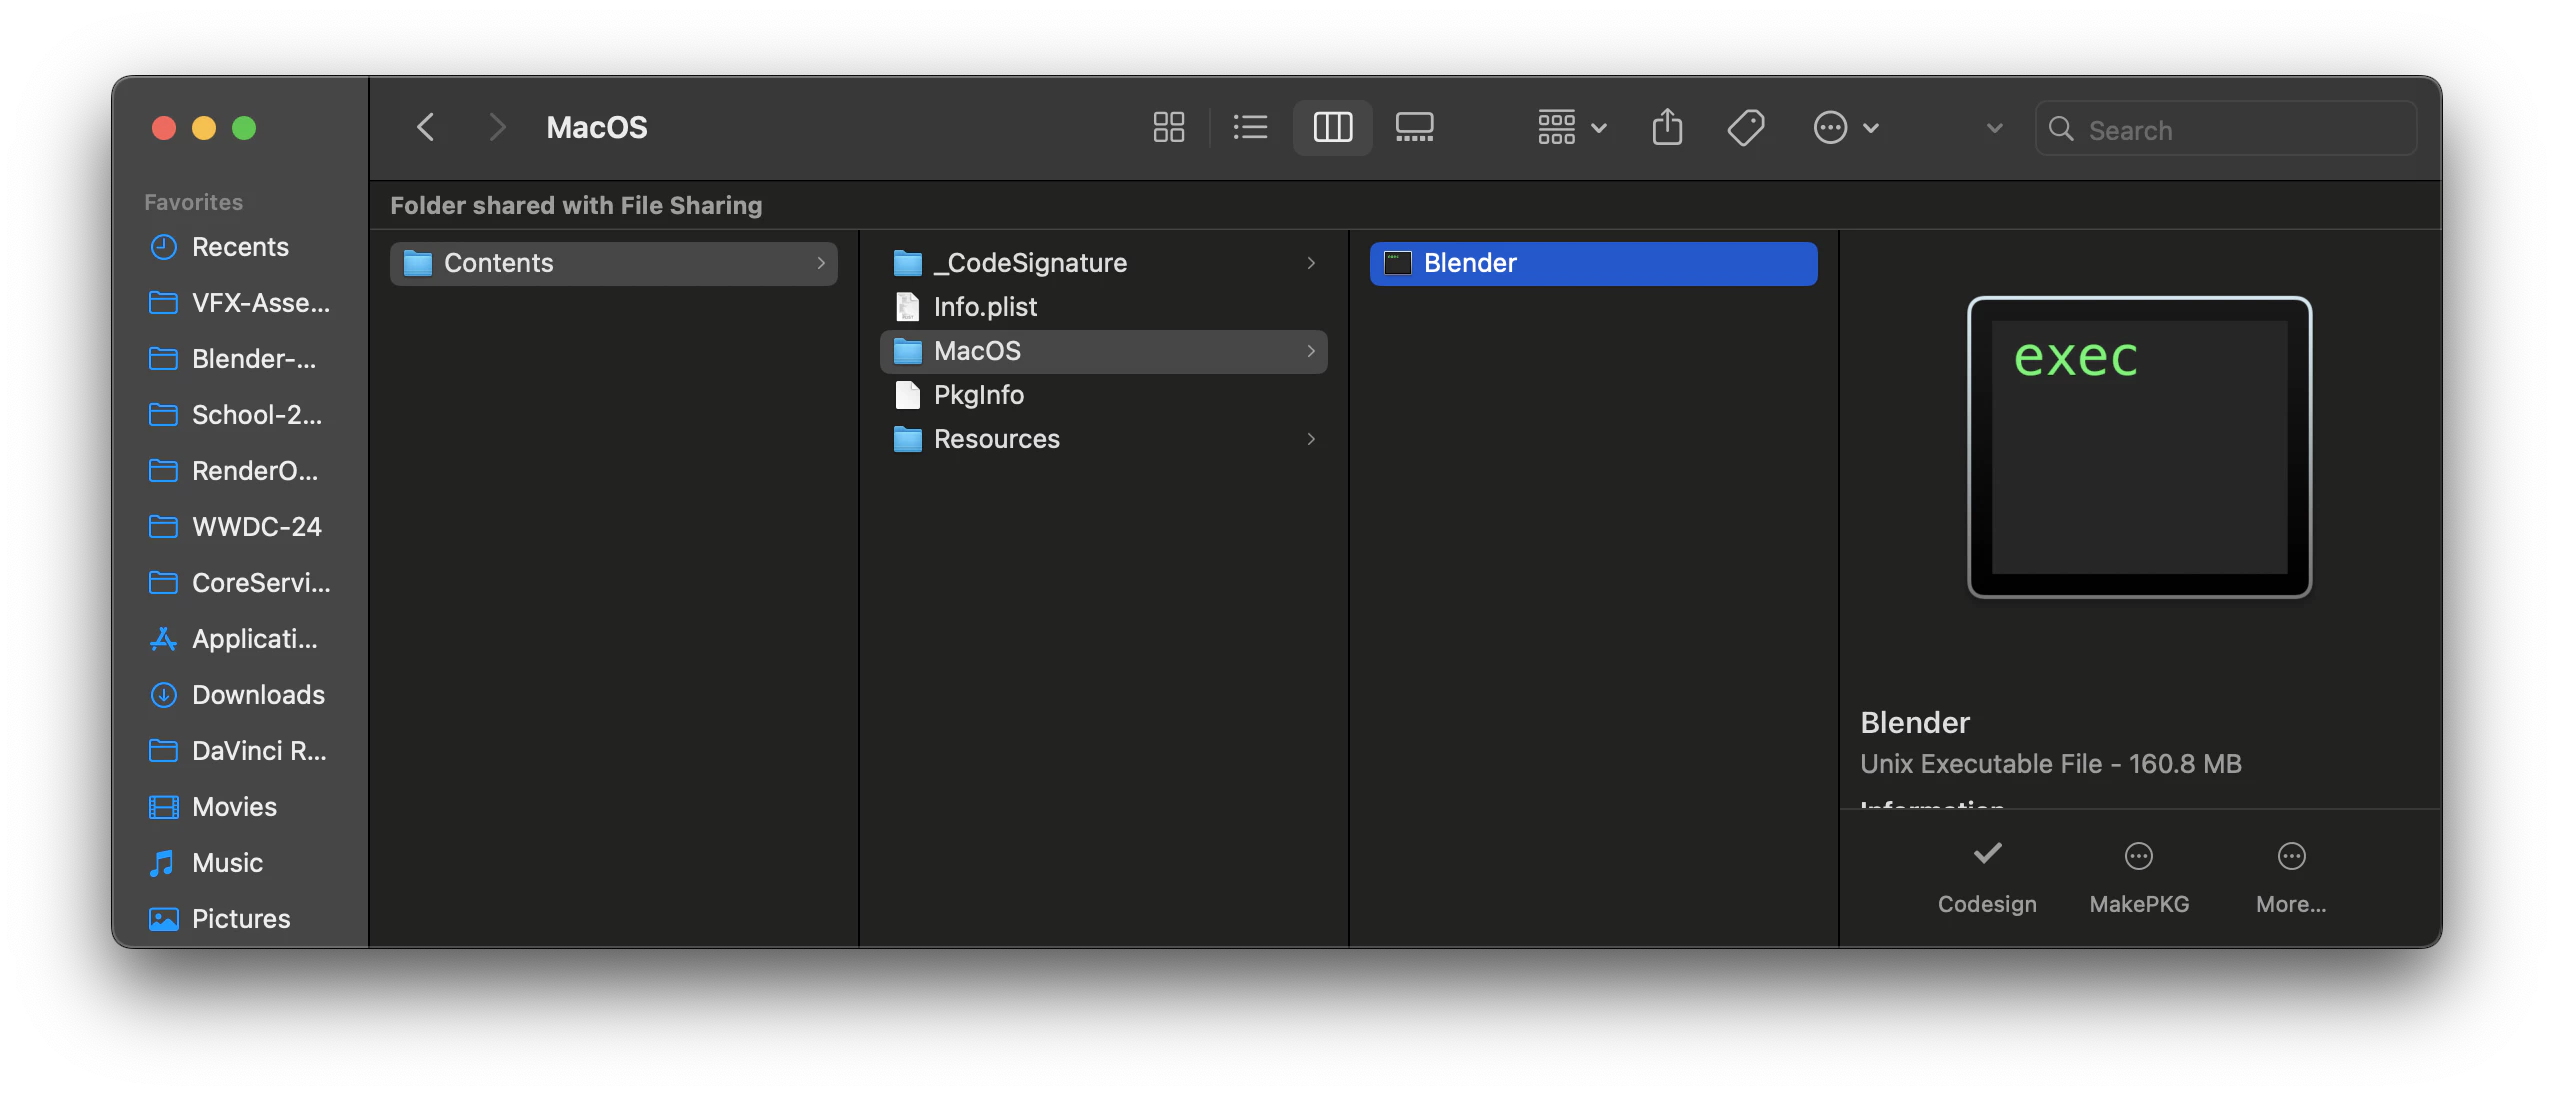
这样,输出的调试信息就有啦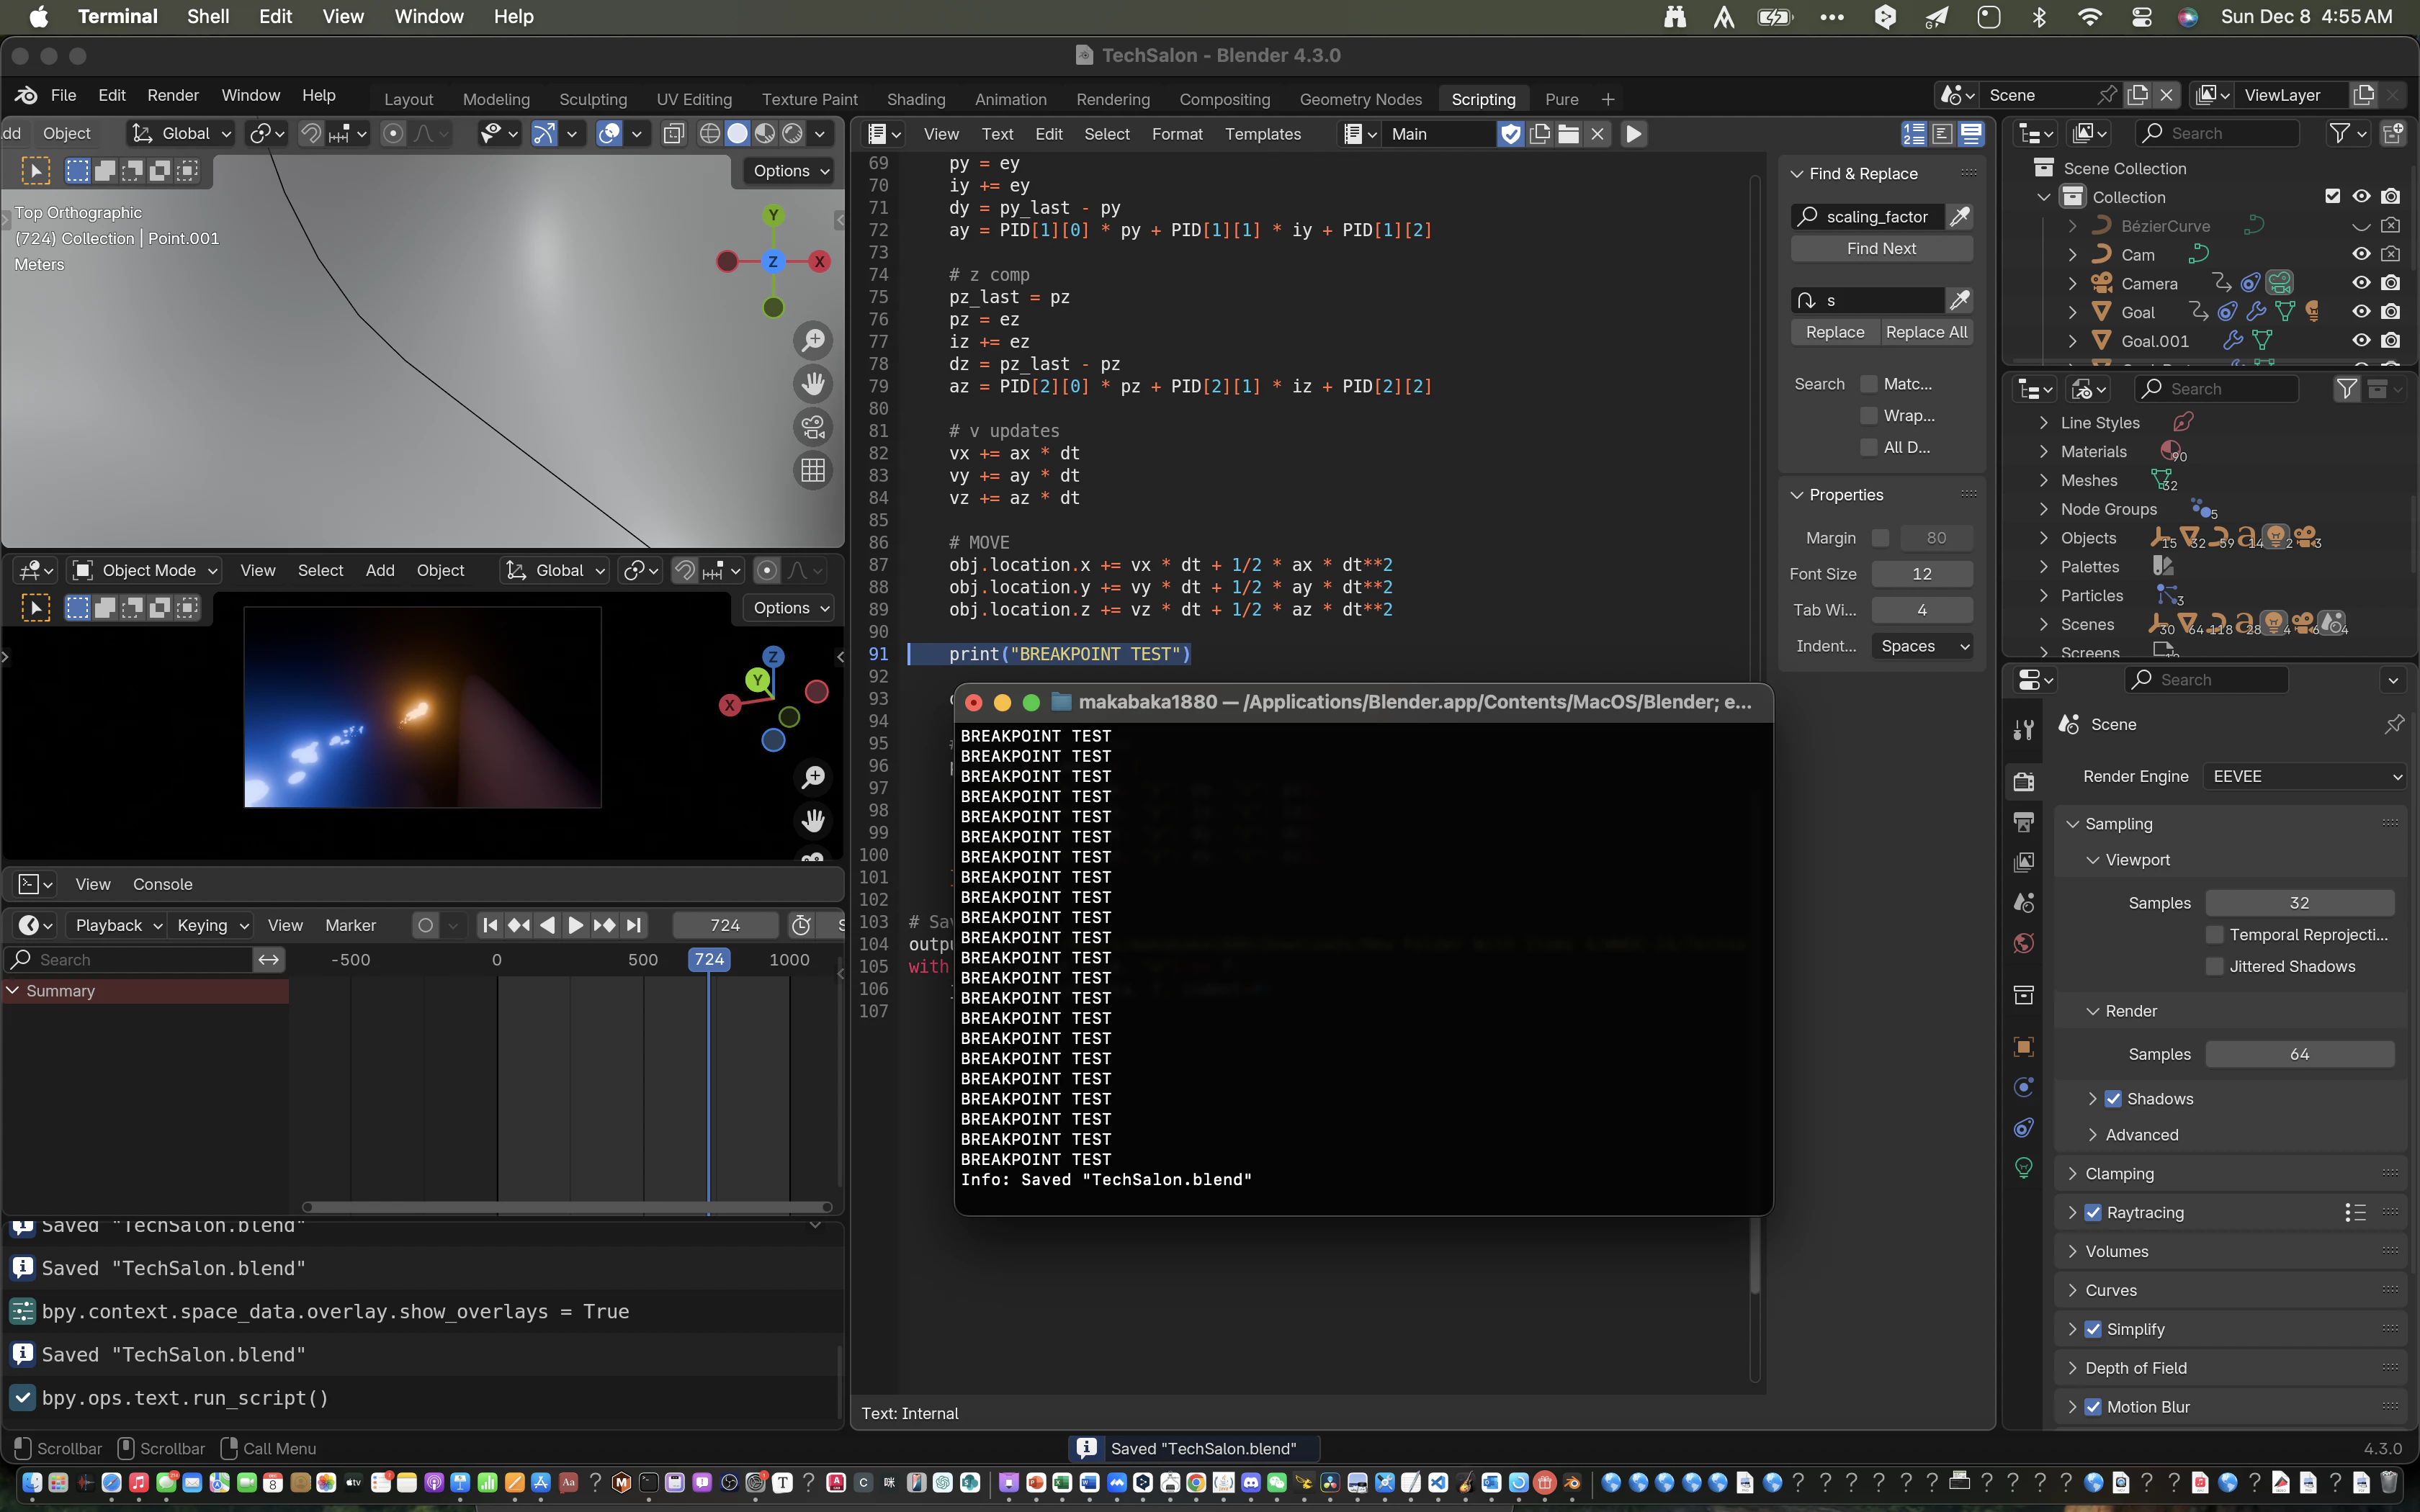
0x01 拓展软件
鉴于我们仿真时经常需要用到外部的库,例如pandas处理数据或者numpy做运算,我们也需要可以在blender版的内置python上可以这样操作。但在我的测试下我发现blender是不支持pip装库的:
因此,我的解决方案是anaconda在blender内新建一个环境
conda create --name=blender # 反正就是到blender内部py的目录
conda activate blender
conda install python=3.10 # 笔者使用的是Blender 4.3,只支持py3.10
conda install xxx # 其他库
sudo ln -s /opt/anaconda3/envs/blender /Applications/Blender.app/Contents/Resources/4.3 # 如果你是其他OS取决于你安装的位置和blender内库的结构
这时候看运气了 运气好blender还能打开 运气不好只能通过可执行文件打开
0x02 Blender BPY API
开发者可以通过一个叫bpy的库来和文件内的objects和data进行交互
import bpy

bpy.ops.mesh.primitive_cube_add() # OPS: 操作符 Ex 添加一个立方体primitive
cube = bpy.context.active_object # Context: 界面上下文 Ex 获取当前选中的物体

cube.name = "My Cube" # 设置名称

frame = 1
bpy.context.scene.frame_set(frame) # 设置界面当前帧为1
cube.location.z = 0 # 设置位置
cube.keyframe_insert("location", frame=frame) # 插入关键帧

frame = 100
bpy.context.scene.frame_set(frame) # 设置界面当前帧为100
cube.location.z = 10 # 设置位置
cube.keyframe_insert("location", frame=frame) # 插入关键帧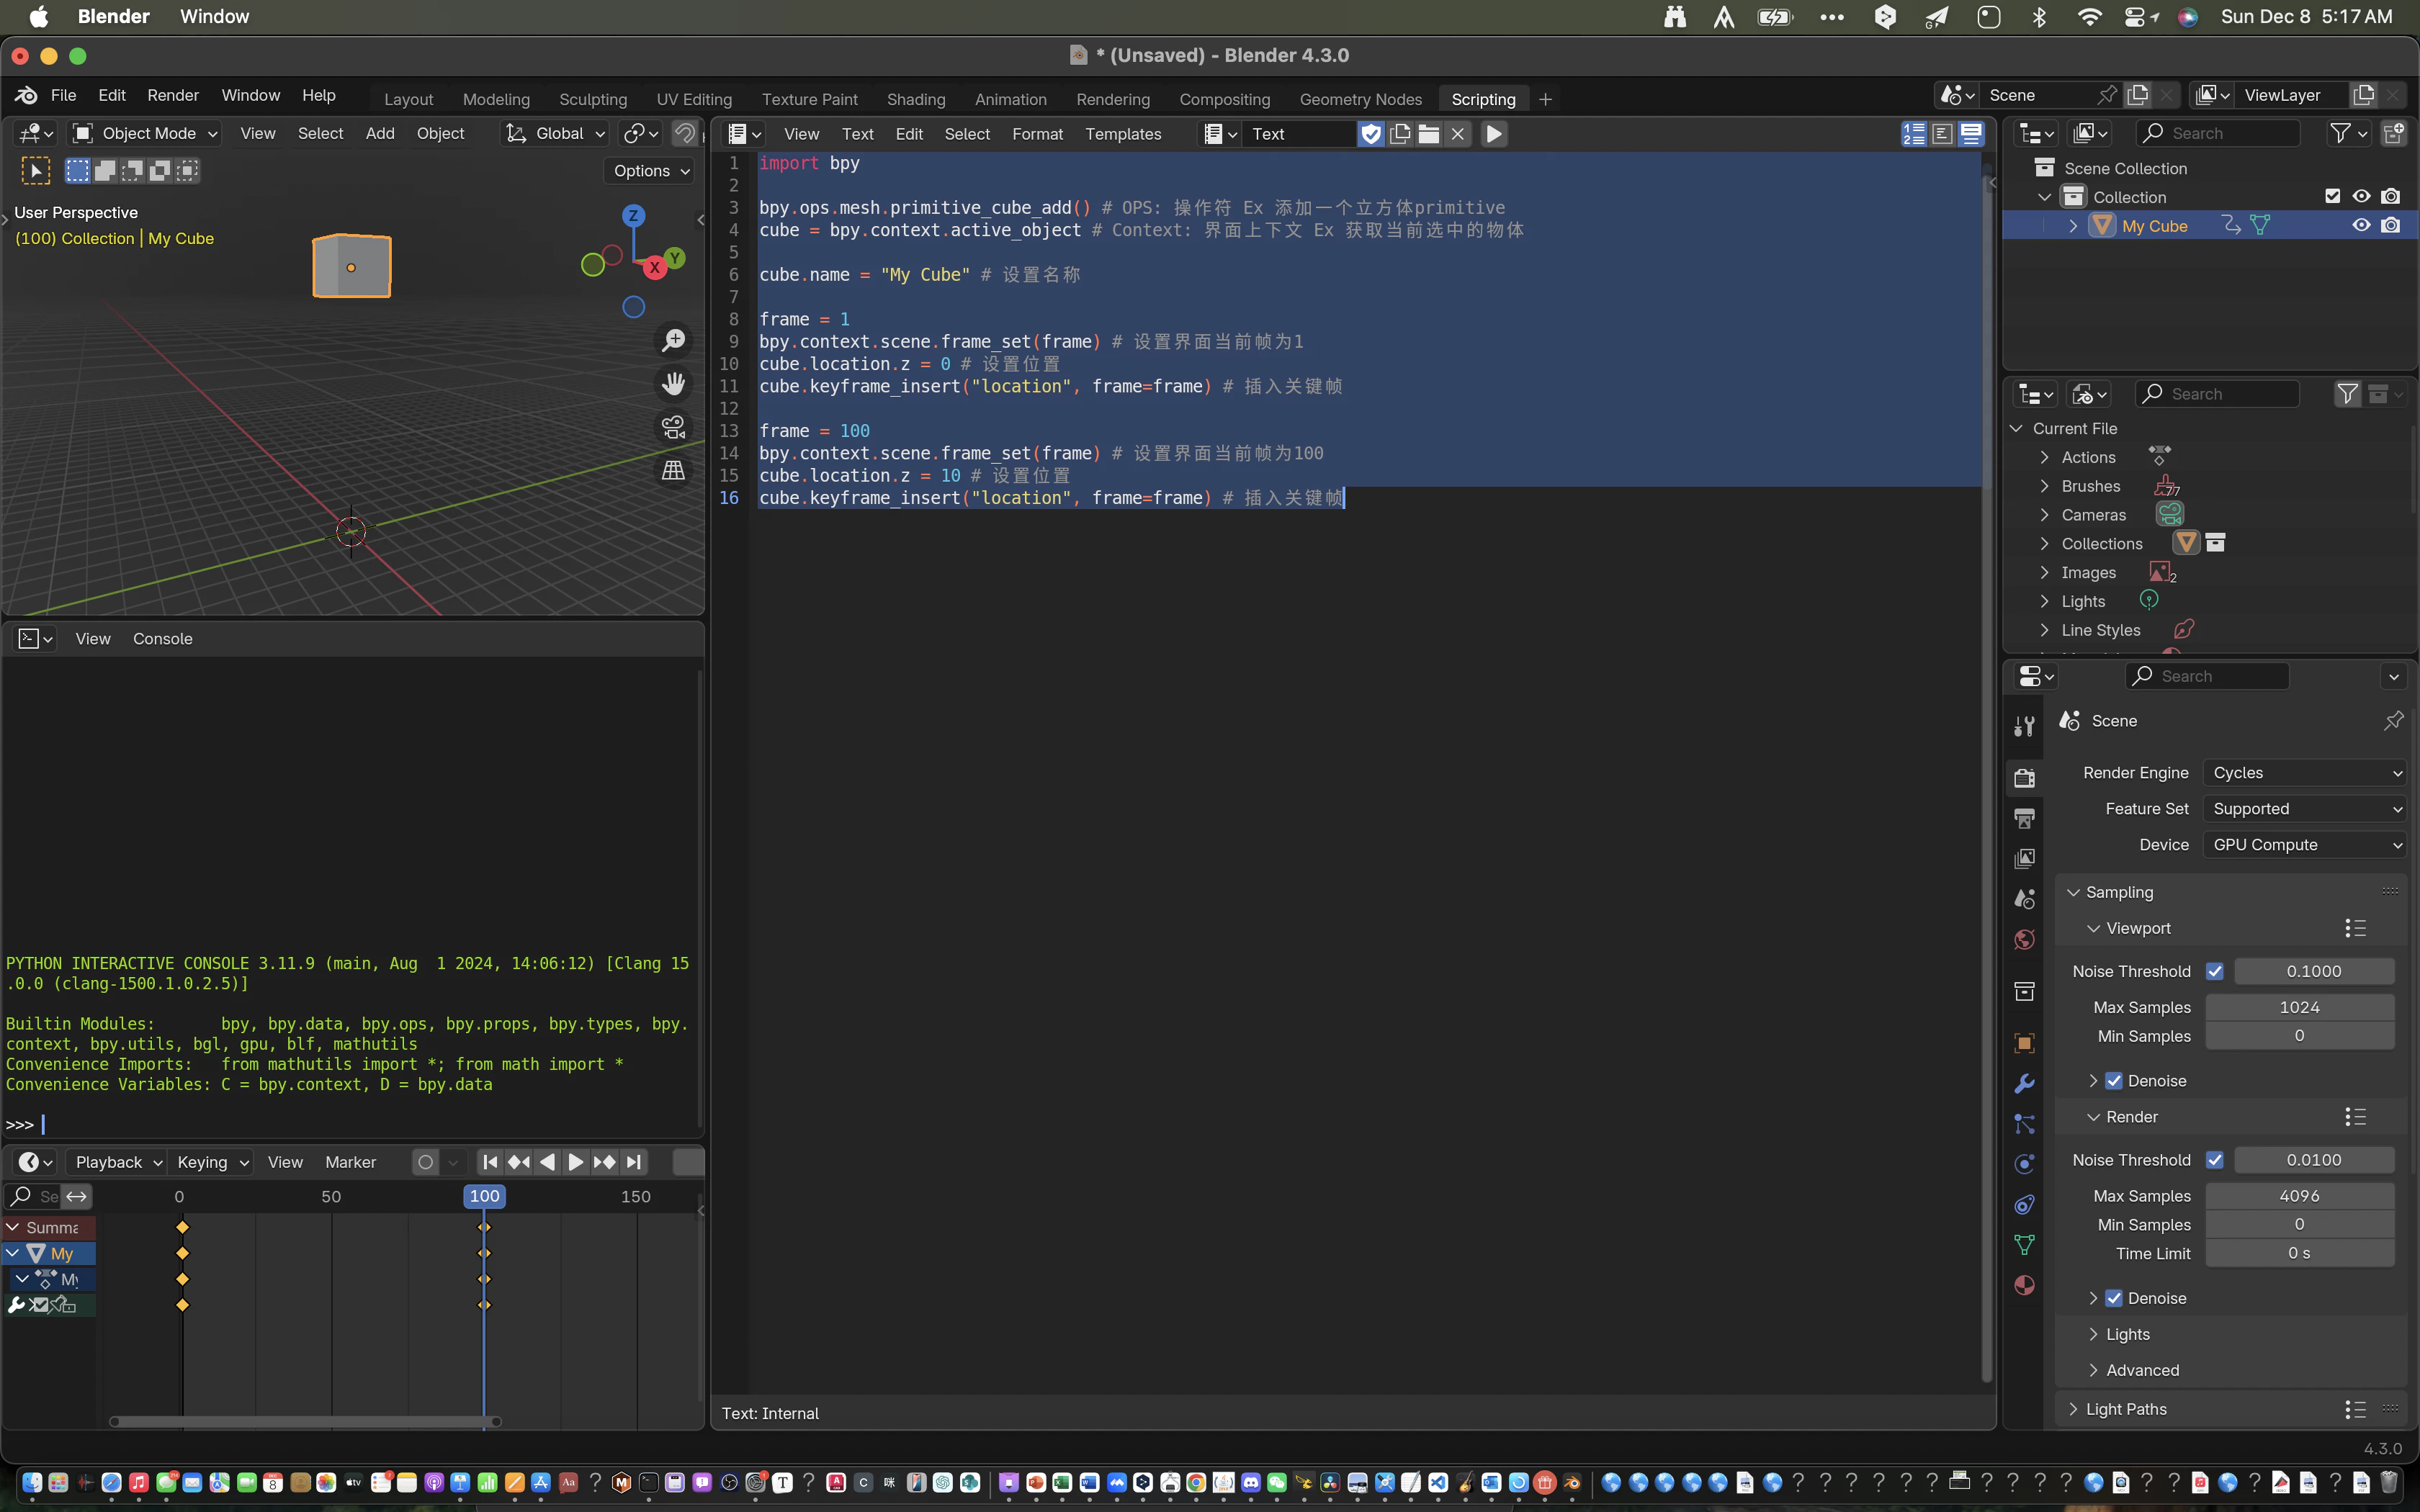
1. 项目 - 重力场建模
1x00 数学建模
假设一个质点处于坐标系中央,则重力场向内指
而且我们知道重力场符合平方反比律:
提示
反平方定律 适用于三维空间中的现象,例如光、声音或引力等场的强度。这些场的强度会随着到场源距离的平方成反比递减。这种关系源于三维空间的几何特性,即场均匀地分布在球面上,而球面的面积随着 $$4\pi r^2$$ 增加。
其中,$$d$$ 表示到场源的距离。
因此
k是某个常数
我们把他按分量展开则
如果不在原点,则
如果有多个质点也不麻烦,总重力场就等于它们的重力场的线性组合
1x01 开始建模
本次我将使用OOP的思路
首先,定义一个class
from typing import Tuple
from math import sqrt
class Mass:
    def __init__(self, k: float, pos: Tuple[float, float, float]):
        """
        initialization method
        """
        self.k = k
        self.x = pos[0]
        self.y = pos[1]
        self.z = pos[2]
    def __call__(self, pos: Tuple[float, float, float]):
        posx = pos[0]
        posy = pos[1]
        posz = pos[2]
        r = sqrt((self.x - posx)**2 + (self.y - posy)**2 + (self.z - posz)**2)
        fieldx = -(self.k * (posx - self.x)) / (r**3)
        fieldy = -(self.k * (posx - self.y)) / (r**3)
        fieldz = -(self.k * (posx - self.z)) / (r**3)
        return (fieldx, fieldy, fieldz)
这个class可以存储一个质点的信息
我们再来一个class
from typing import List
class GravitationalField:
    def __init__(self, masses: List[Mass]):
        self.masses = masses
    def __call__(self, pos):
        x, y, z = 0, 0, 0
        for mass in self.masses:
            field = mass(pos)
            x += field[0]
            y += field[1]
            z += field[2]
return (x, y, z)这个class类似一个高级的List[Mass], 可以直接调用他们的线性组合。当然列表也可以,但是用class是为了后期的可拓展性
1x02 场景交互
如果单单只是一个普通的建模,那其他软件也可以实现
Blender的优势在于可以使用各种Objects来可视化结果
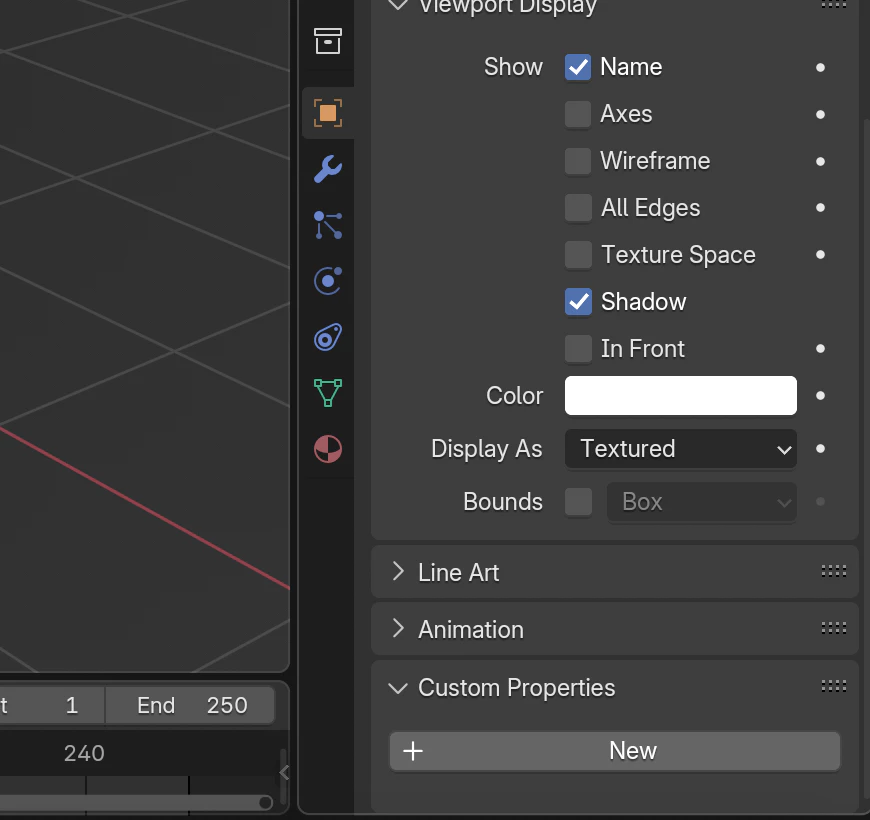
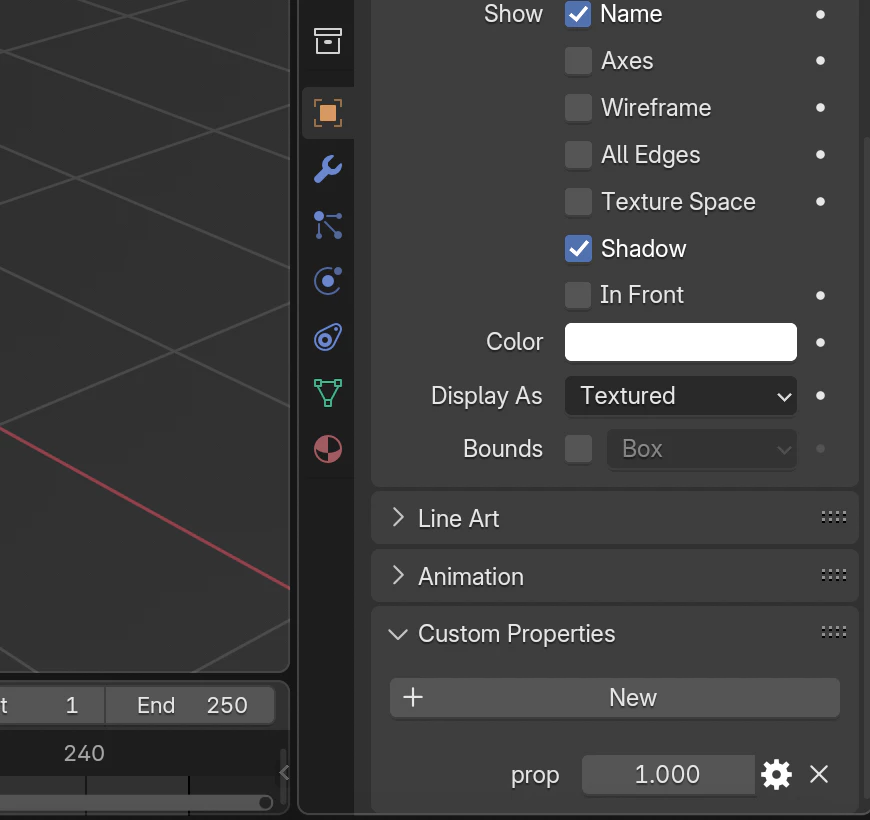
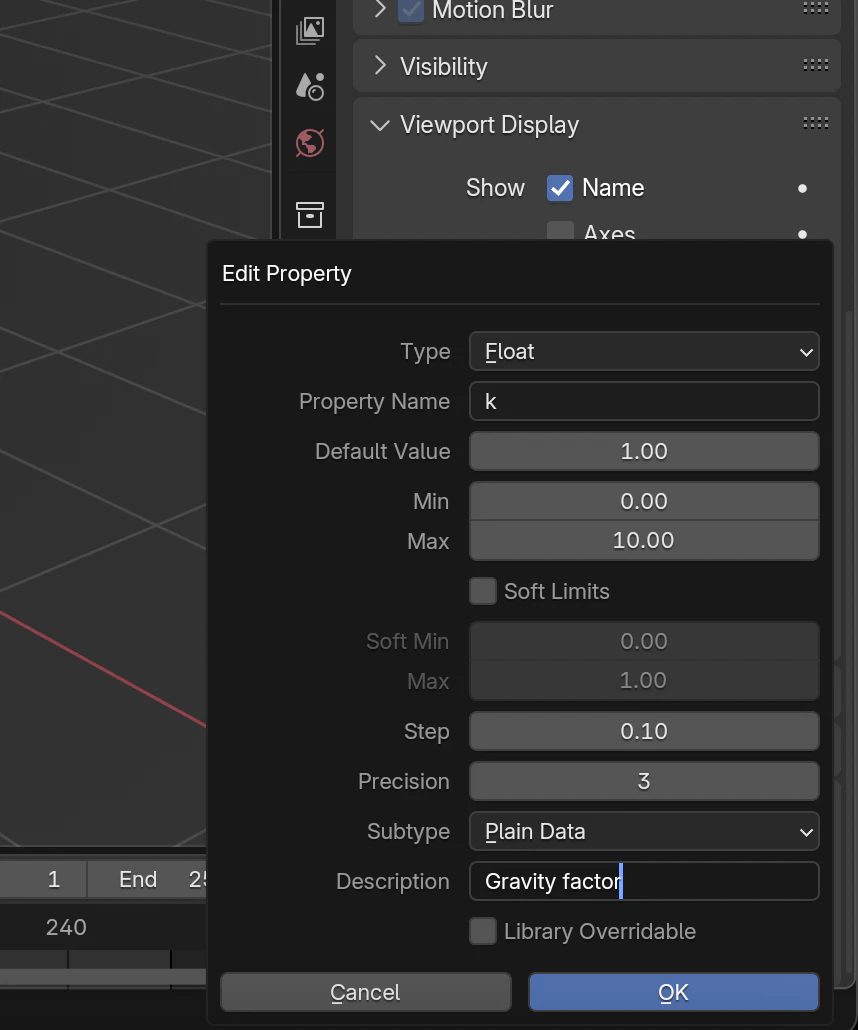
这里,我准备将所有质点后缀改为M, 并添加属性k: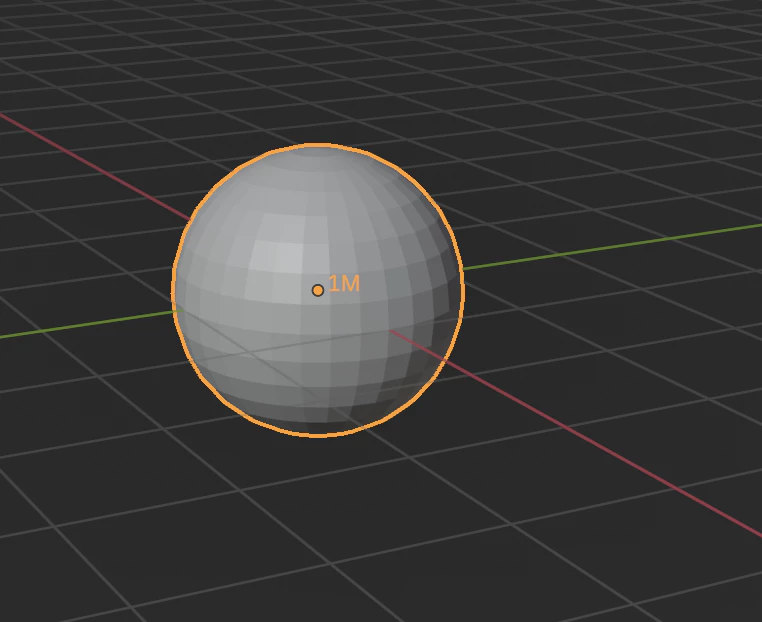
那怎么获取呢?
import bpy

masses = []
for obj in bpy.context.scene.objects:
    if obj.name[-1] == 'M':
        masses.append(obj)

fields = []
for mass in masses:
    fields.append(Mass(mass['k'], mass.location))

sum = GravitationalField(fields)
Sum 就是我们的主重力场
2. 可视化
2x00 数学建模
我现在构思的方案是在空间中放置箭头,用颜色来代表大小
那么
我们还需要一个将数字映射到颜色上的函数 为了方便起见,我就用线性插值了
提示
LERP (线性插值) 是一种根据比例在两个点之间计算值的方法,常用于图形学、动画以及数学中,以在两个值之间实现平滑过渡。
LERP 的公式为:
因此
我们也可以借python的one-liner语法写一个十分优雅的线性插值函数函数:
def color_lerp(color1, color2, k):
    r, g, b = lerp(color1[0], color2[0], k), lerp(color1[1], color2[1], k), lerp(color1[2], color2[2], k)
    return (r, g, b)
2x01 实现
To assign colors to objects, we need to initiate new materials. Since this doc is not focused on the blender api itself, I'll use ChatGPT-generated helper functions to do the assignment.
要想给物体上色我们就需要给它赋予新的材质. 这不是今天的重点所以我就请我们亲爱的ChatGPT来写个Helper Function力
顺便一提ChatGPT的注释写的真的牛逼 😃
def assign_emission_shader(name, color, obj, strength=1.0):
    """
    Assign an emission shader with the specified color and strength to the given object.

    Parameters:
    - name: The name of the material to be created.
    - color: The RGB color for the emission shader (a tuple like (1.0, 0.0, 0.0) for red).
    - obj: The Blender object to which the material will be assigned.
    - strength: The strength of the emission (default is 1.0).
    """
    # Check if the object already has the material assigned
    existing_material = bpy.data.materials.get(name)

    # If the material doesn't exist, create a new one
    if not existing_material:
        material = bpy.data.materials.new(name)  # Create the material
        material.use_nodes = True  # Enable the use of nodes
        nodes = material.node_tree.nodes

        # Clear existing nodes
        for node in nodes:
            nodes.remove(node)

        # Add an Emission shader node
        emission_node = nodes.new(type='ShaderNodeEmission')
        emission_node.inputs['Color'].default_value = (*color, 1.0)  # Set the color with alpha = 1
        emission_node.inputs['Strength'].default_value = strength  # Set the emission strength

        # Add a Material Output node
        material_output_node = nodes.new(type='ShaderNodeOutputMaterial')

        # Connect the emission node to the material output
        material.node_tree.links.new(emission_node.outputs['Emission'], material_output_node.inputs['Surface'])
    else:
        material = existing_material
        # Update the existing material's color and strength
        nodes = material.node_tree.nodes
        for node in nodes:
            if isinstance(node, bpy.types.ShaderNodeEmission):
                node.inputs['Color'].default_value = (*color, 1.0)
                node.inputs['Strength'].default_value = strength
                break

    # Assign the material to the object
    if obj.data.materials:
        # If the object already has materials, replace the first one
        obj.data.materials[0] = material
    else:
        # If the object has no materials, append the new one
        obj.data.materials.append(material)
然后我们就可以这样给每个物体刷颜色喽
s = 4 # Add to the start of code
for obj in masses:
    k = obj['k']
    c1 = (0.7, 0.3, 0.1) # Change to your preference
    c2 = (0.1, 0.3, 0.7) # Change to your preference
    color = color_lerp(c1, c2, k)
    assign_emission_shader(obj.name, color, obj, s)
删除材质
但你对你的代码进行调整之后, 你可能会发现材质没有任何区别. 这是因为blender的数据管理系统的问题. 这时你就可以在代码的一开始放上这么一段:
for material in bpy.data.materials:
    if material.name[-1] == "M":
        bpy.data.materials.remove(material)
跑完代码之后可以看到材质都刷新了: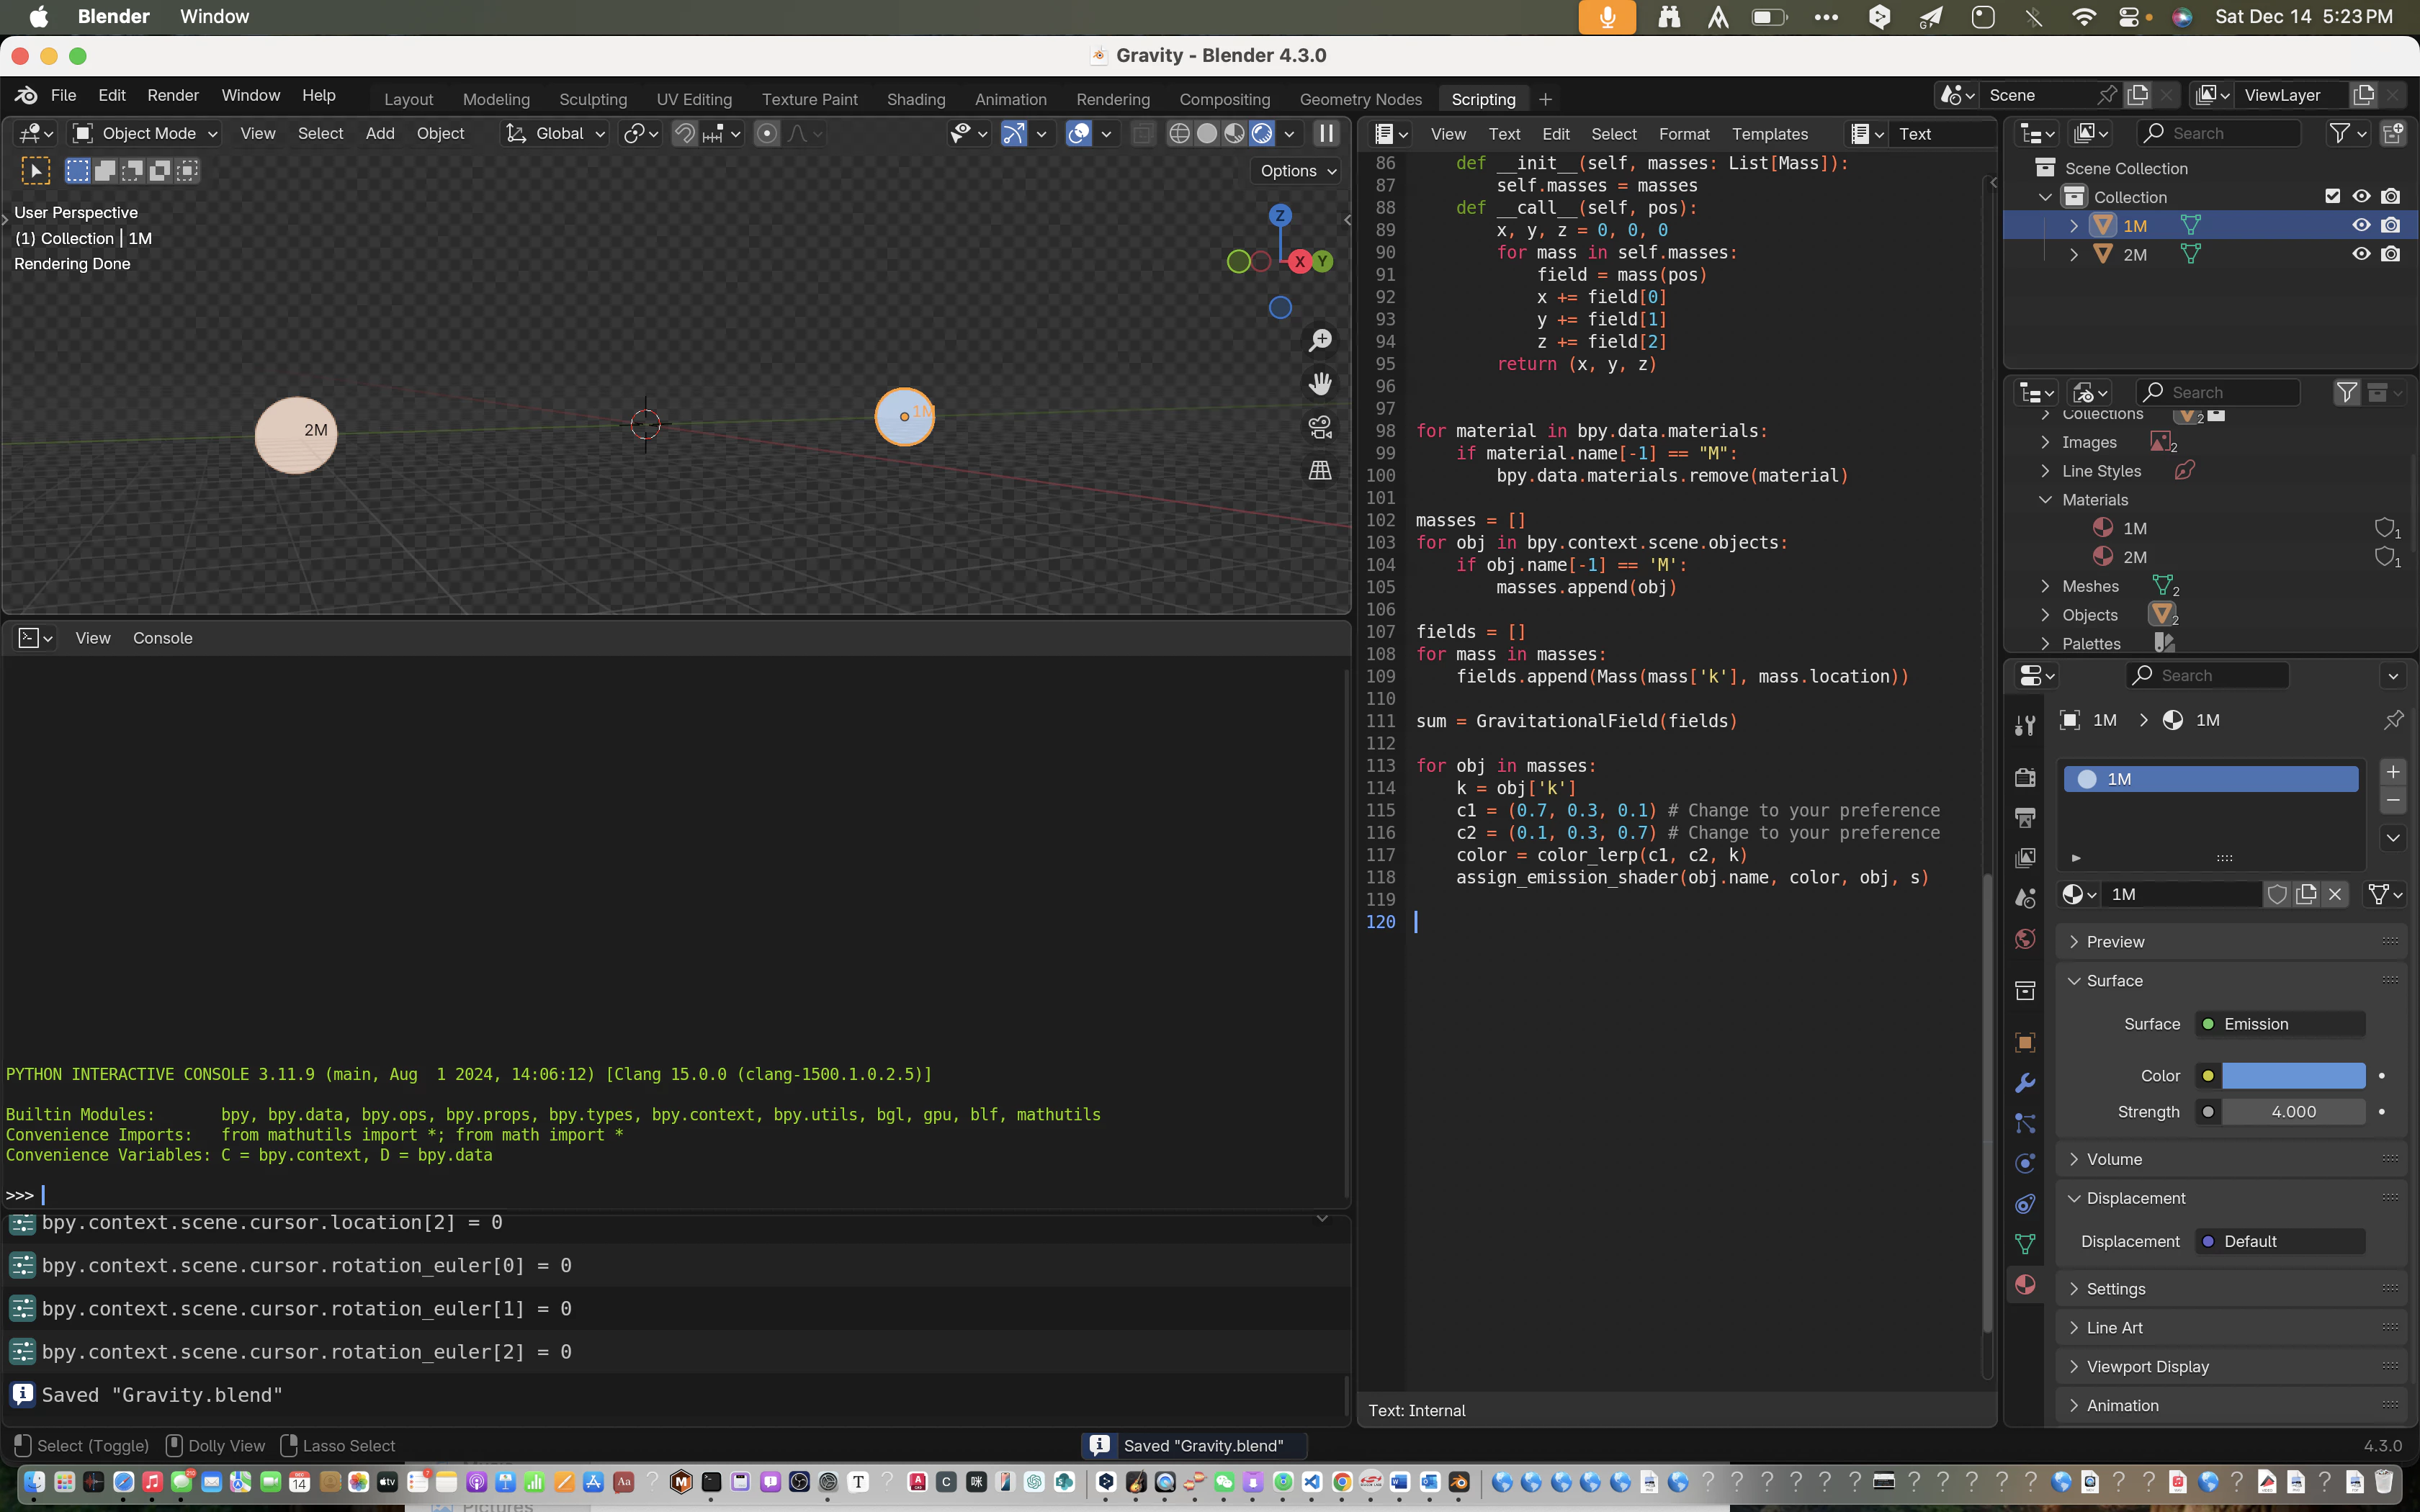
未完待续