配环境
配环境
相关信息
笔者前两天作死给自己的 Dev VM 执行了一次 sudo apt upgrade,结果把系统搞得一团糟。于是决定重装系统,顺便记录一下环境配置的过程。
0x00 安装系统
这一步就比较简单了,我用的OrbStack,只见删了机器重来
0x01 安装omz
OMZ 毕竟是zsh嘛,先得下一个zsh
sudo apt install zsh然后安装 oh-my-zsh
sh -c "$(curl -fsSL https://raw.githubusercontent.com/ohmyzsh/ohmyzsh/master/tools/install.sh)"诶呀 curl报错了 gfw把github墙了
curl: (35) TLS connect error: error:00000000:lib(0)::reason(0)没有关系啊 配一个proxy
OrbStack小妙招
如果你是用 OrbStack / Docker 的,可以直接在终端中运行下面的命令来把代理设置送上虚拟机:
export http_proxy=http://host.docker.internal:1087;
export https_proxy=http://host.docker.internal:1087;
具体代理哪里来嘛 魔法 自己找去(doge
再来
Cloning Oh My Zsh...
Error: git is not installed
没关系,先装git
sudo apt install git然后再来!
Cloning Oh My Zsh...
remote: Enumerating objects: 1444, done.
remote: Counting objects: 100% (1444/1444), done.
remote: Compressing objects: 100% (1376/1376), done.
remote: Total 1444 (delta 43), reused 1243 (delta 40), pack-reused 0 (from 0)
Receiving objects: 100% (1444/1444), 3.29 MiB | 1.71 MiB/s, done.
Resolving deltas: 100% (43/43), done.
From https://github.com/ohmyzsh/ohmyzsh
 * [new branch]      master     -> origin/master
branch 'master' set up to track 'origin/master'.
Already on 'master'
/home/makabaka1880

Looking for an existing zsh config...
Using the Oh My Zsh template file and adding it to /home/makabaka1880/.zshrc.

Time to change your default shell to zsh:
Do you want to change your default shell to zsh? [Y/n]
输入y,回车
Changing your shell to /usr/bin/zsh...
Shell successfully changed to '/usr/bin/zsh'.

         __                                     __
  ____  / /_     ____ ___  __  __   ____  _____/ /_
 / __ \/ __ \   / __ `__ \/ / / /  /_  / / ___/ __ \
/ /_/ / / / /  / / / / / / /_/ /    / /_(__  ) / / /
\____/_/ /_/  /_/ /_/ /_/\__, /    /___/____/_/ /_/
                        /____/                       ....is now installed!


Before you scream Oh My Zsh! look over the `.zshrc` file to select plugins, themes, and options.

• Follow us on X: https://x.com/ohmyzsh
• Join our Discord community: https://discord.gg/ohmyzsh
• Get stickers, t-shirts, coffee mugs and more: https://shop.planetargon.com/collections/oh-my-zsh

➜  ~
很好啊 然后把我们的zsh主题给拉过来
顺便给自己打个广告哈 https://github.com/makabaka1880/chameleon-zsh-theme
vim ~/.oh-my-zsh/themes/chameleon.zsh-themefunction dashes {
local python_env="${VIRTUAL_ENV:-$CONDA_DEFAULT_ENV}"
if [[ -n "$python_env" && "$PS1" = \(* ]]; then
echo $(( COLUMNS - ${#python_env} - 3 ))
else
echo $COLUMNS
fi
}
function parse_git_branch() {
git branch 2> /dev/null | sed -n -e 's/^\* \(.*\)/[\1]/p'
}
PROMPT="\${(l.\$(dashes)..-.)}"
RPROMPT="[%T]%F{100} %? %F{125}%~"
PROMPT+="
%F{075}╭─ %F{010}%n$reset_color@%F{220}%M %F{150}\$(parse_git_branch)
%F{075}╰─%F{fff} "然后在~/.zshrc中设置主题
vim ~/.zshrcZSH_THEME="chameleon"再次打开就有啦: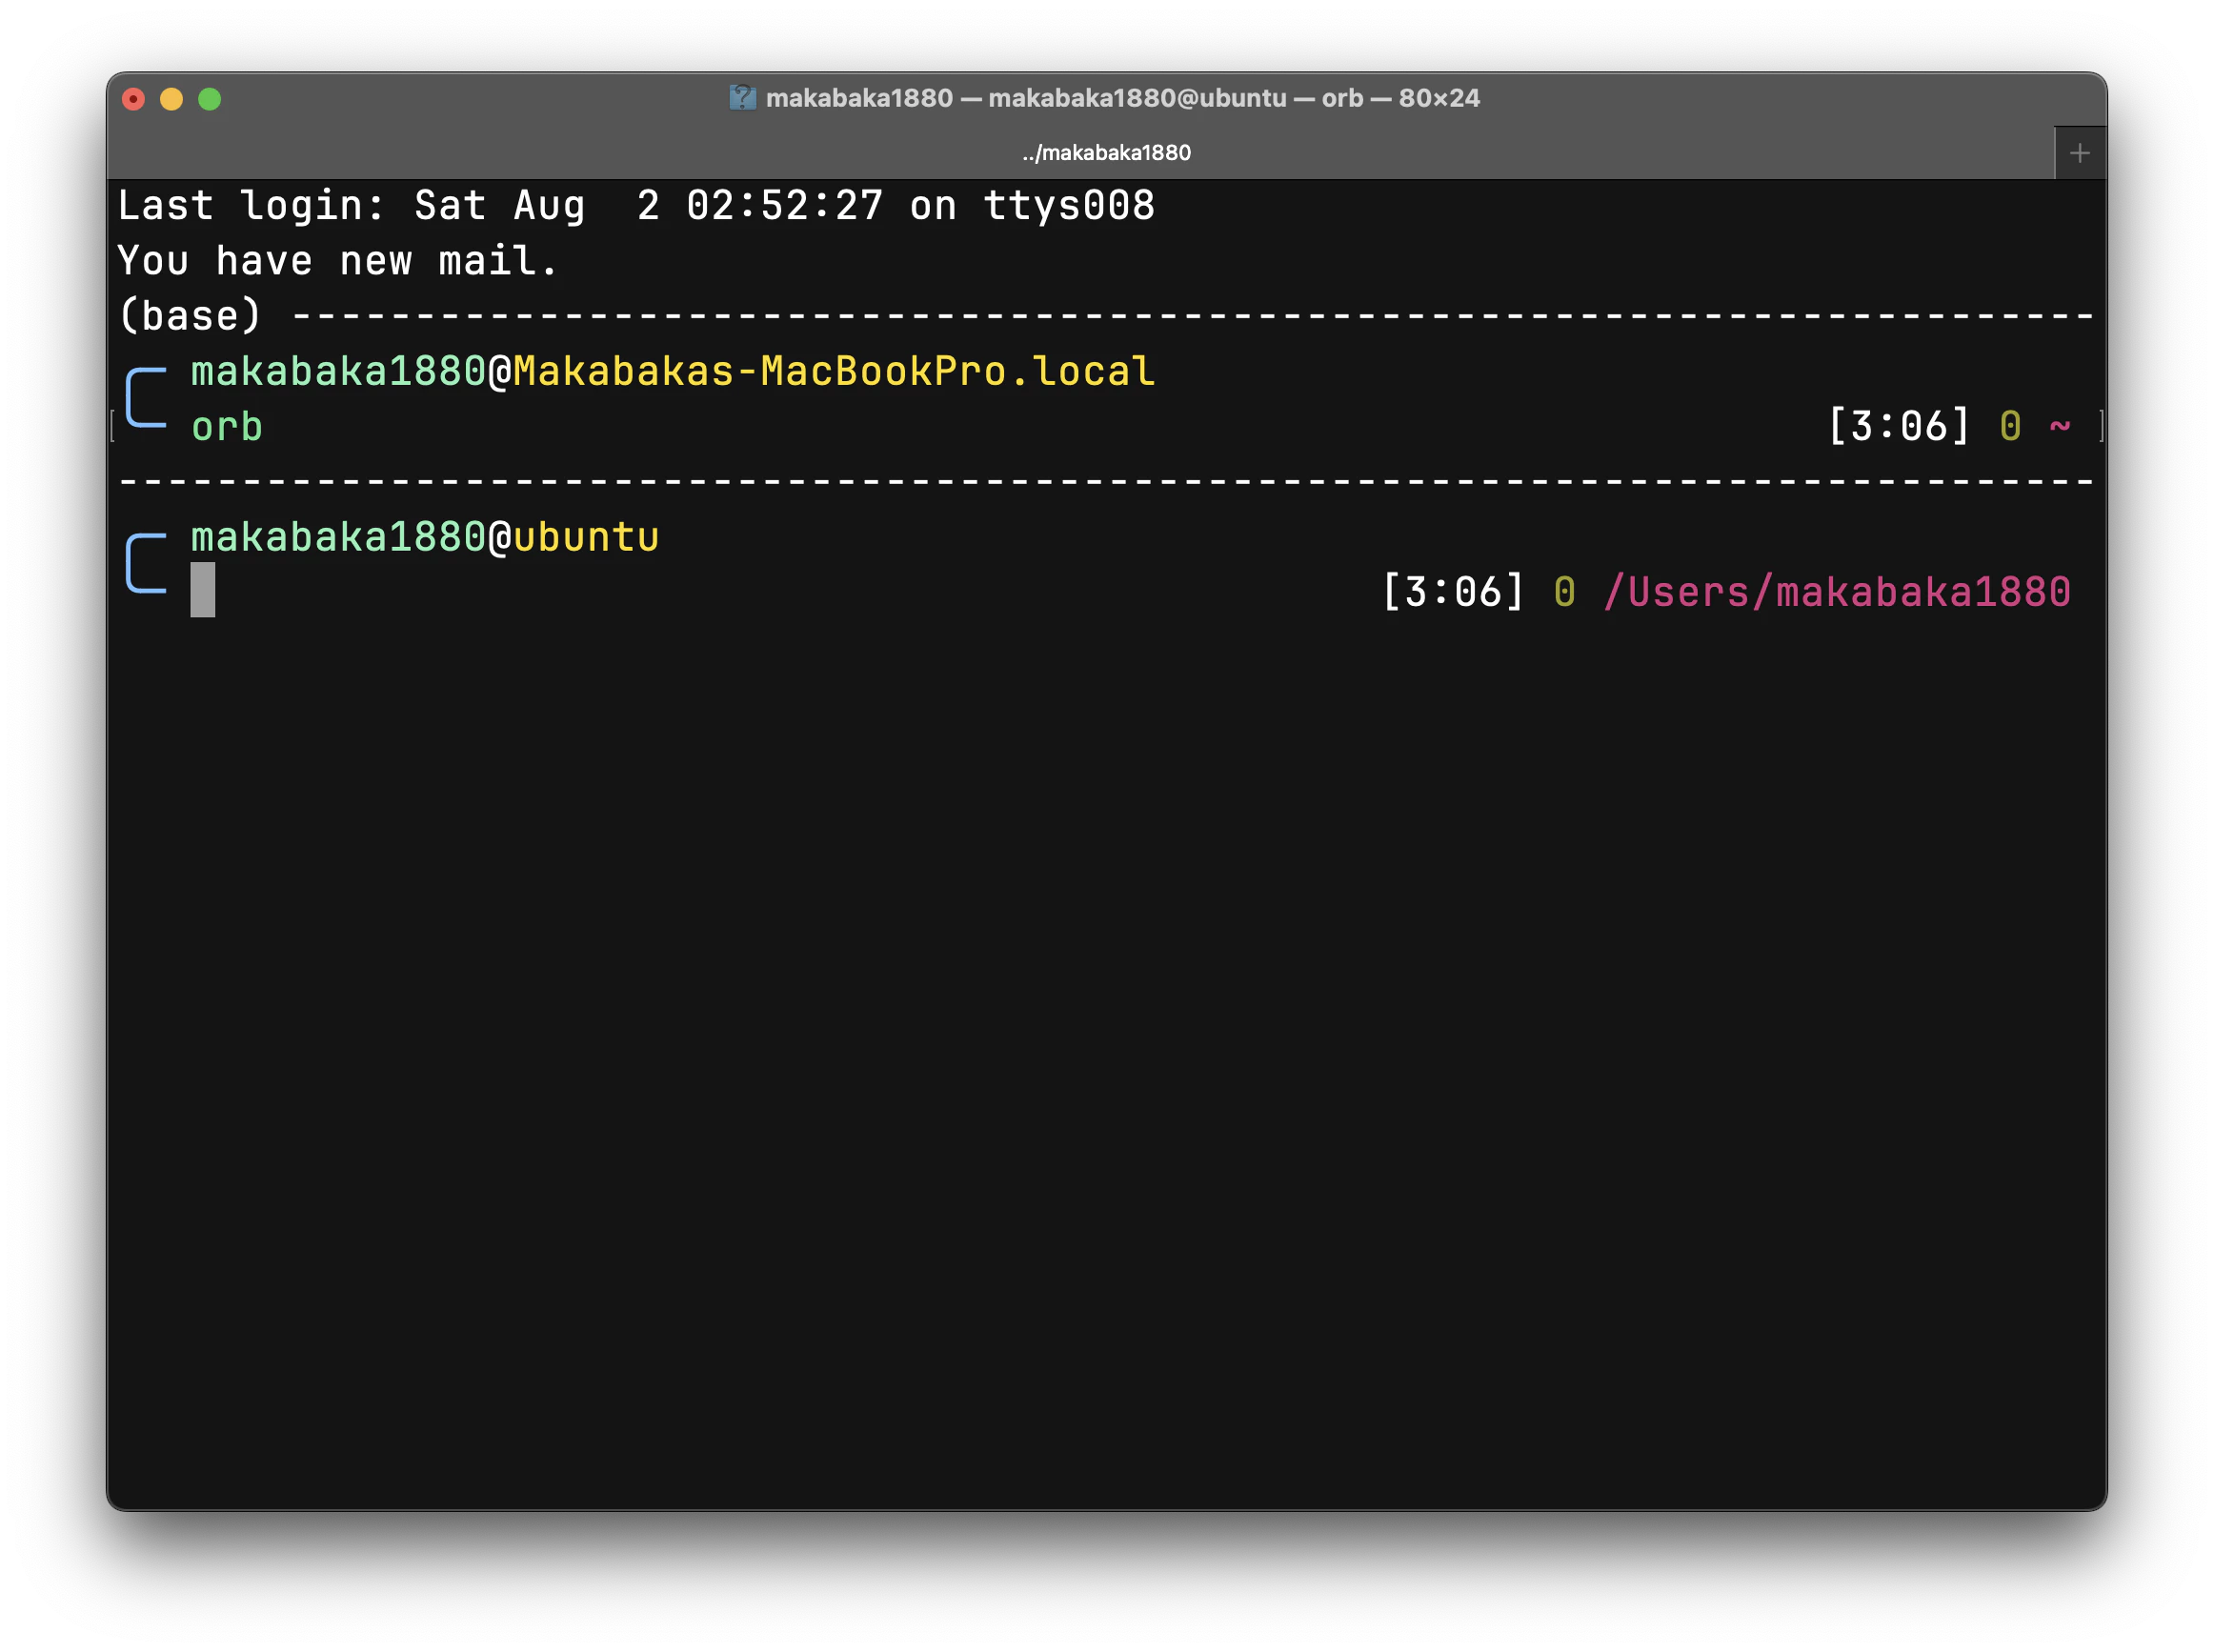
同时我还想要要语法高亮还有hint,那很简单啊·
git clone https://github.com/zsh-users/zsh-autosuggestions.git $ZSH_CUSTOM/plugins/zsh-autosuggestions
git clone https://github.com/zsh-users/zsh-syntax-highlighting.git $ZSH_CUSTOM/plugins/zsh-syntax-highlighting然后在~/.zshrc中添加插件
plugins=(git zsh-autosuggestions zsh-syntax-highlighting)重启终端就好啦
0x02 安装python环境
我一直都用conda来做环境管理,那自然而然是要安排上滴~
ARM64的机器上conda的安装包有点问题,直接用miniforge就好了
先来这里下载安装脚本.
curl -L -o https://github.com/conda-forge/miniforge/releases/latest/download/Miniforge3-Linux-aarch64.sh > Miniforge3-Linux-aarch64.shOrbStack小妙招
如果你是用OrbStack的,可以直接在终端中运行下面的命令来把脚本送上虚拟机:
orb push ~/Downloads/Miniforge3-Linux-aarch64.sh # 或者你的路径然后跑一遍
bash ~/Miniforge3-Linux-aarch64.sh先会问你要不要运行这个脚本:
Welcome to Miniforge3 25.3.1-0

In order to continue the installation process, please review the license
agreement.
Please, press ENTER to continue
>>>
按回车继续,然后会有一长串license 偷懒按s跳过
问你是否同意协议,输入yes然后回车
Do you accept the license terms? [yes|no]
>>> yes
然后是选择安装位置,那就默认:
Miniforge3 will now be installed into this location:
/home/makabaka1880/miniforge3

  - Press ENTER to confirm the location
  - Press CTRL-C to abort the installation
  - Or specify a different location below
    Note: environment variables will NOT be expanded.

[/home/makabaka1880/miniforge3] >>>
按回车继续
接下来一步极具误导性!他默认是no,但是我们肯定是想要让conda在启动的时候自己初始化,所以要打yes:
...
Transaction finished
installation finished.
Do you wish to update your shell profile to automatically initialize conda?
This will activate conda on startup and change the command prompt when activated.
If you'd prefer that conda's base environment not be activated on startup,
run the following command when conda is activated:
conda config --set auto_activate_base false
You can undo this by running `conda init --reverse $SHELL`? [yes|no]
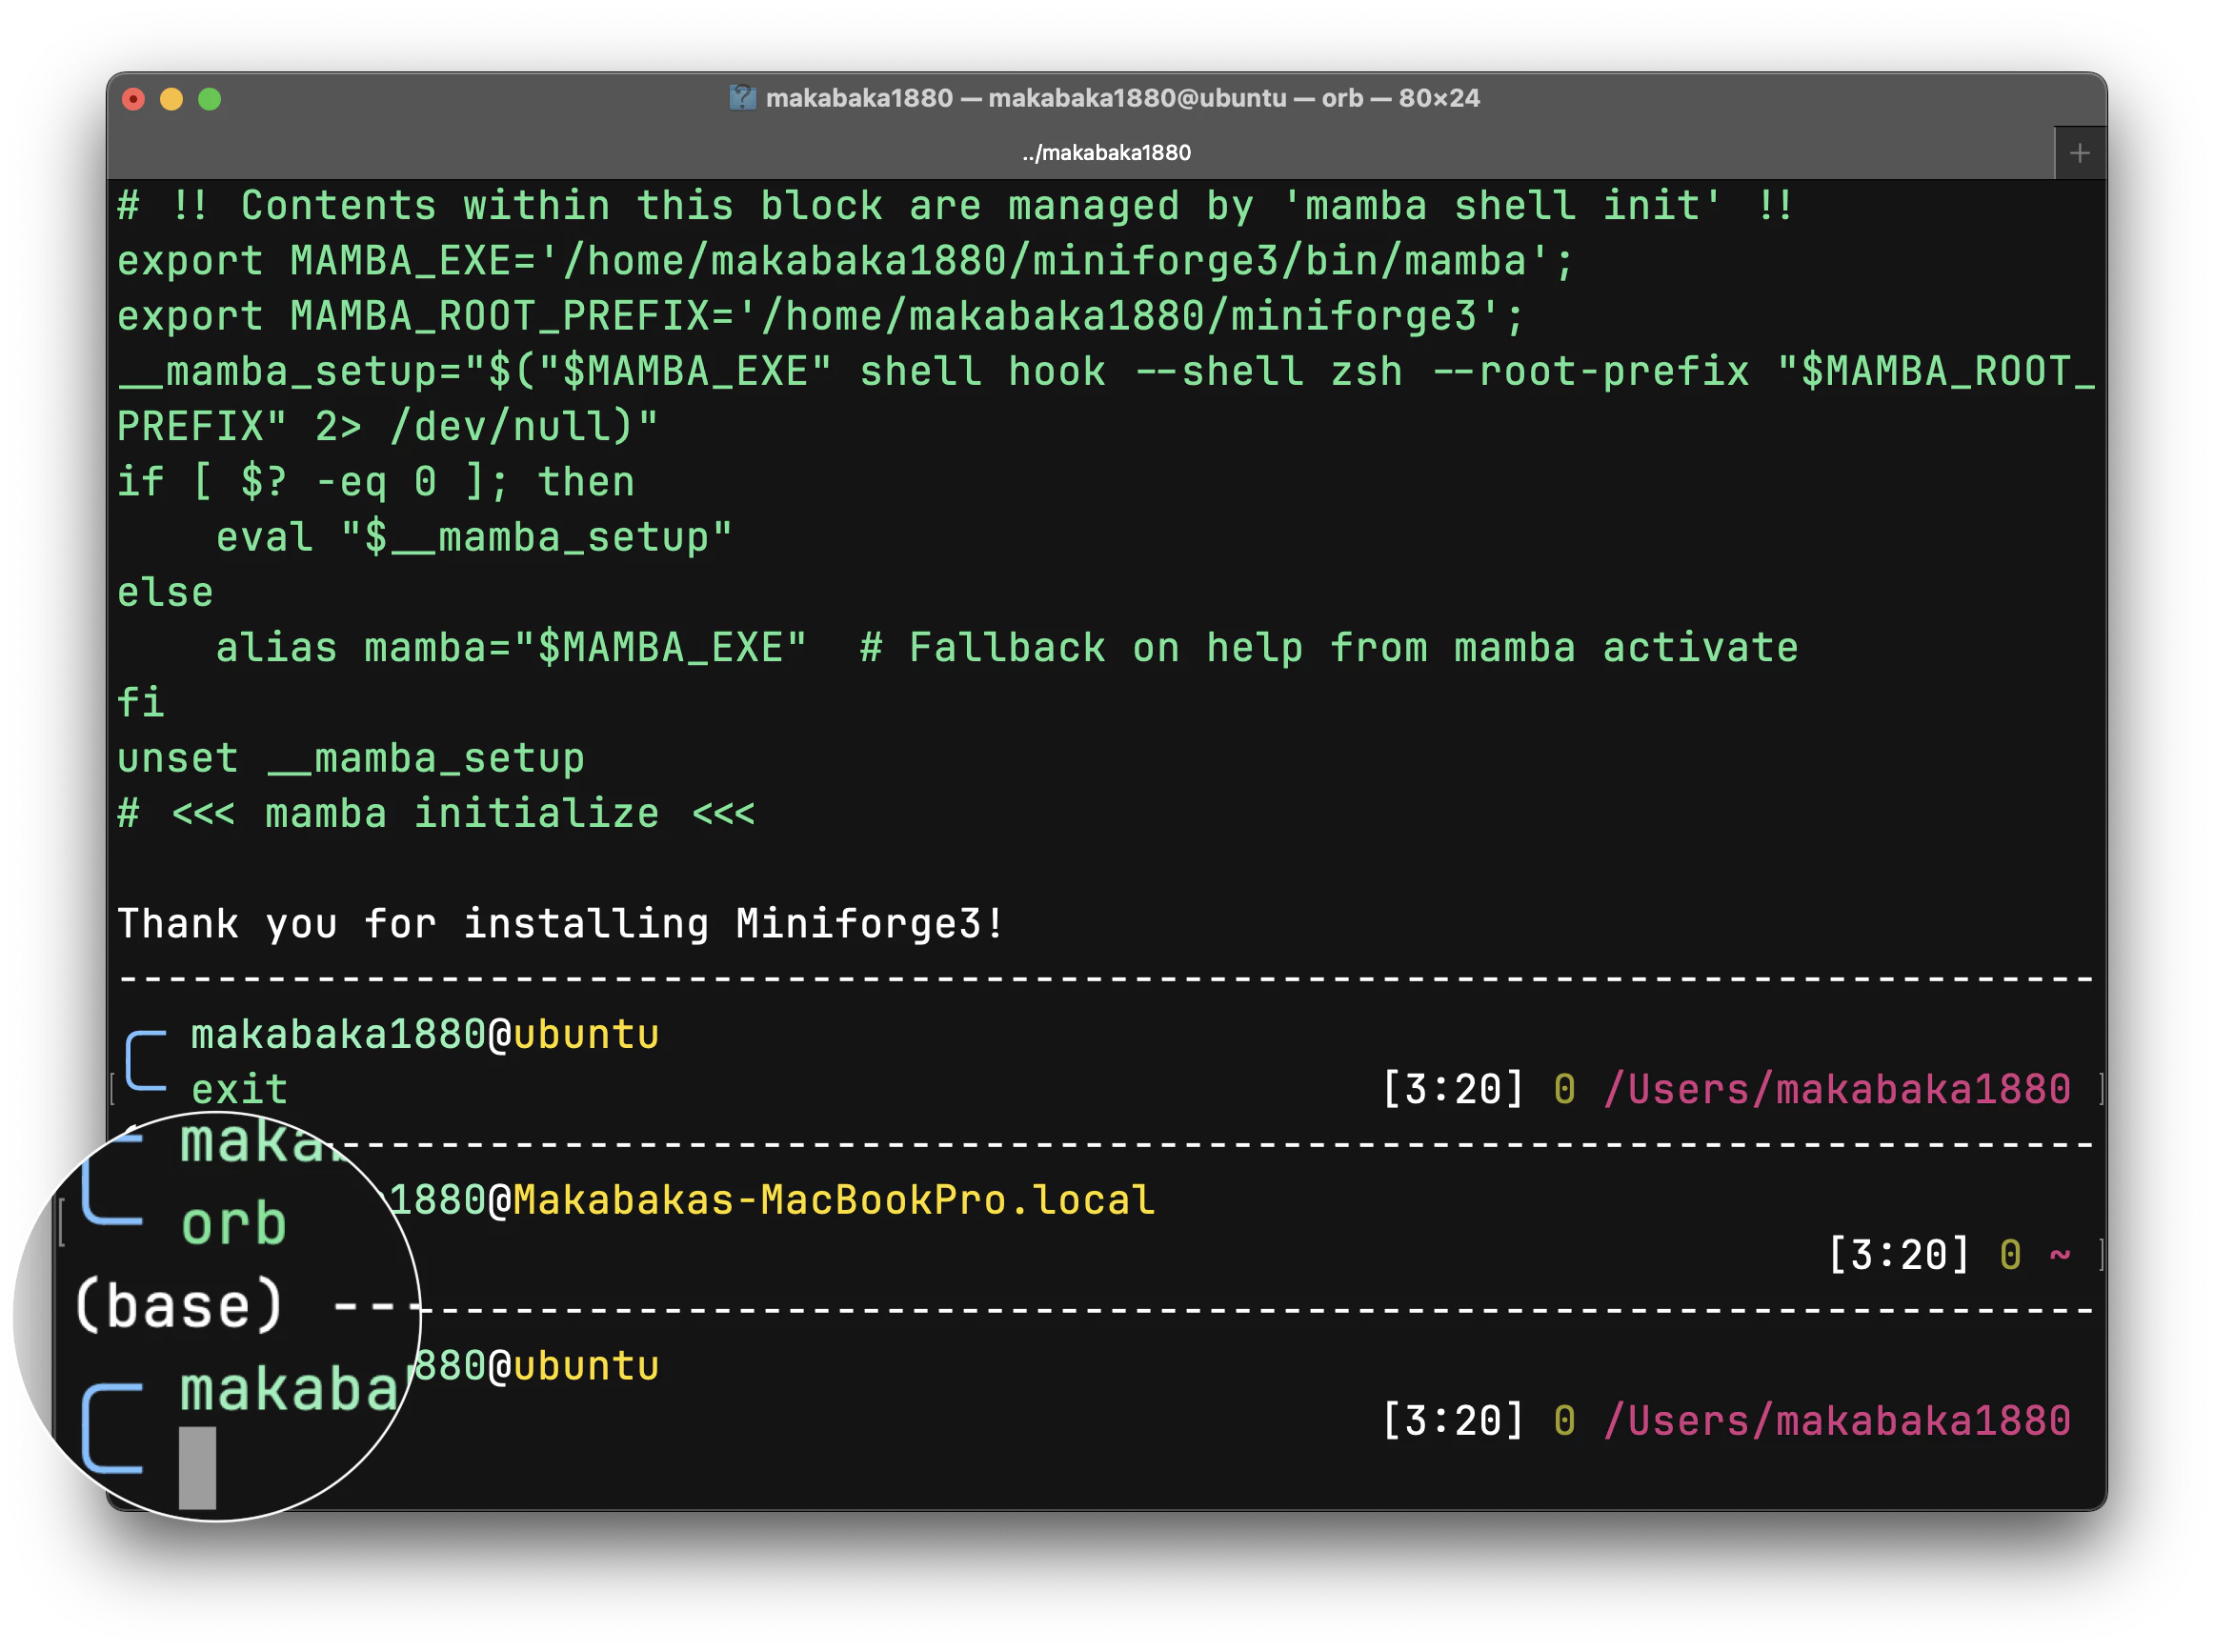
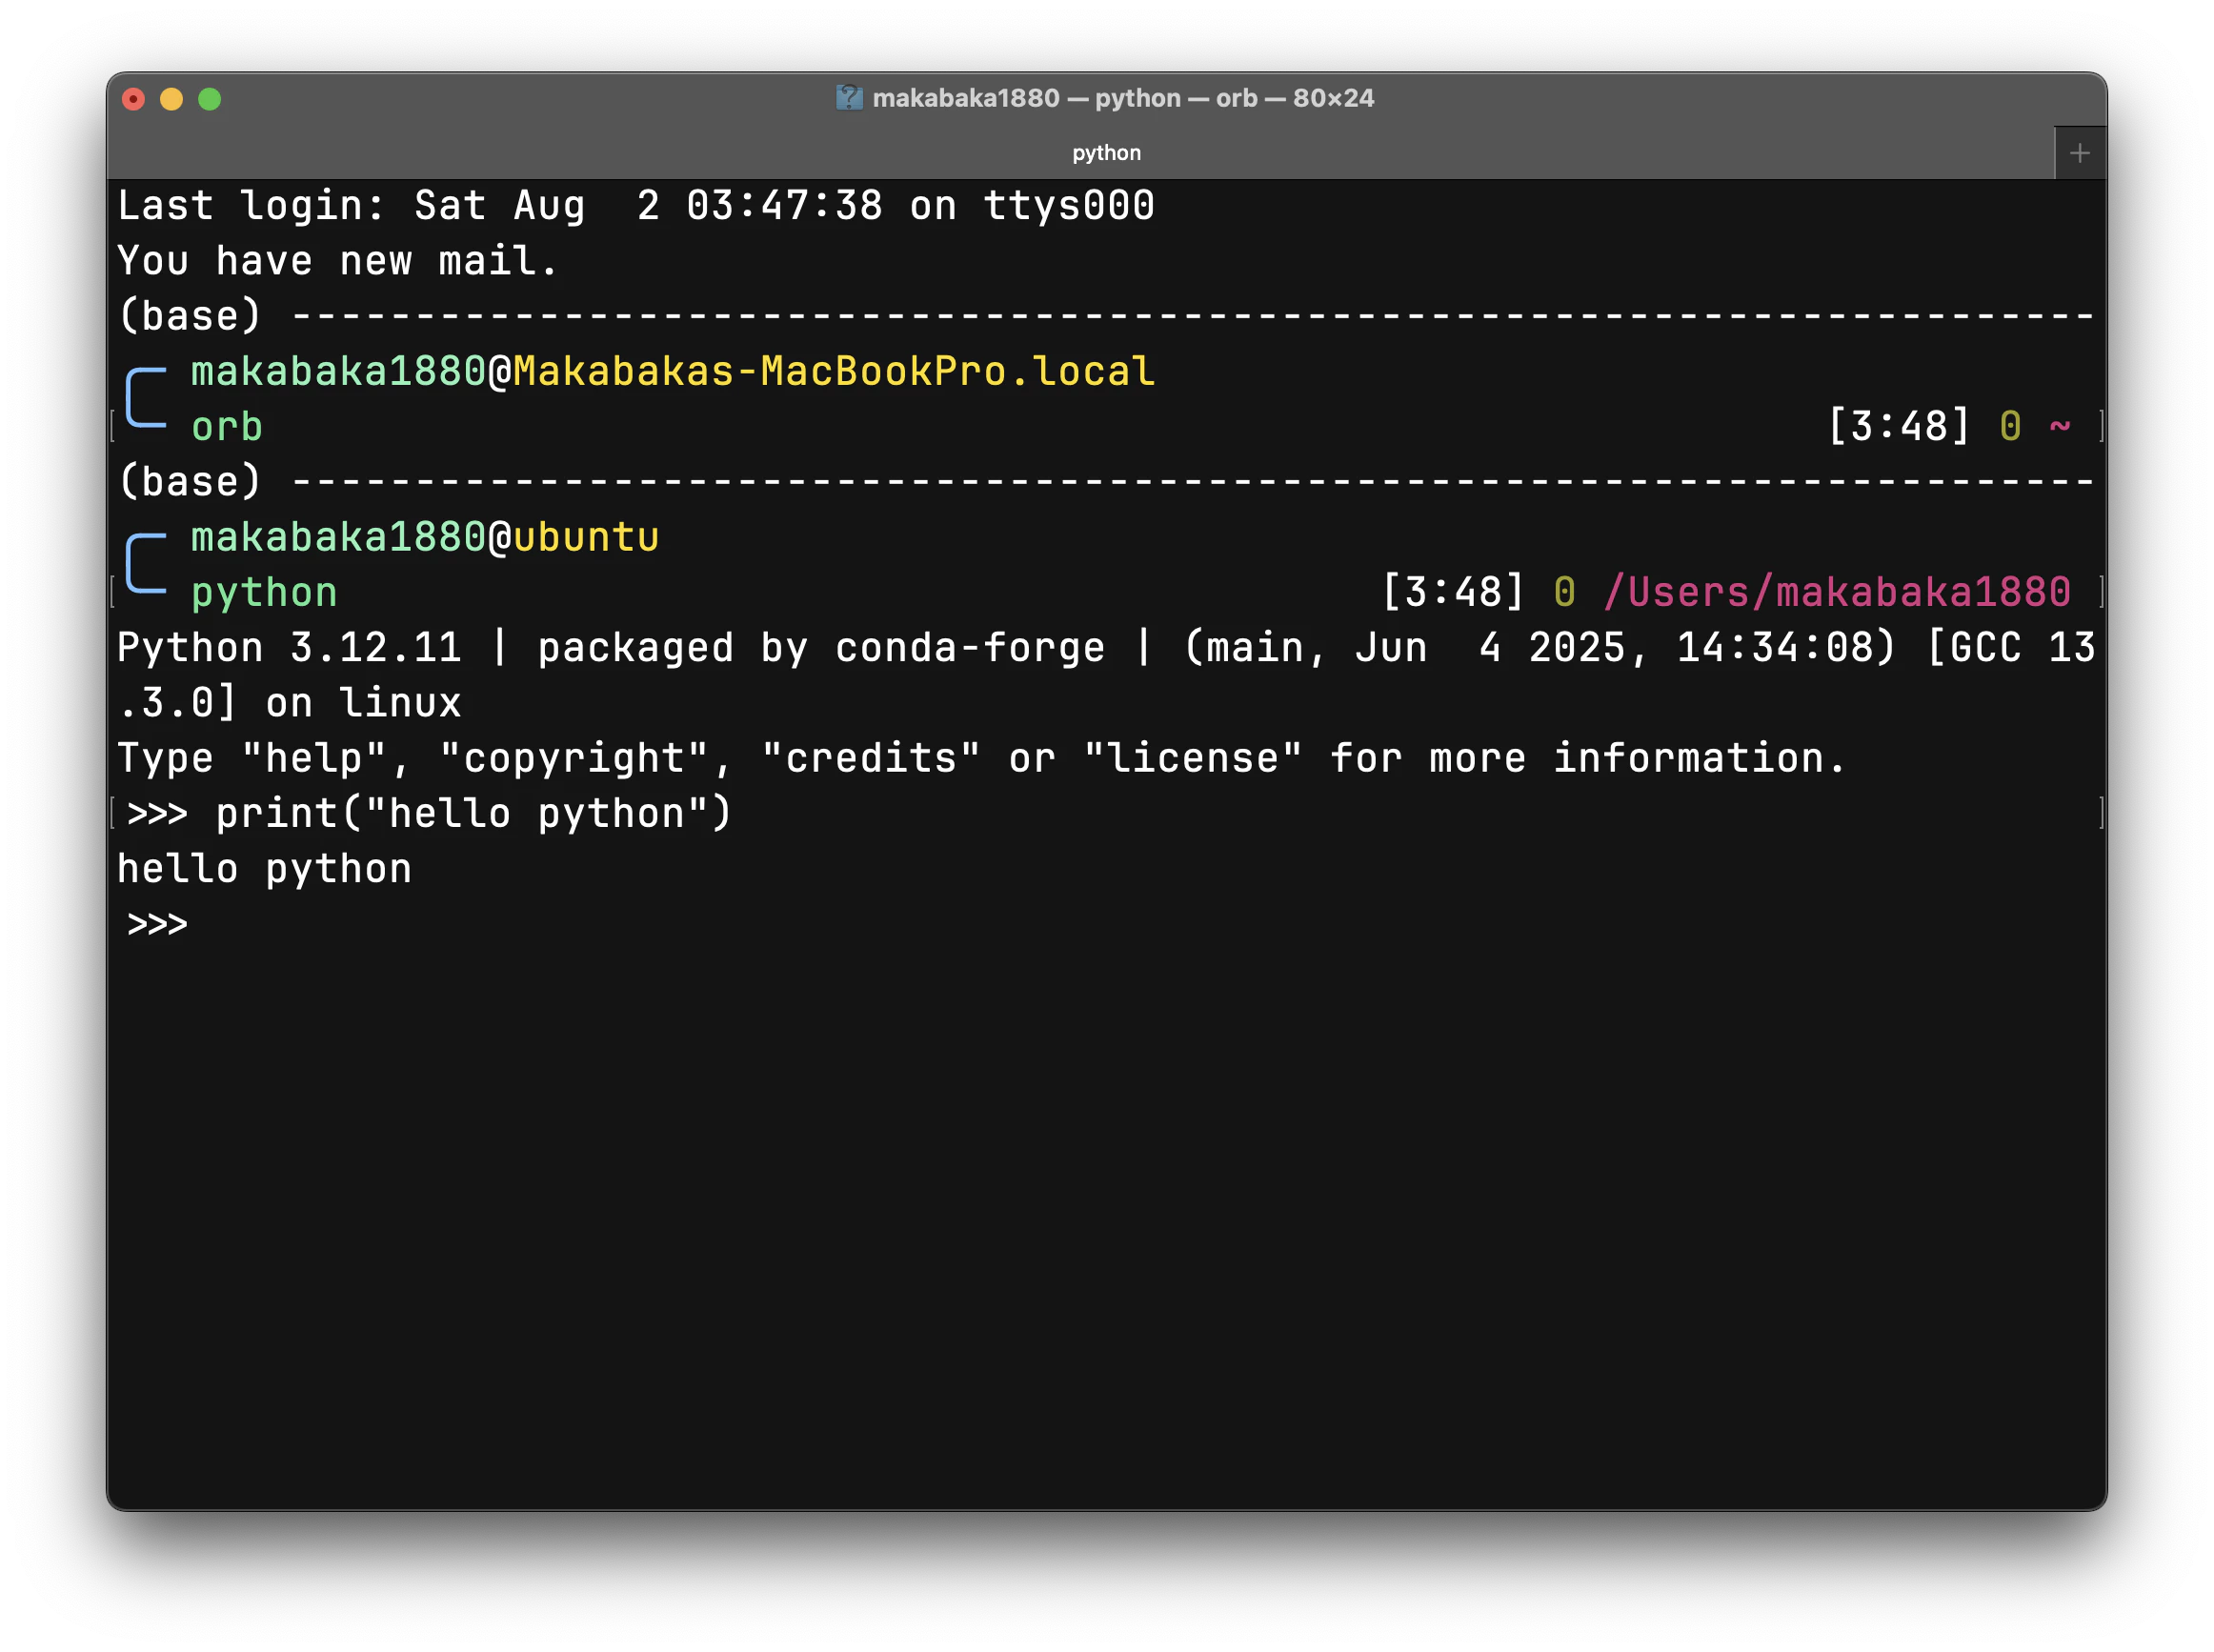
[no] >>> yes然后重启终端就好啦!如果你用的是我的chameleon主题,应该会看到类似下面的提示:
0x03 安装swift环境
Swift的安装就很麻烦了,主页上根本没有直接的入口,好不容易找到的也不是zsh版本的
https://www.swift.org/install/linux/swiftly/
curl -O https://download.swift.org/swiftly/linux/swiftly-1.0.1-aarch64.tar.gz

# 验证签名(可选)
sudo apt -y install gpg
curl https://www.swift.org/keys/all-keys.asc | gpg --import -
curl -O https://download.swift.org/swiftly/linux/swiftly-1.0.1-aarch64.tar.gz.sig
gpg --verify swiftly-1.0.1-aarch64.tar.gz.sig swiftly-1.0.1-aarch64.tar.gz

# 解压安装
tar -xzf swiftly-1.0.1-aarch64.tar.gz
./swiftly init
然后一路y yes 回车,中间可能会问你在什么平台上,
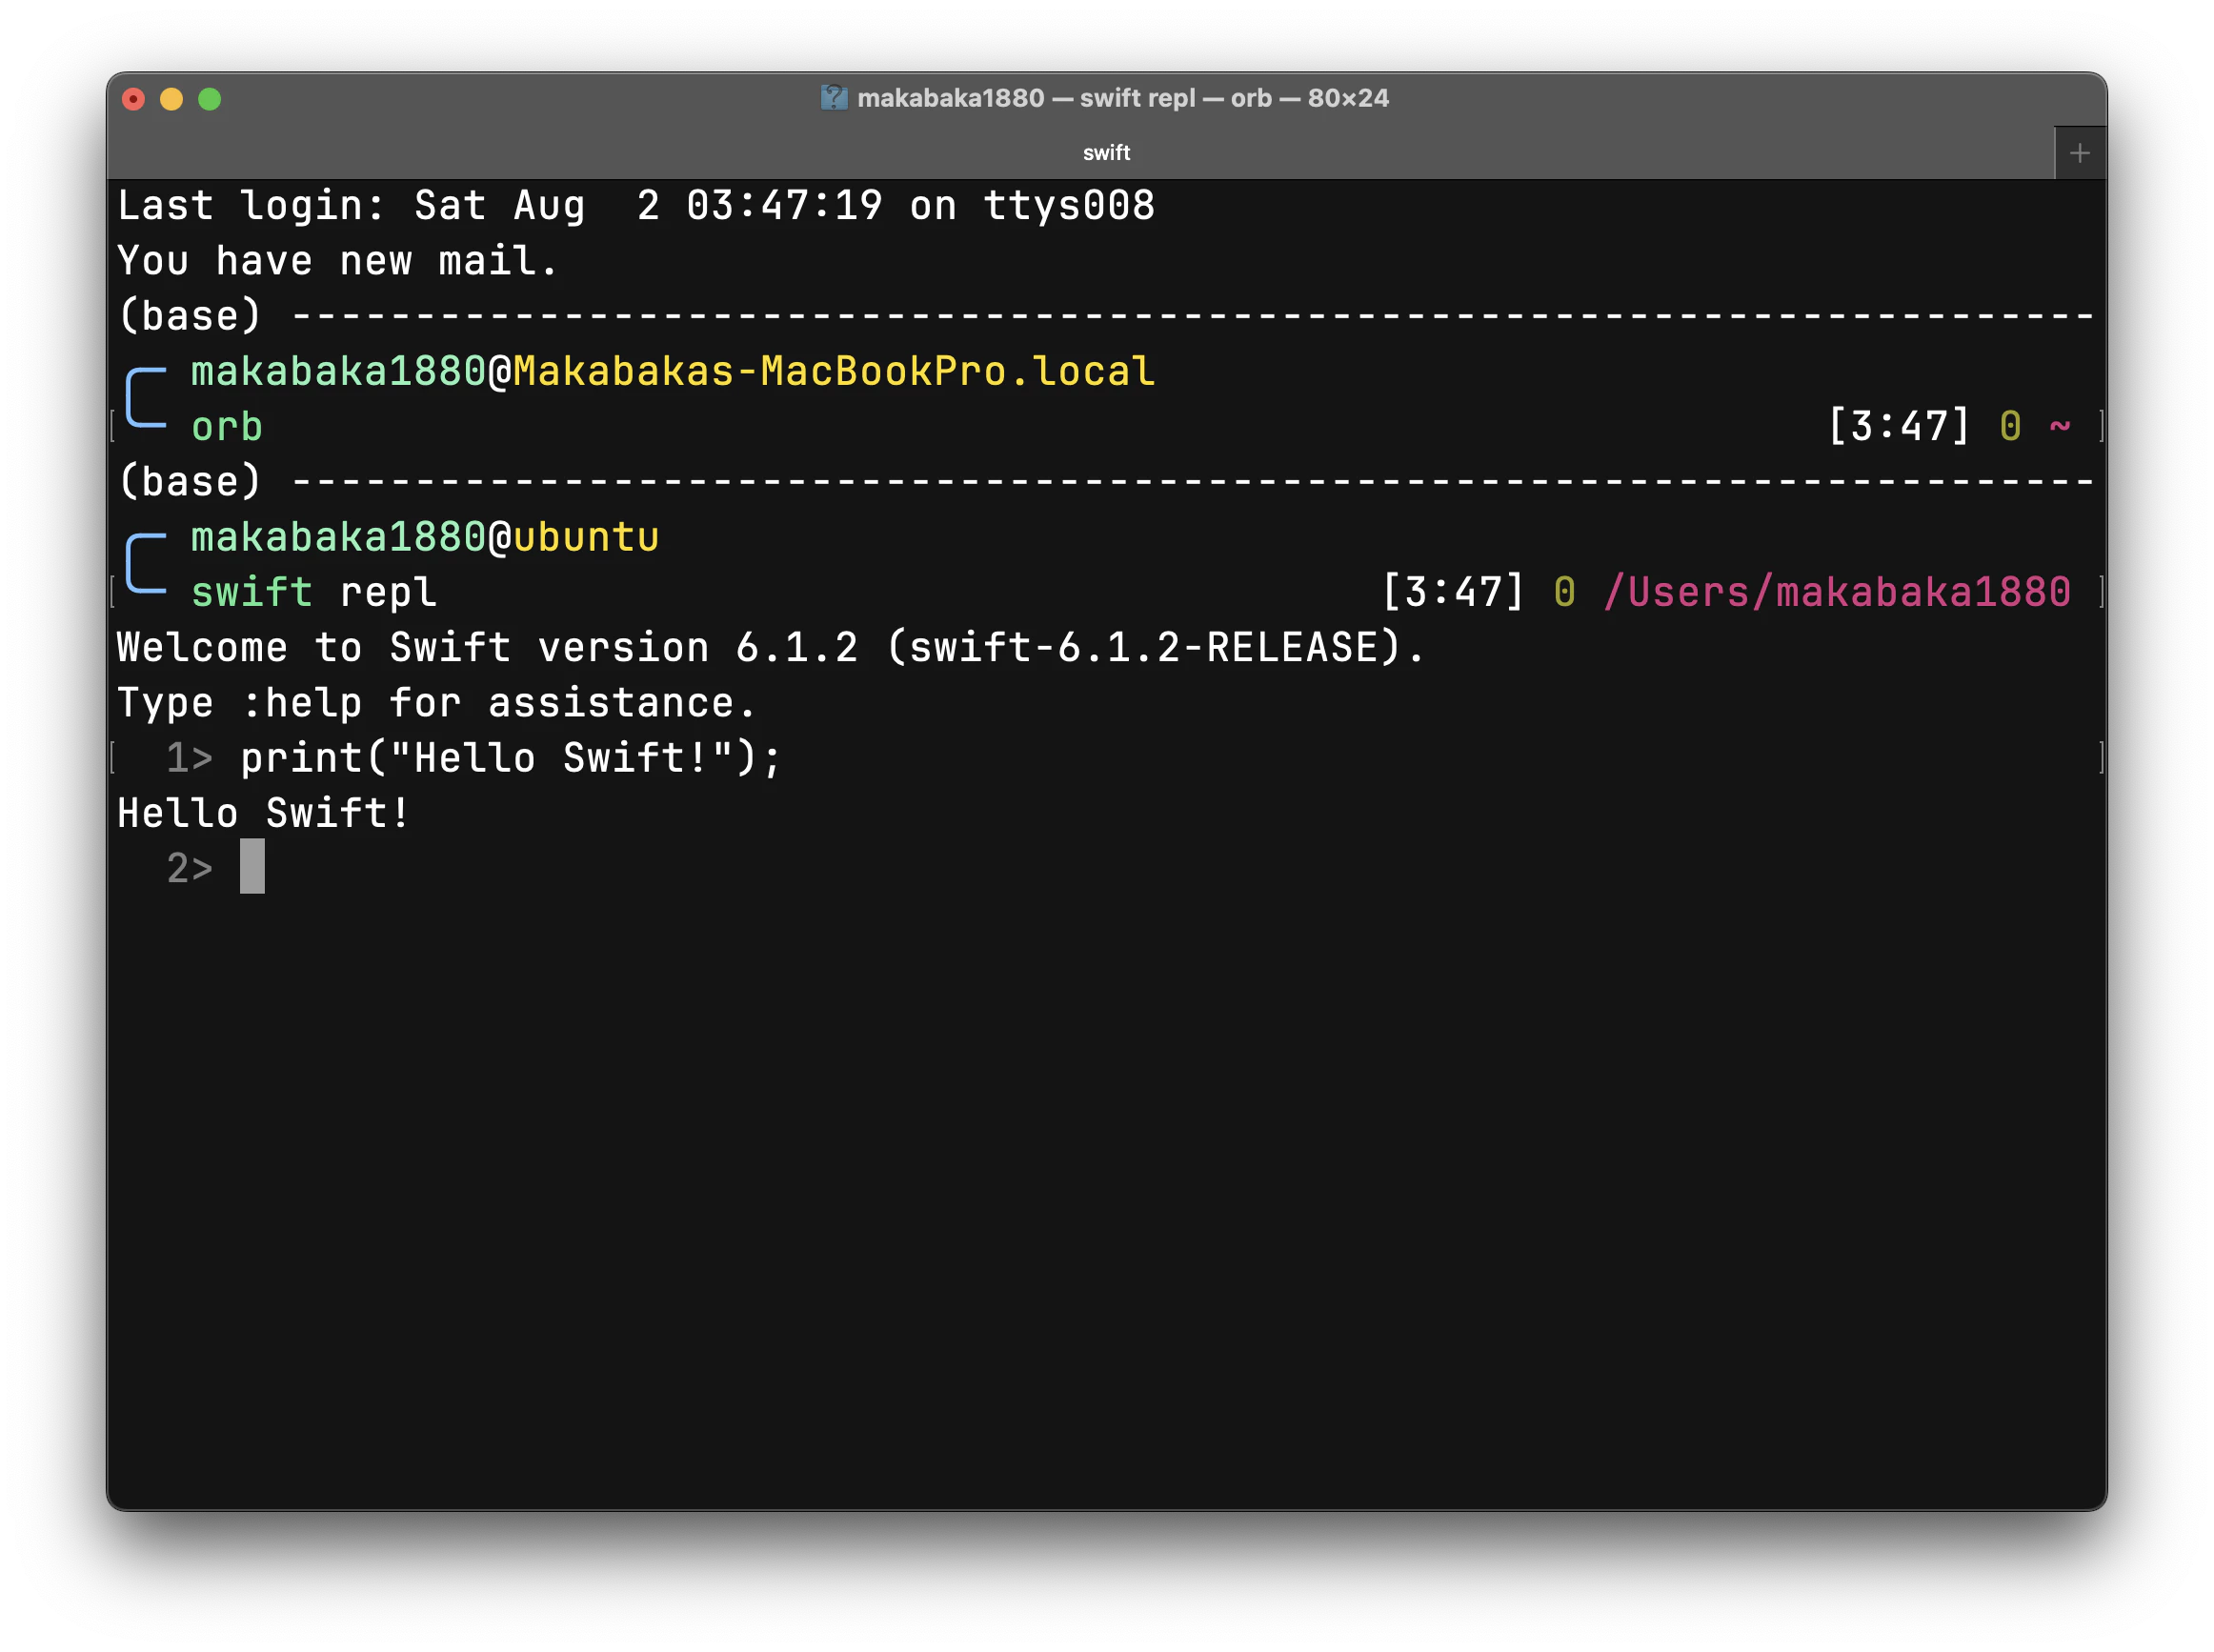
接下来根据swiftly给的提示装dependency,比如我的就让我
sudo apt -y install binutils unzip gnupg2 libc6-dev libcurl4-openssl-dev libgcc-13-dev libpython3-dev libstdc++-13-dev libxml2-dev libncurses-dev libz3-dev pkg-config zlib1g-dev然后就好啦!
0x04 安装Rust环境
Rust的安装就简单多了,直接用官方的脚本就行了
curl --proto '=https' --tlsv1.2 -sSf https://sh.rustup.rs | sh然后一路回车就行了
0x05 安装Node.js环境
Node.js的安装也很简单,直接用nvm就行了
curl -o- https://raw.githubusercontent.com/nvm-sh/nvm/v0.40.3/install.sh | bash # 安装nvm
nvm install --lts # 安装最新的LTS版本
nvm use --lts # 使用最新的LTS版本
nvm alias default node # 设置默认版本为最新的LTS版本
然后再装上pnpm
corepack enable pnpm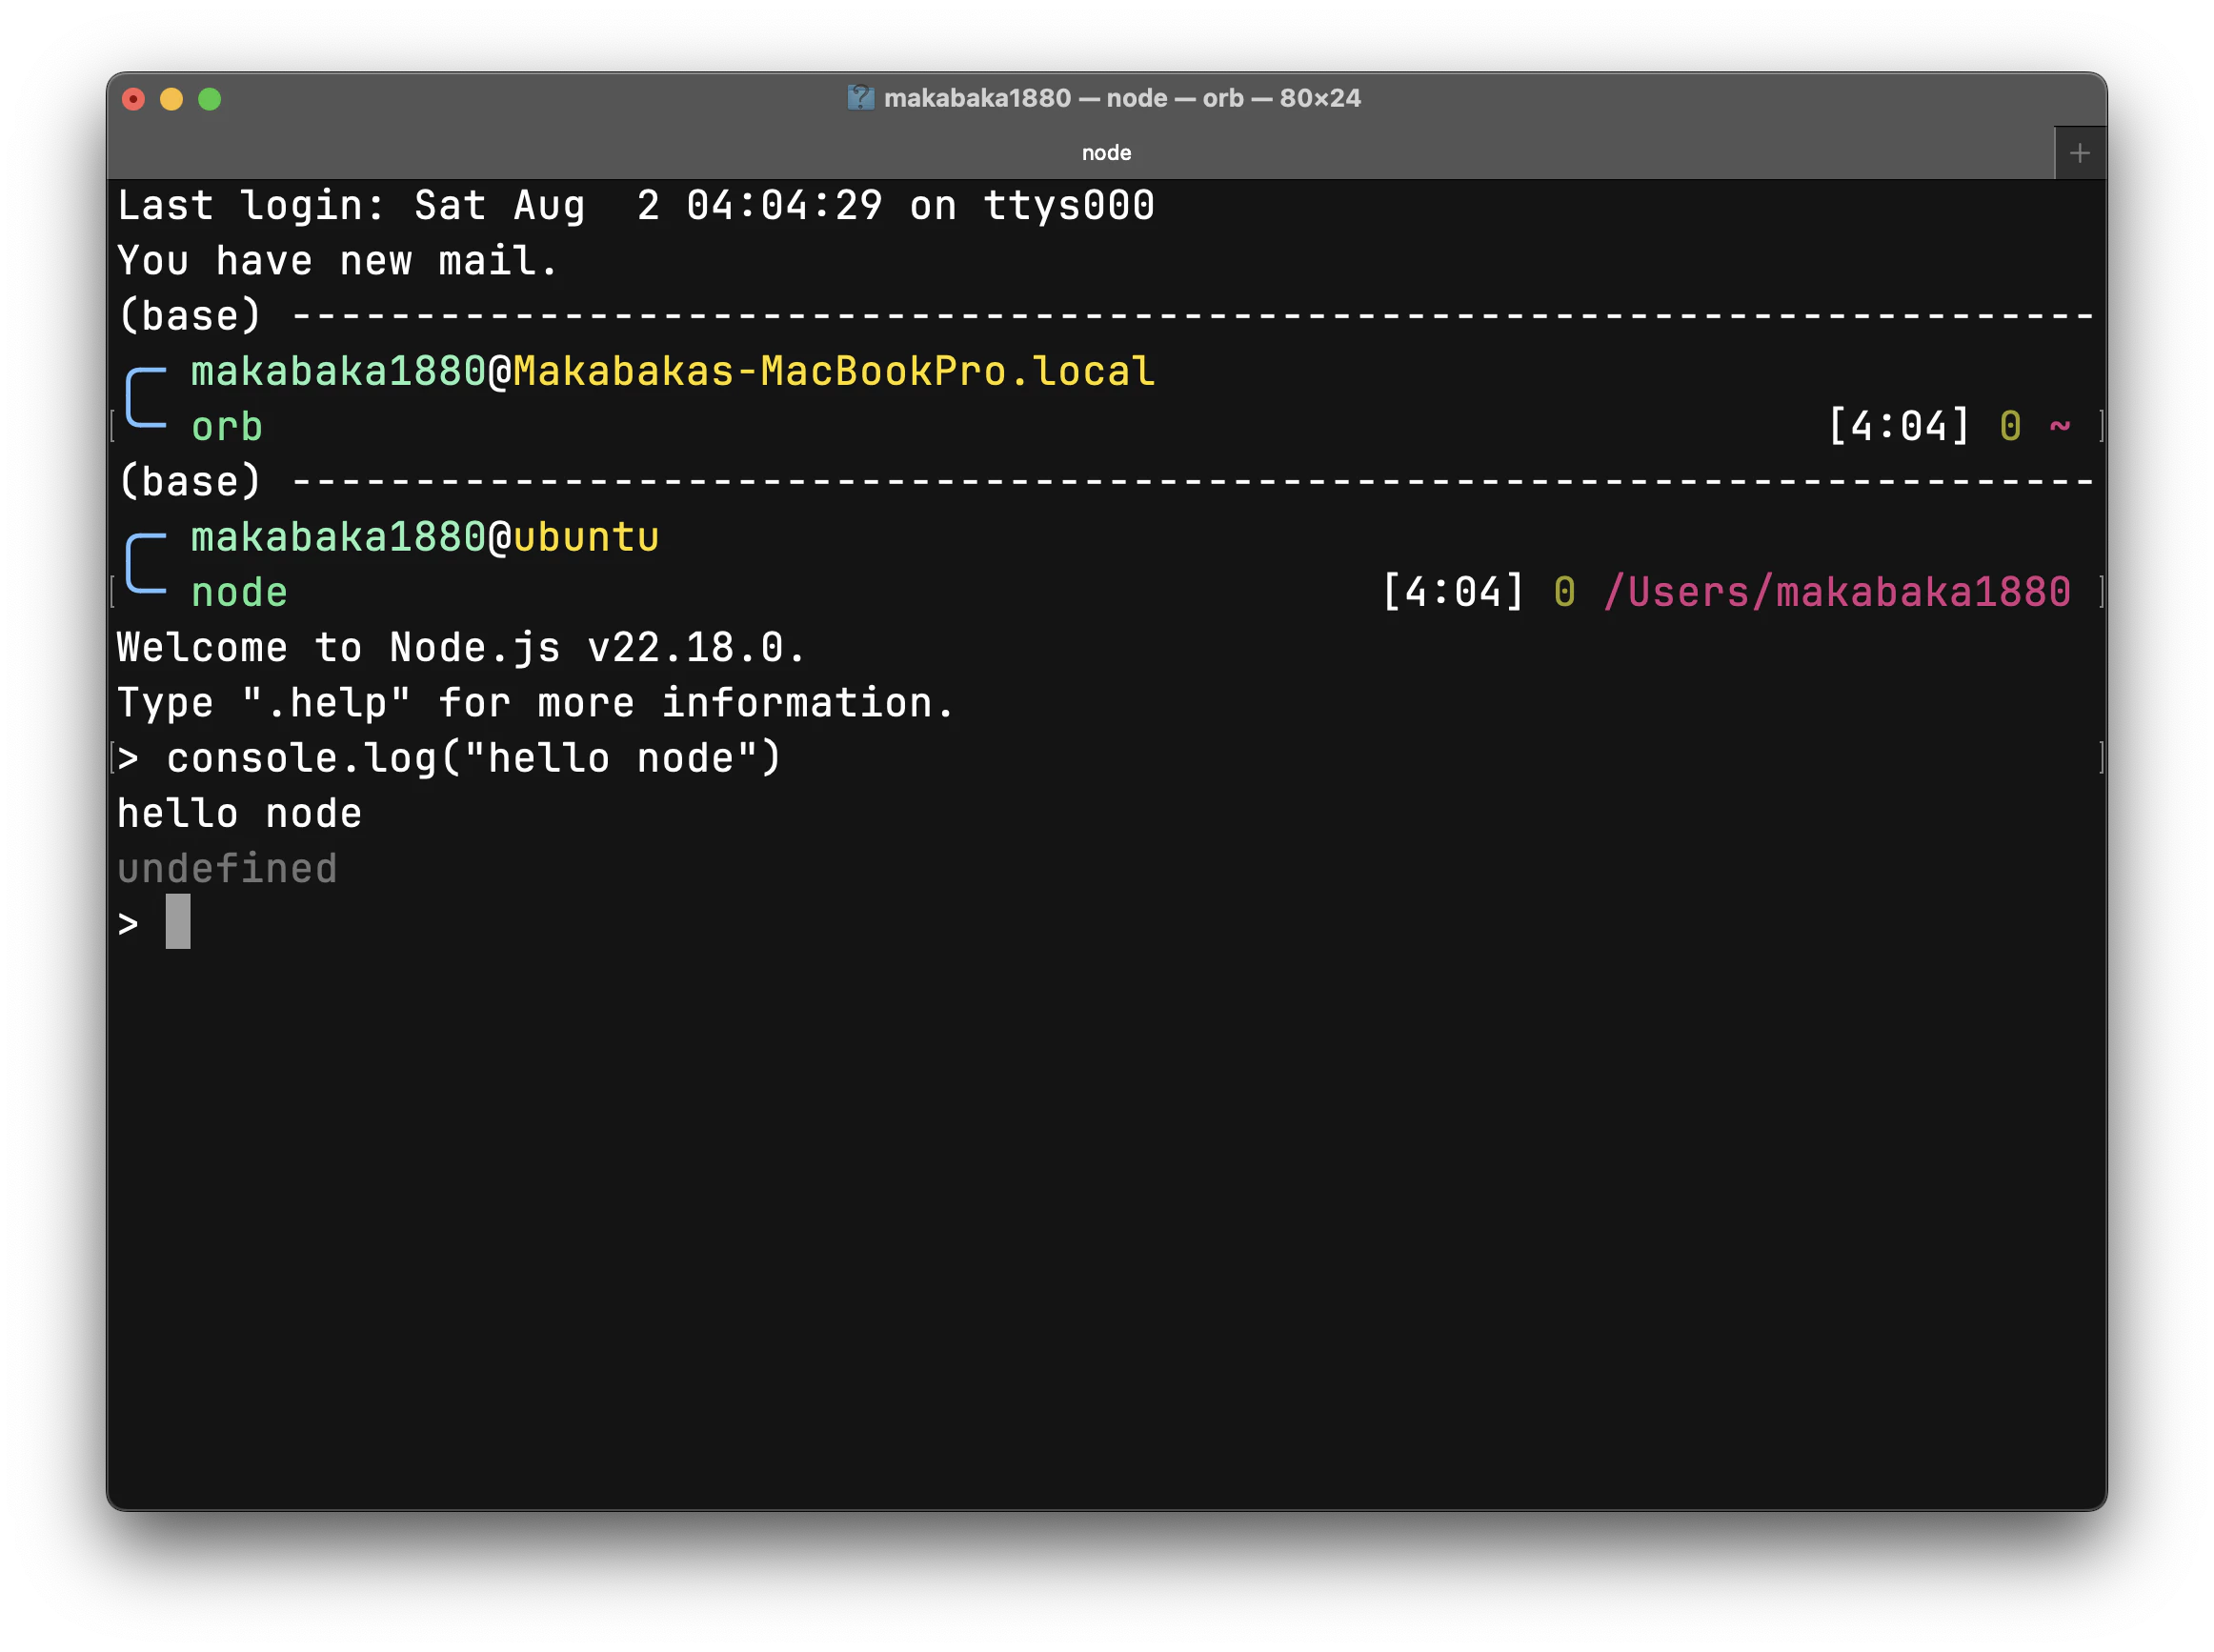
后续继续更