Blender Simulations
Blender Simulations
Caution
Localization in progress
It is known widely that blender is a very versatile and capable 3D software in moviemaking. And due to the fact that it is in fact open-sourced, we can do sims and write code just like in Houdini!
0. Preparations
0x00 Get used to the UI
Warning
This doc assumes that the reader is familiar with the basics of blender and py3.
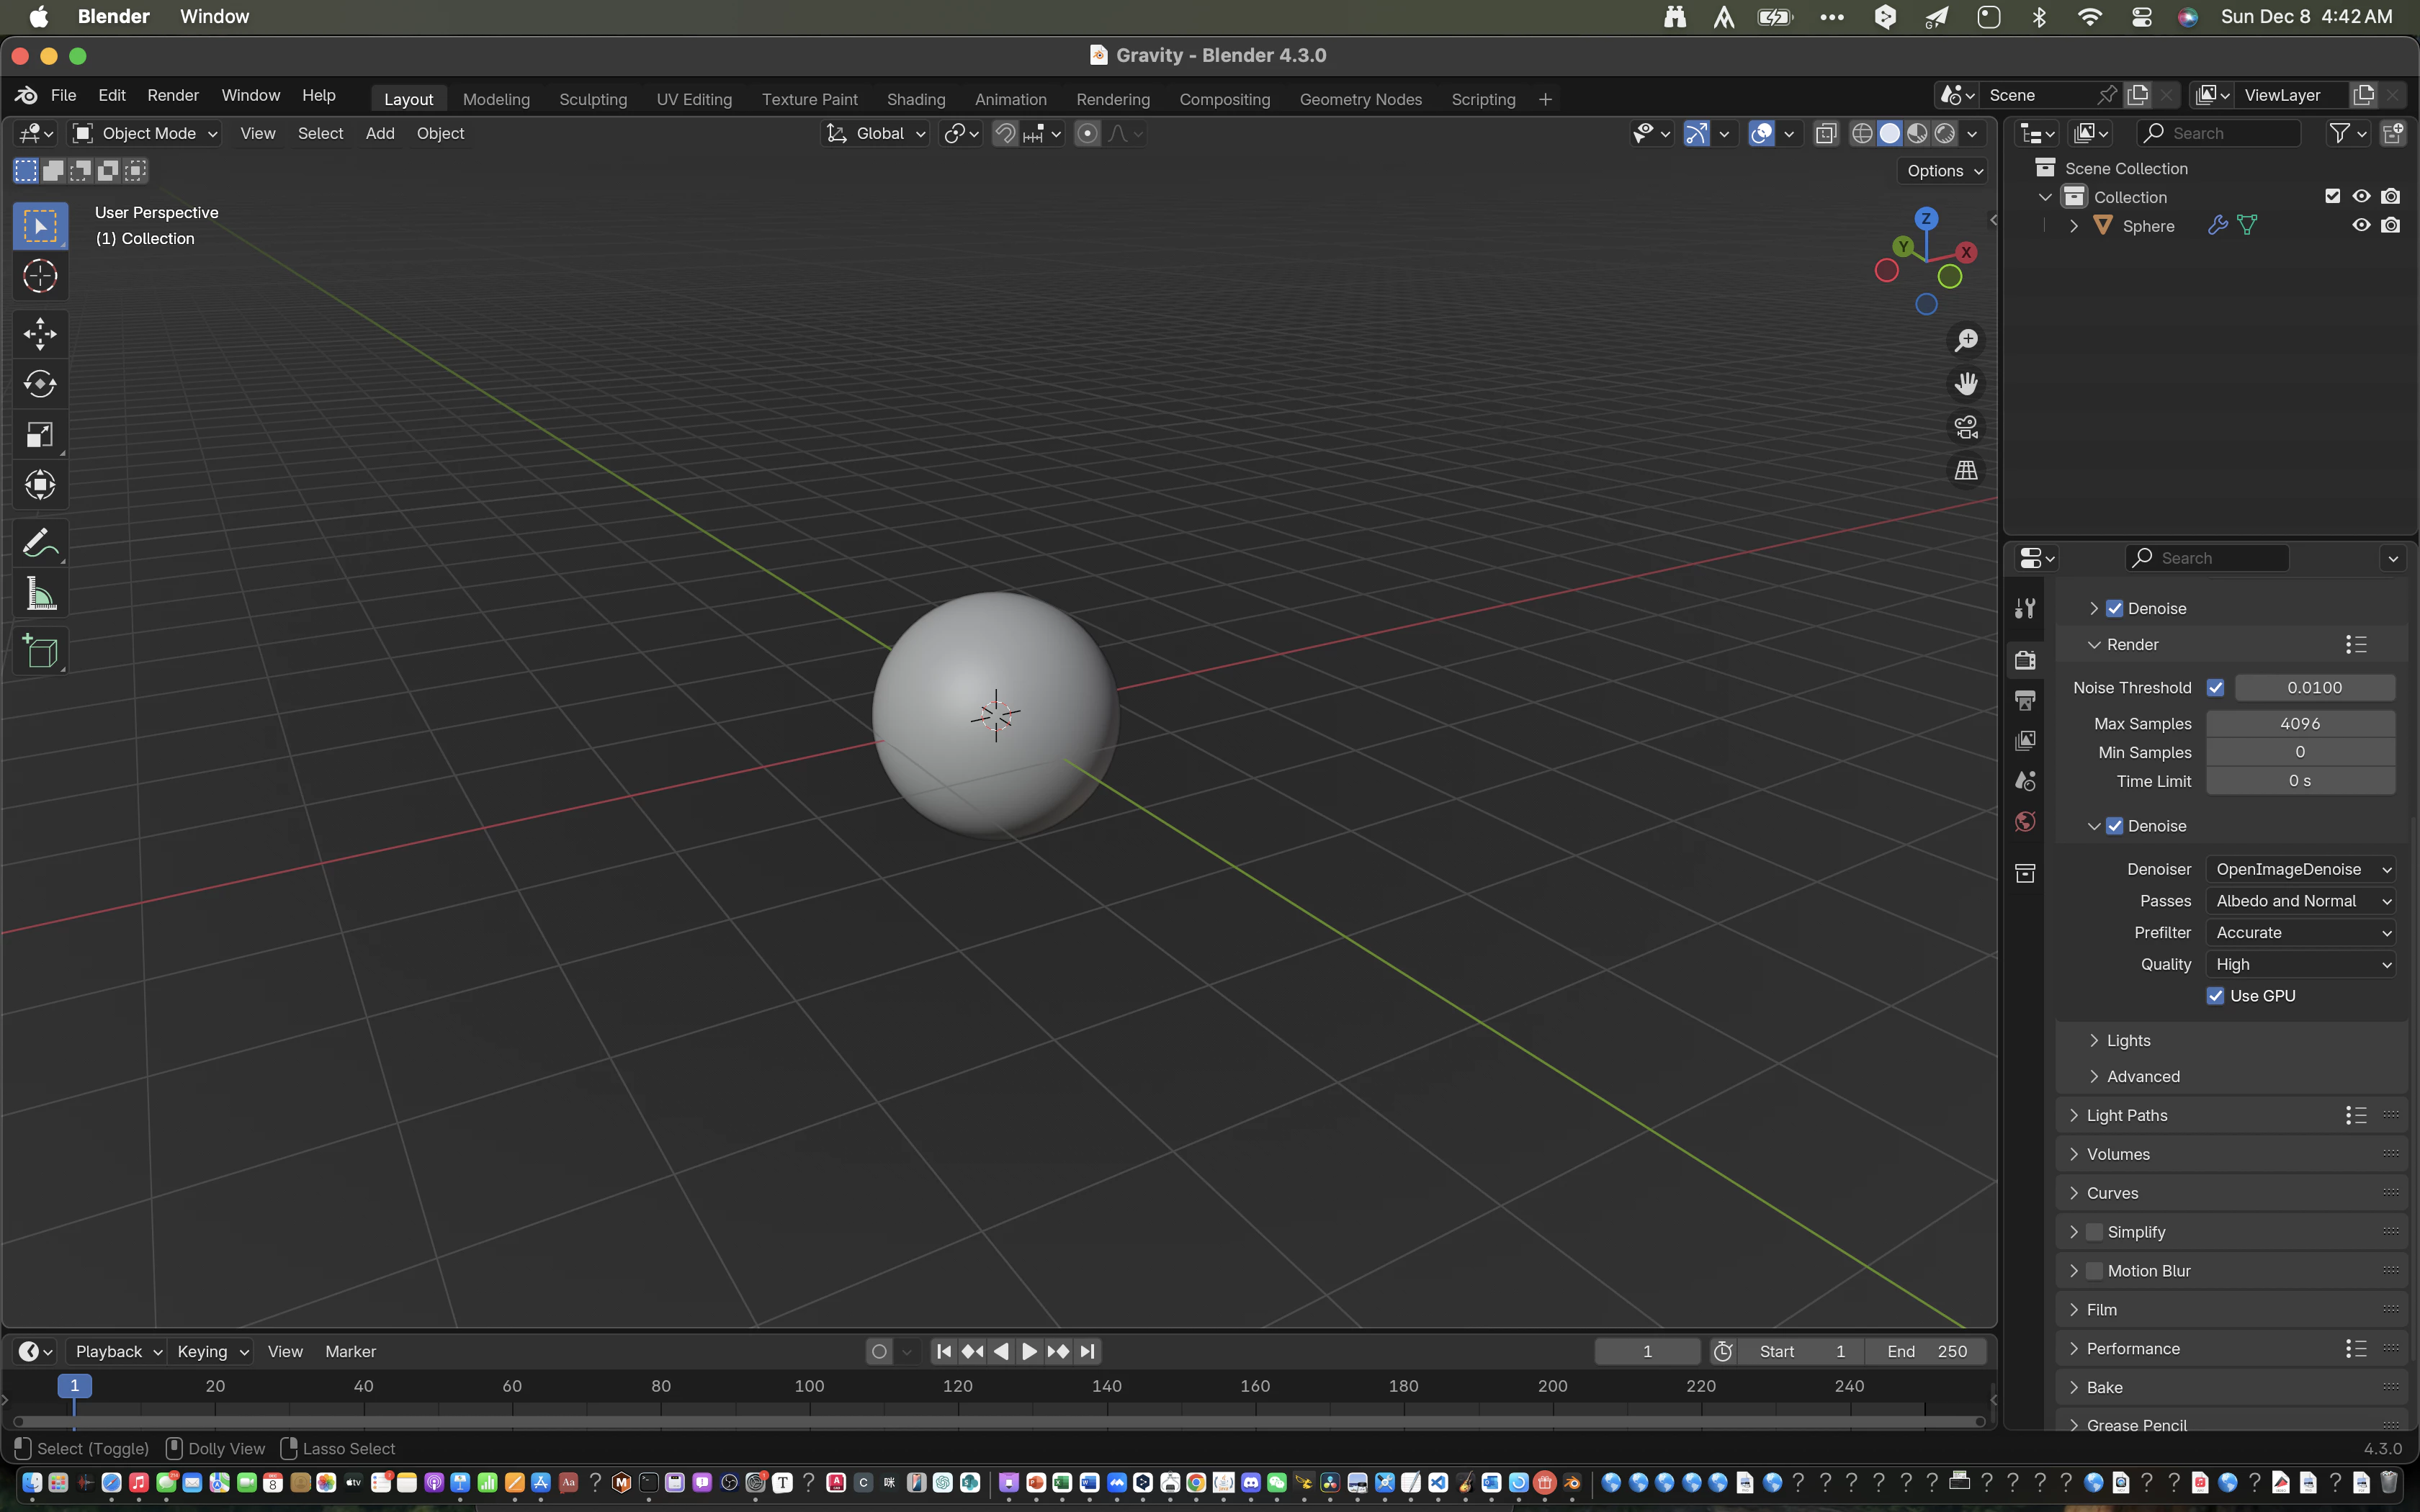
Open a project, pressa xto delete everything, and move to the Scripting tab.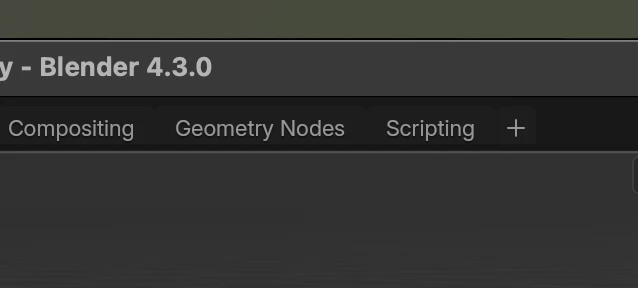
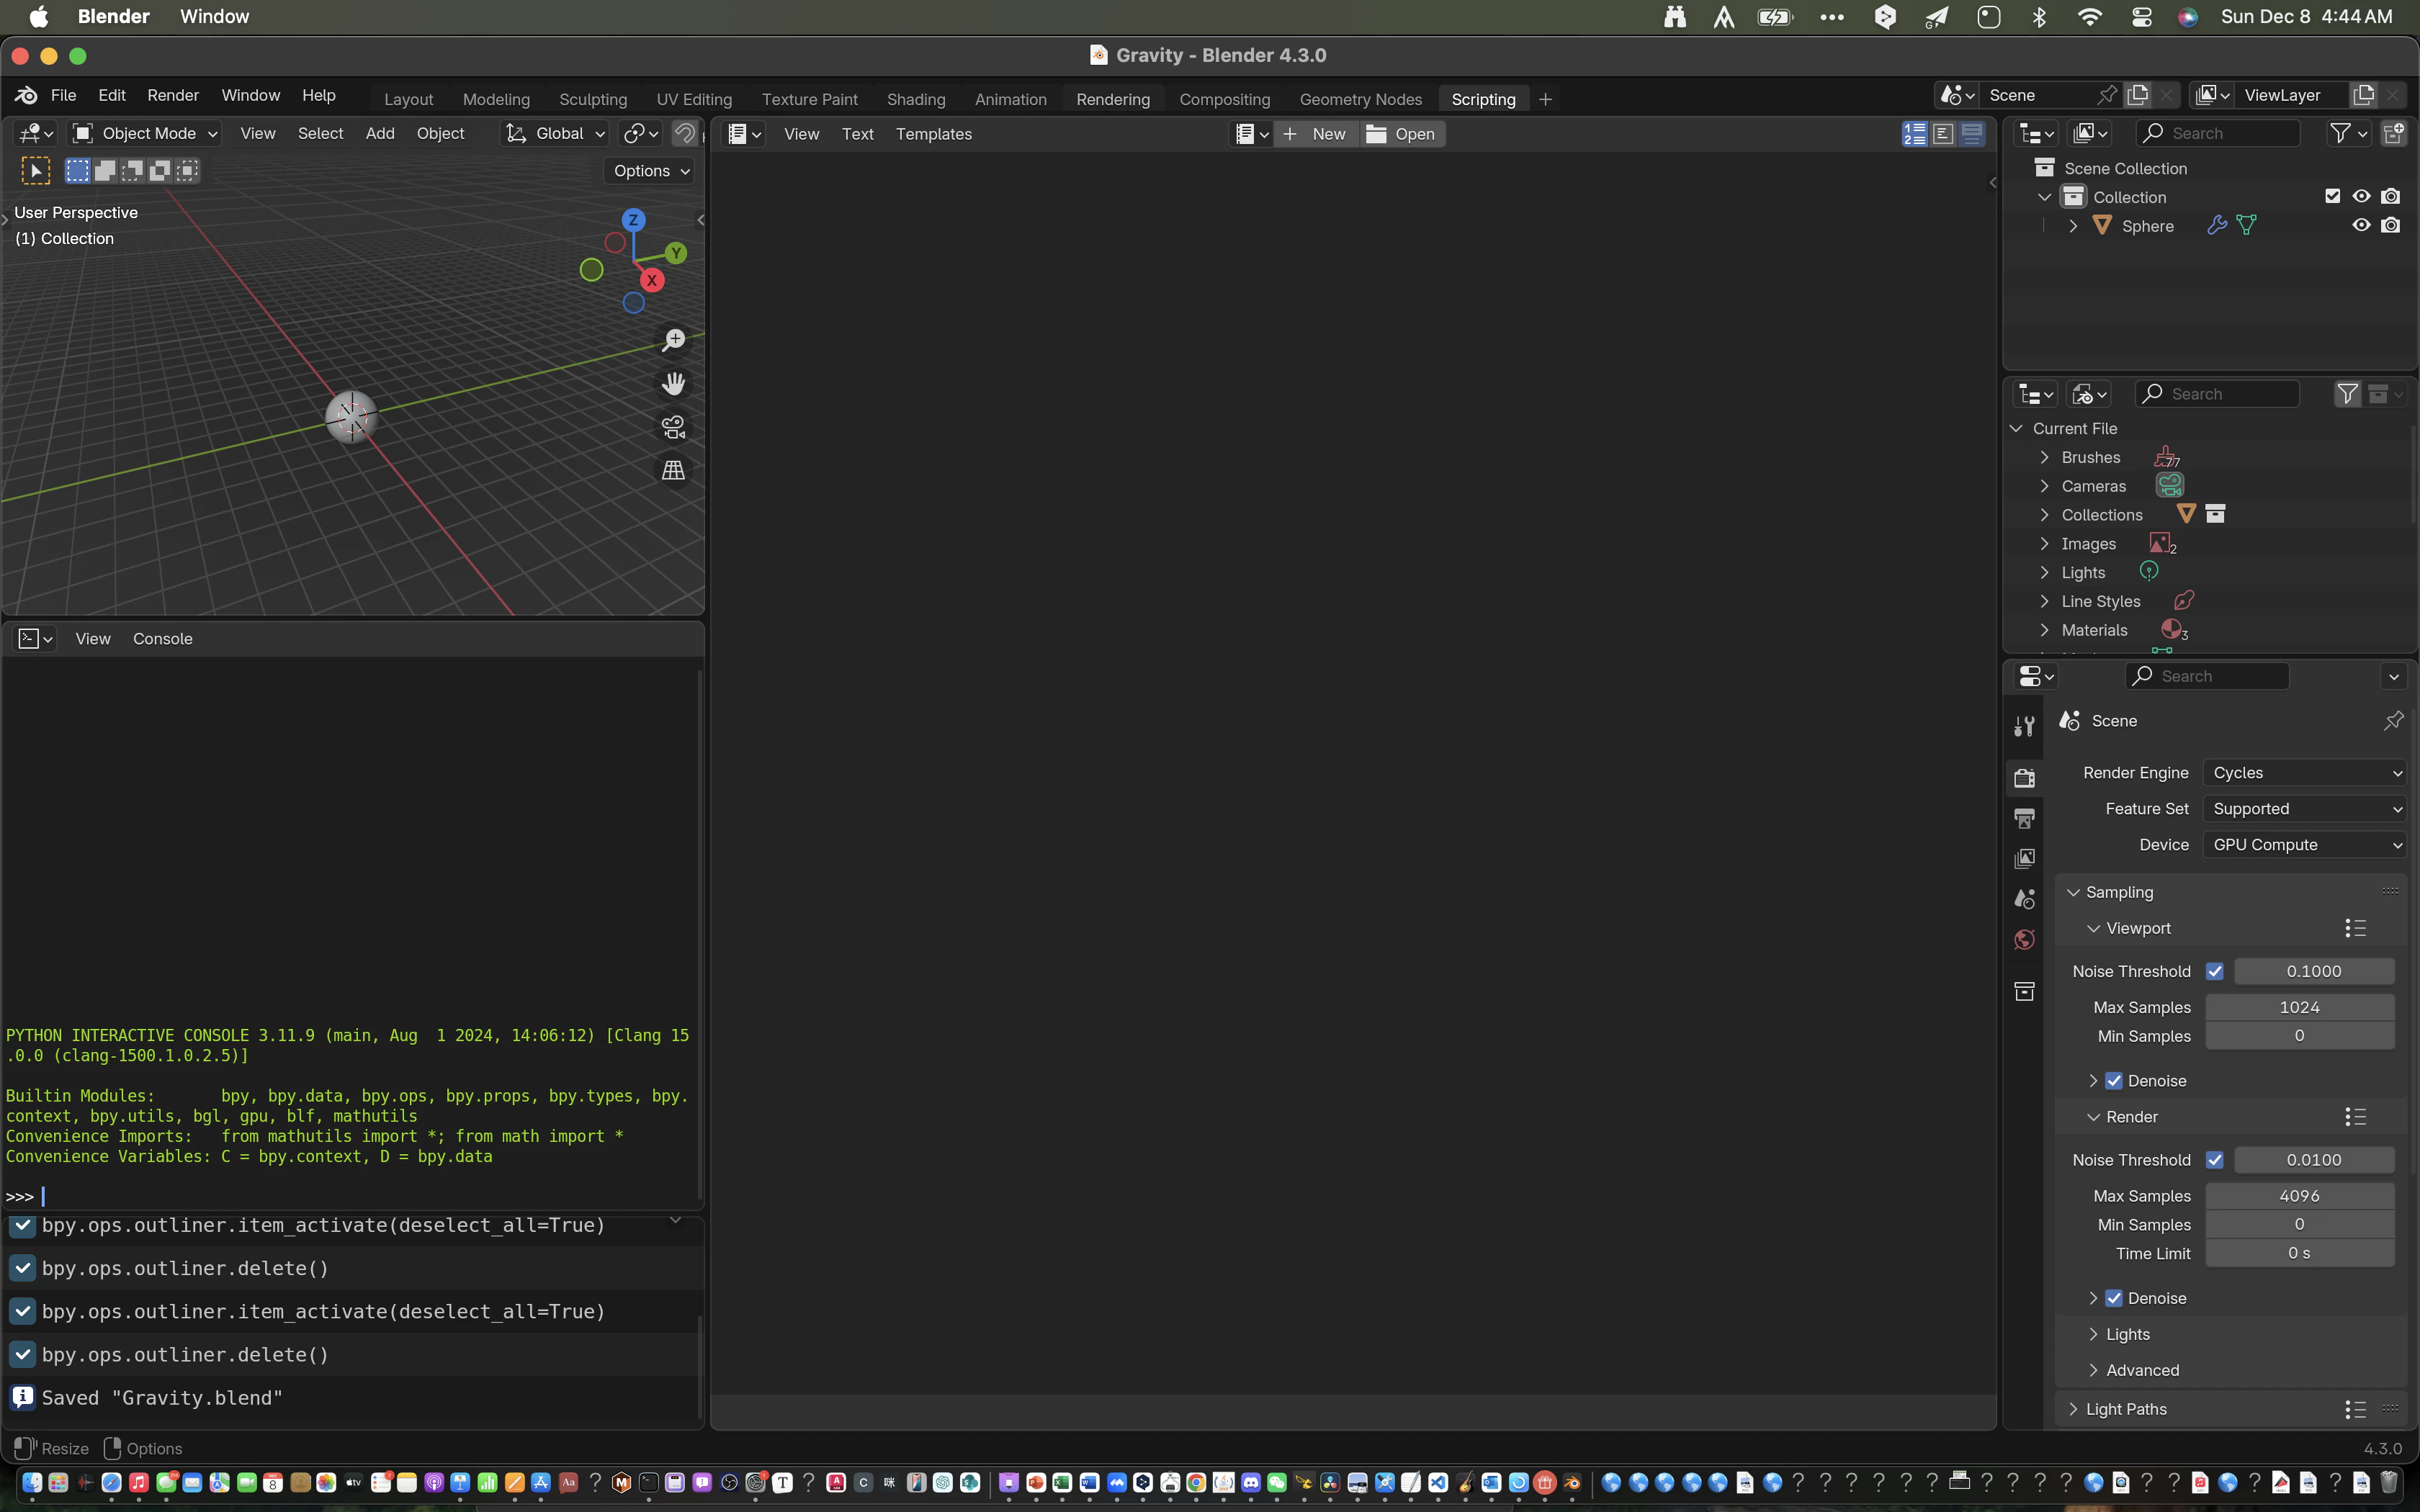
There's a script editor on the right, terminal on the bottom left and 3D viewport on the left
We pressnew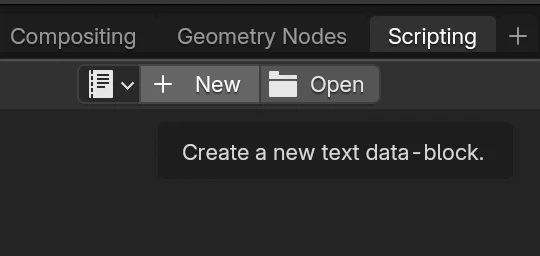
Enter the following code:
import bpy # Import blender py support lib

bpy.ops.mesh.primitive_cube_add() # Create a cube
This is how it looks like after running the script: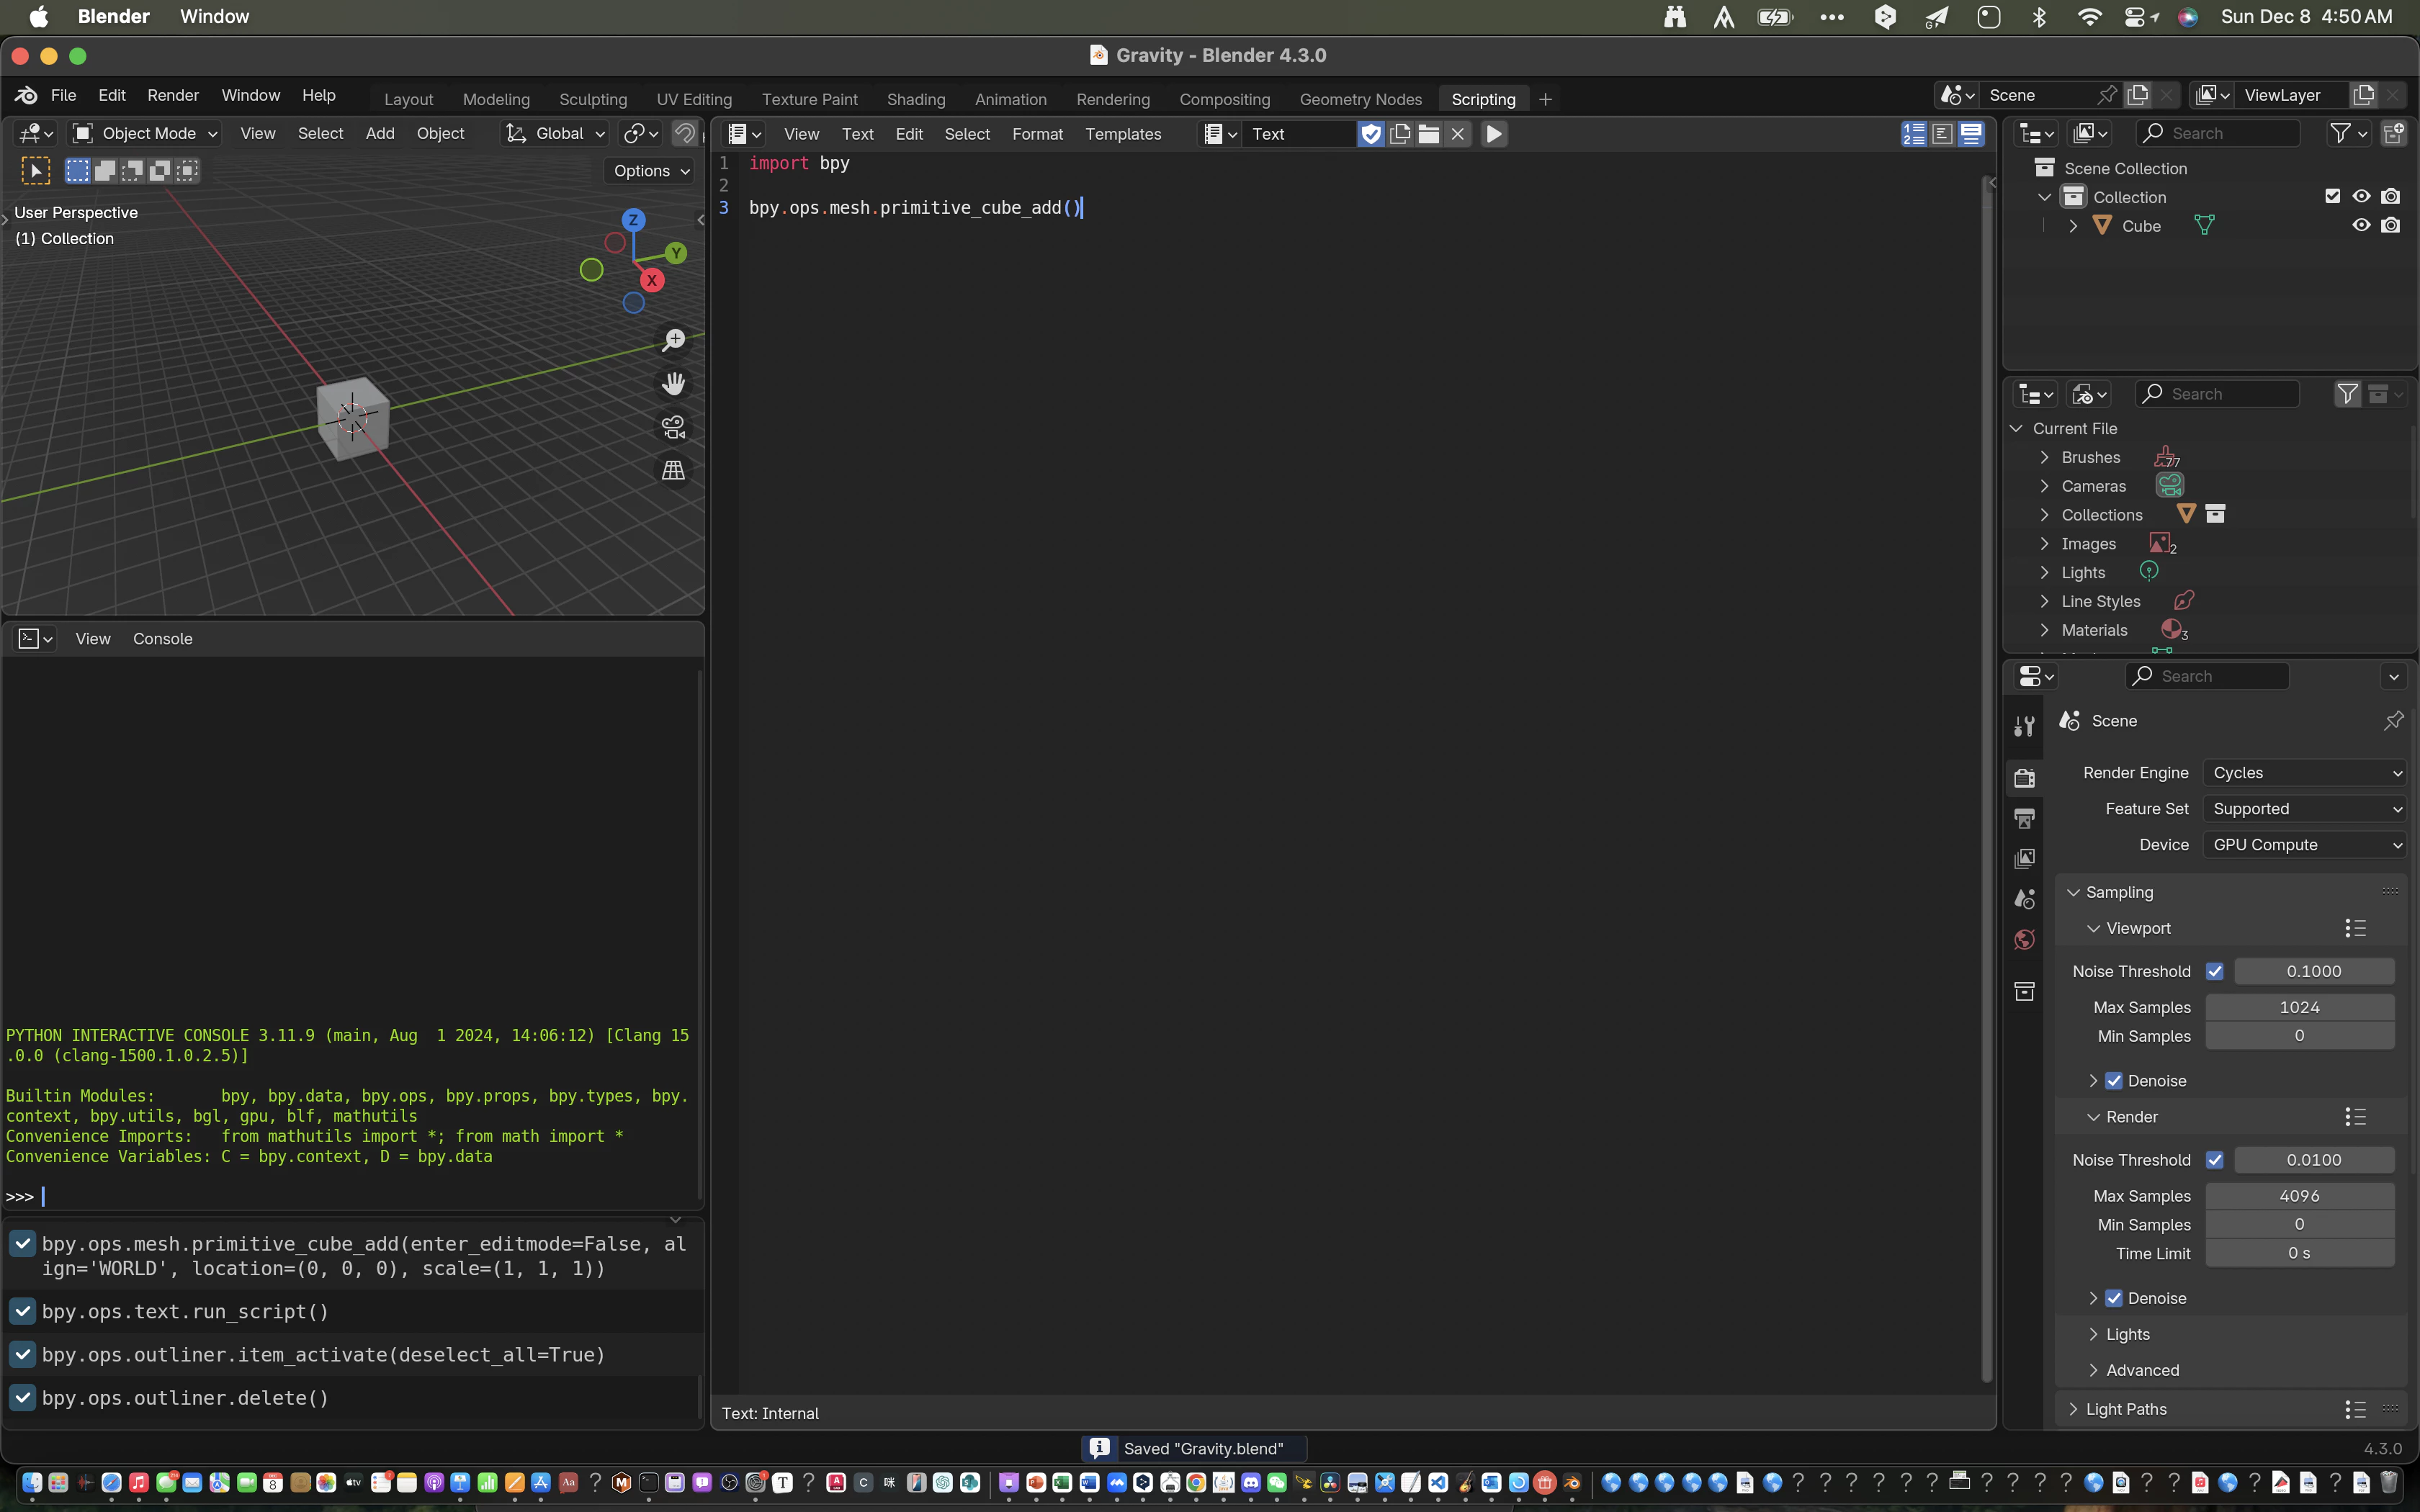
Debug Outputs
We use print often when debugging, but the blender terminal doesn't support outputing user I/Os. Therefore, we would need to come up with sth ourselfs.
For macOS users, opening the blender app directly with the executable will work: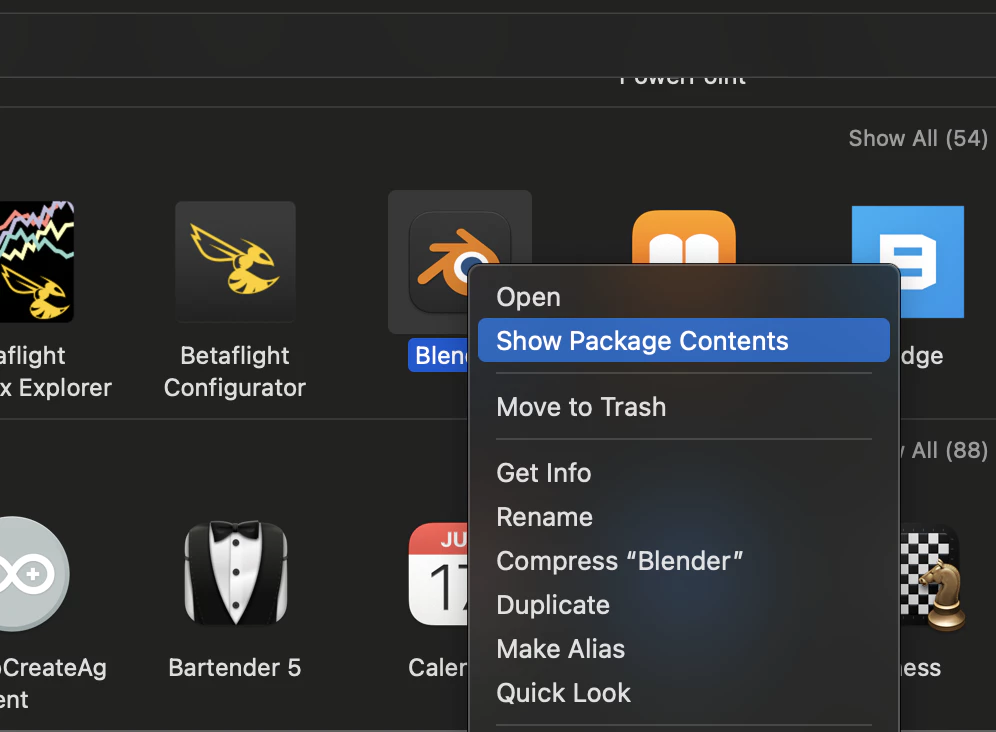
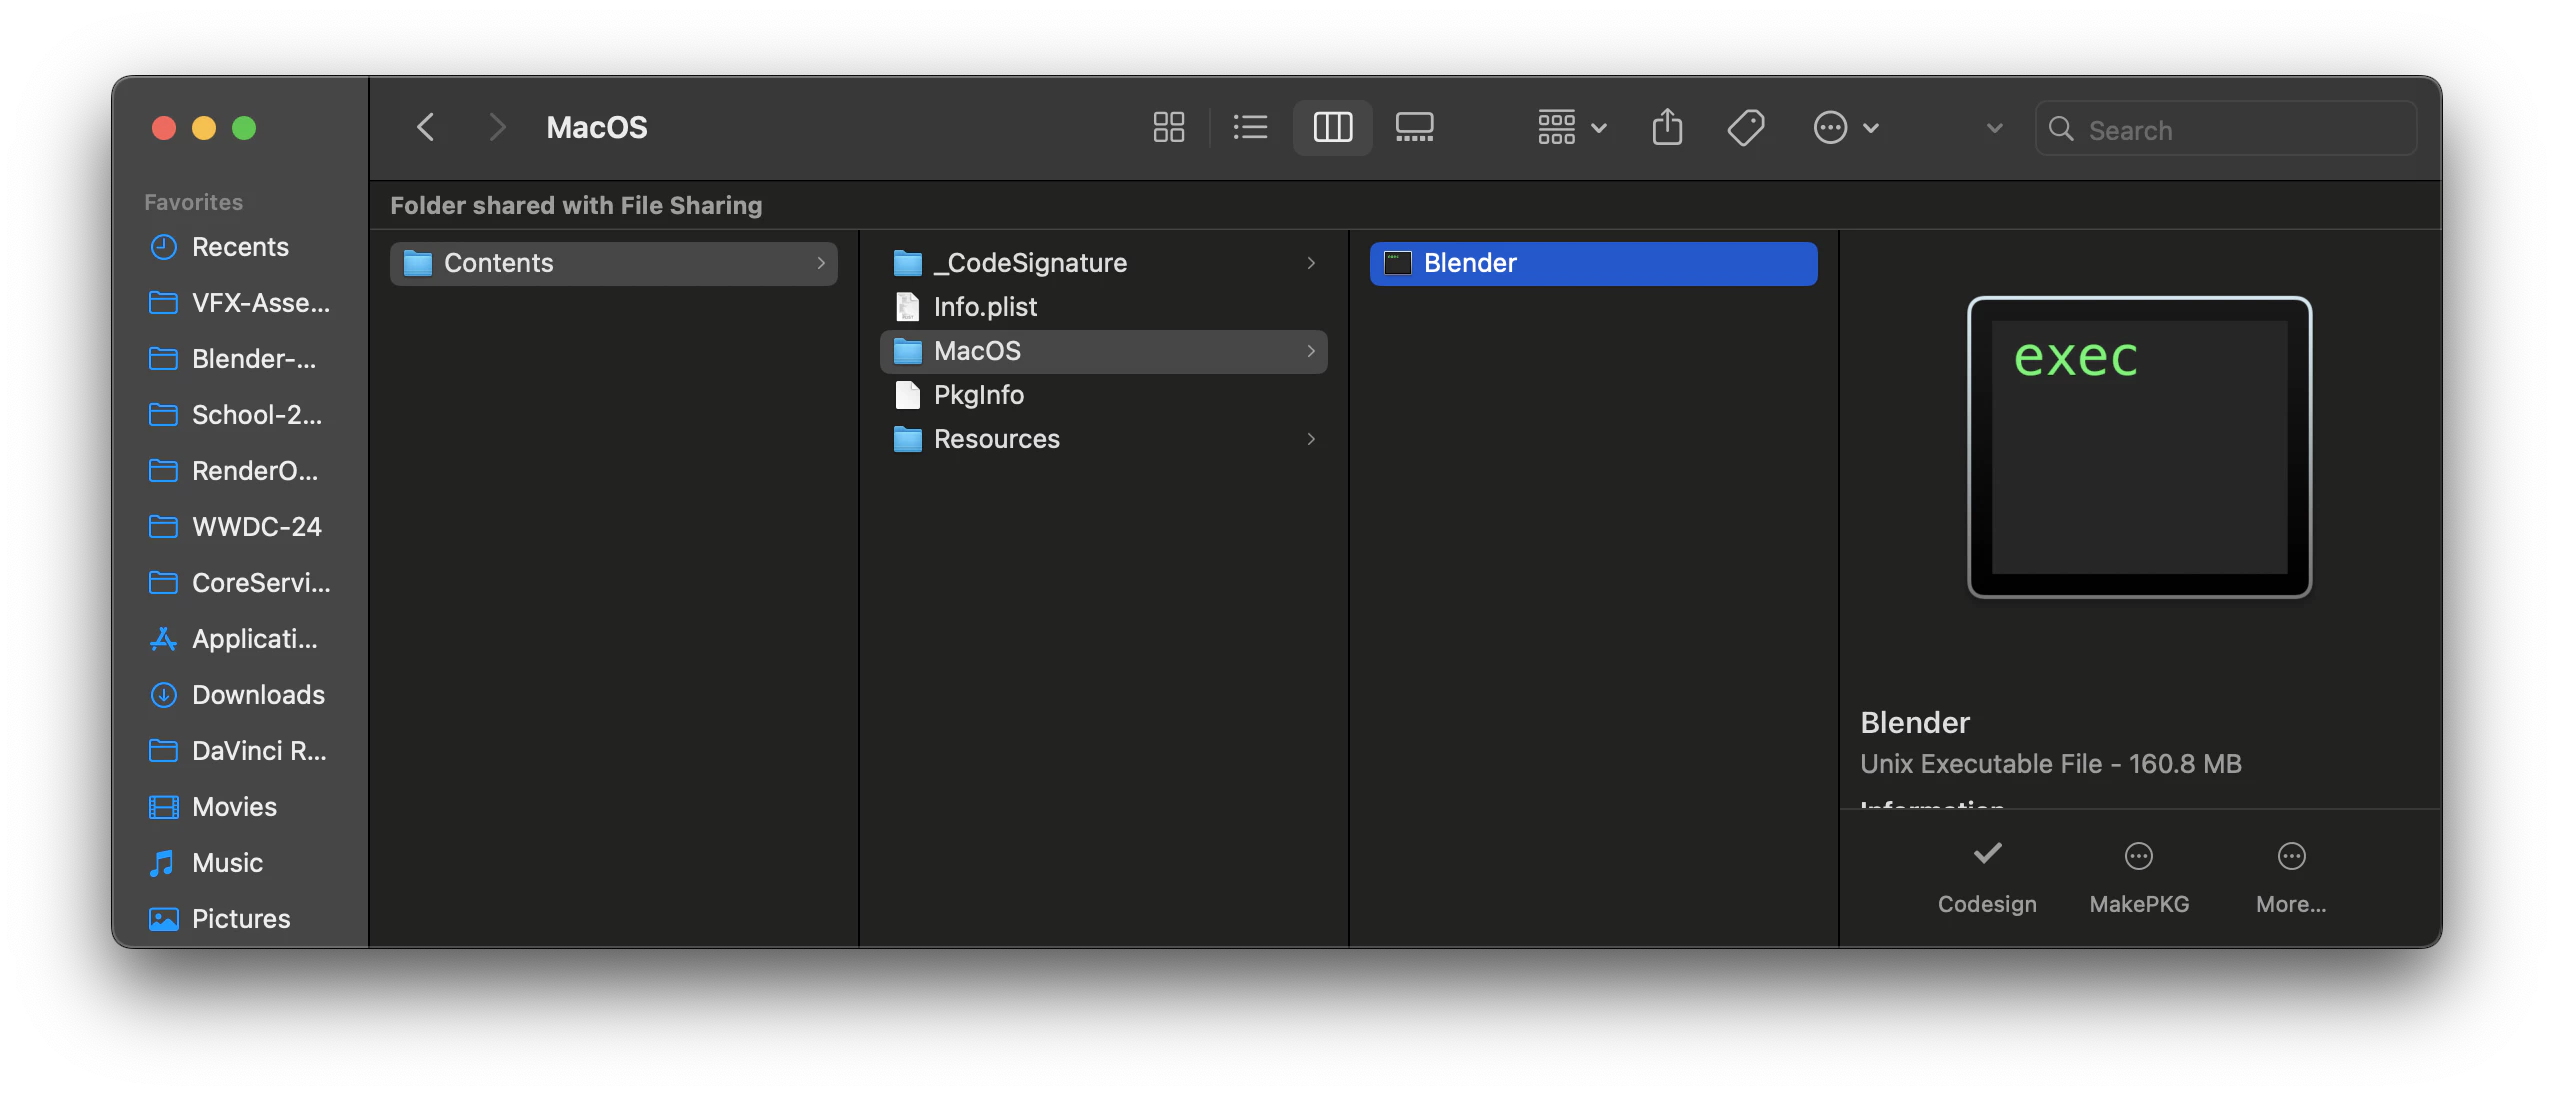
Now we have our debug outputs: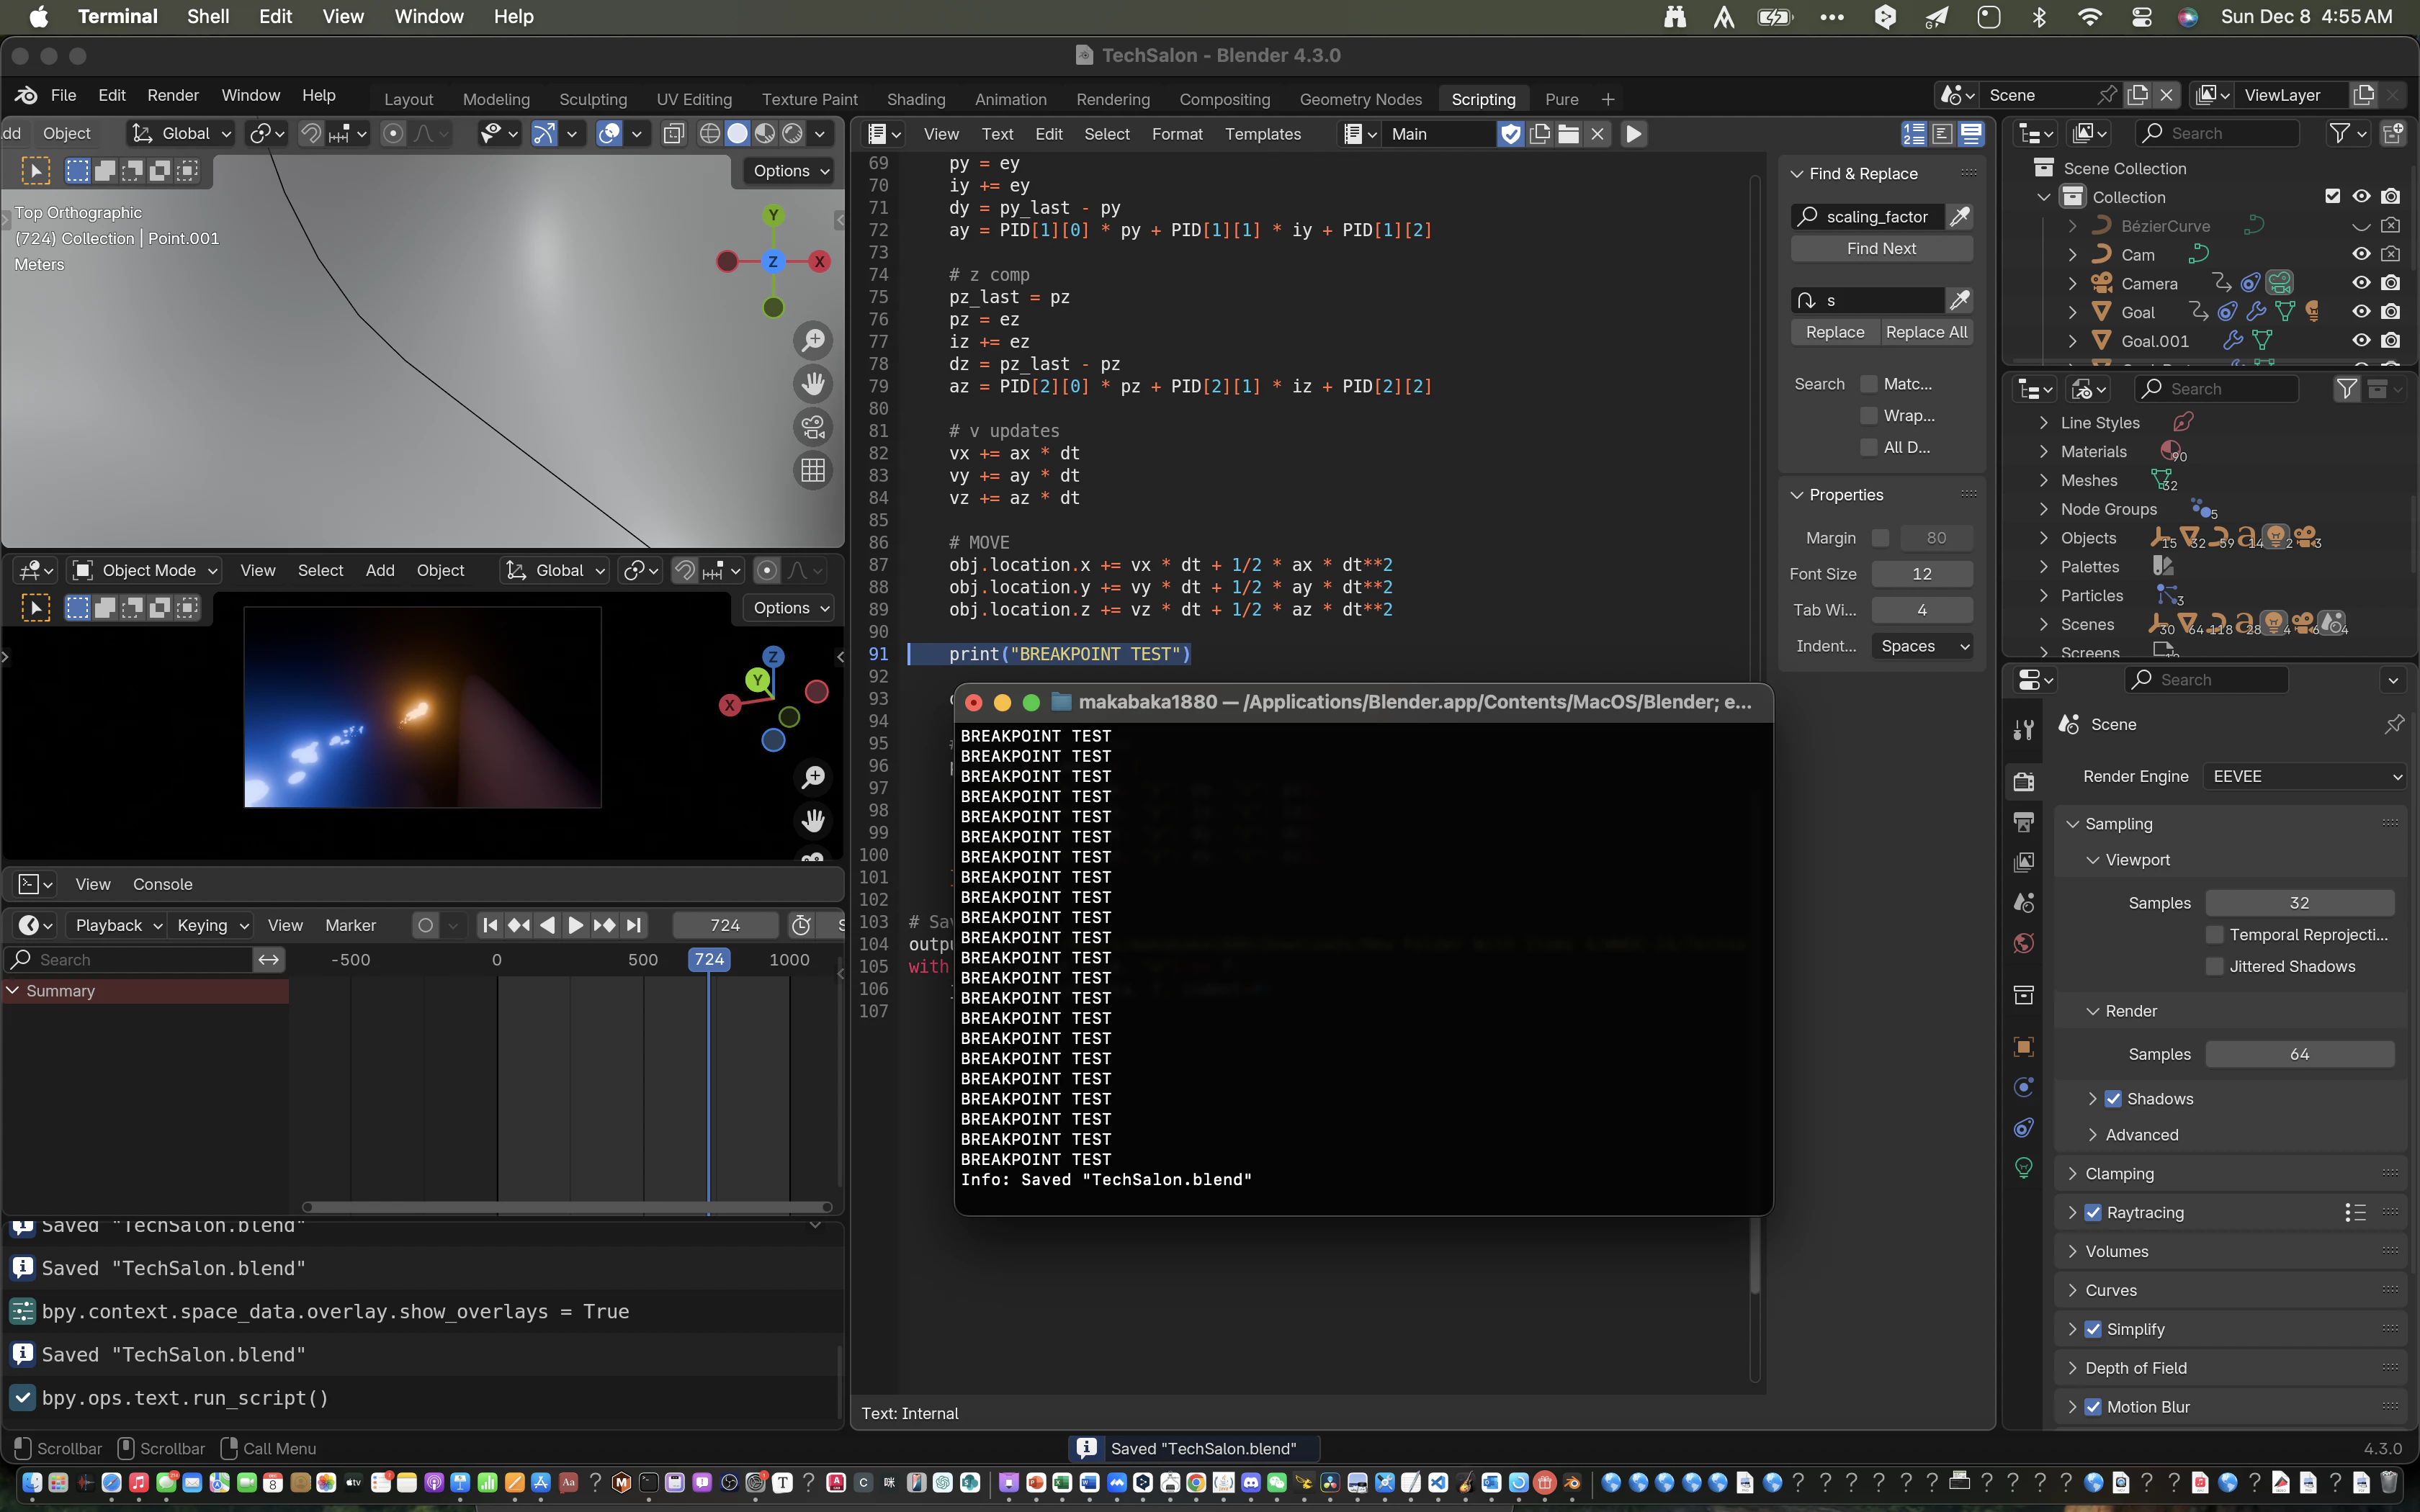
0x01 Extension Libs
Due to the fact that we need external libs(ex pandas, numpy, etc) when writing sims, it's quite a headache not to be able to install them in blender using pip3:
My solution is to link an anaconda env to blender's internal blender:
conda create --name=blender
conda activate blender
conda install python=3.10 # I am using Blender 4.3, which only supports py3.10
conda install xxx # libs you'll need
sudo ln -s /opt/anaconda3/envs/blender /Applications/Blender.app/Contents/Resources/4.3 # Depends on your OS and blender version.
Now whether the application runs or not is up to luck. I would advise to open it via it's executable.
0x02 Blender BPY API
开发者可以通过一个叫bpy的库来和文件内的objects和data进行交互
Developers interact with objects and datas in the file via the bpy lib.
import bpy

bpy.ops.mesh.primitive_cube_add() # OPS: Operators Ex Adding a cube primitive
cube = bpy.context.active_object # Context: UI Context Ex Get currently selected object

cube.name = "My Cube" # Set name

frame = 1
bpy.context.scene.frame_set(frame) # Set current frame to 1
cube.location.z = 0 # Set position
cube.keyframe_insert("location", frame=frame) # insert keyframe on location

frame = 100
bpy.context.scene.frame_set(frame) # Set current frame to 100
cube.location.z = 10 # Set position
cube.keyframe_insert("location", frame=frame) # insert keyframe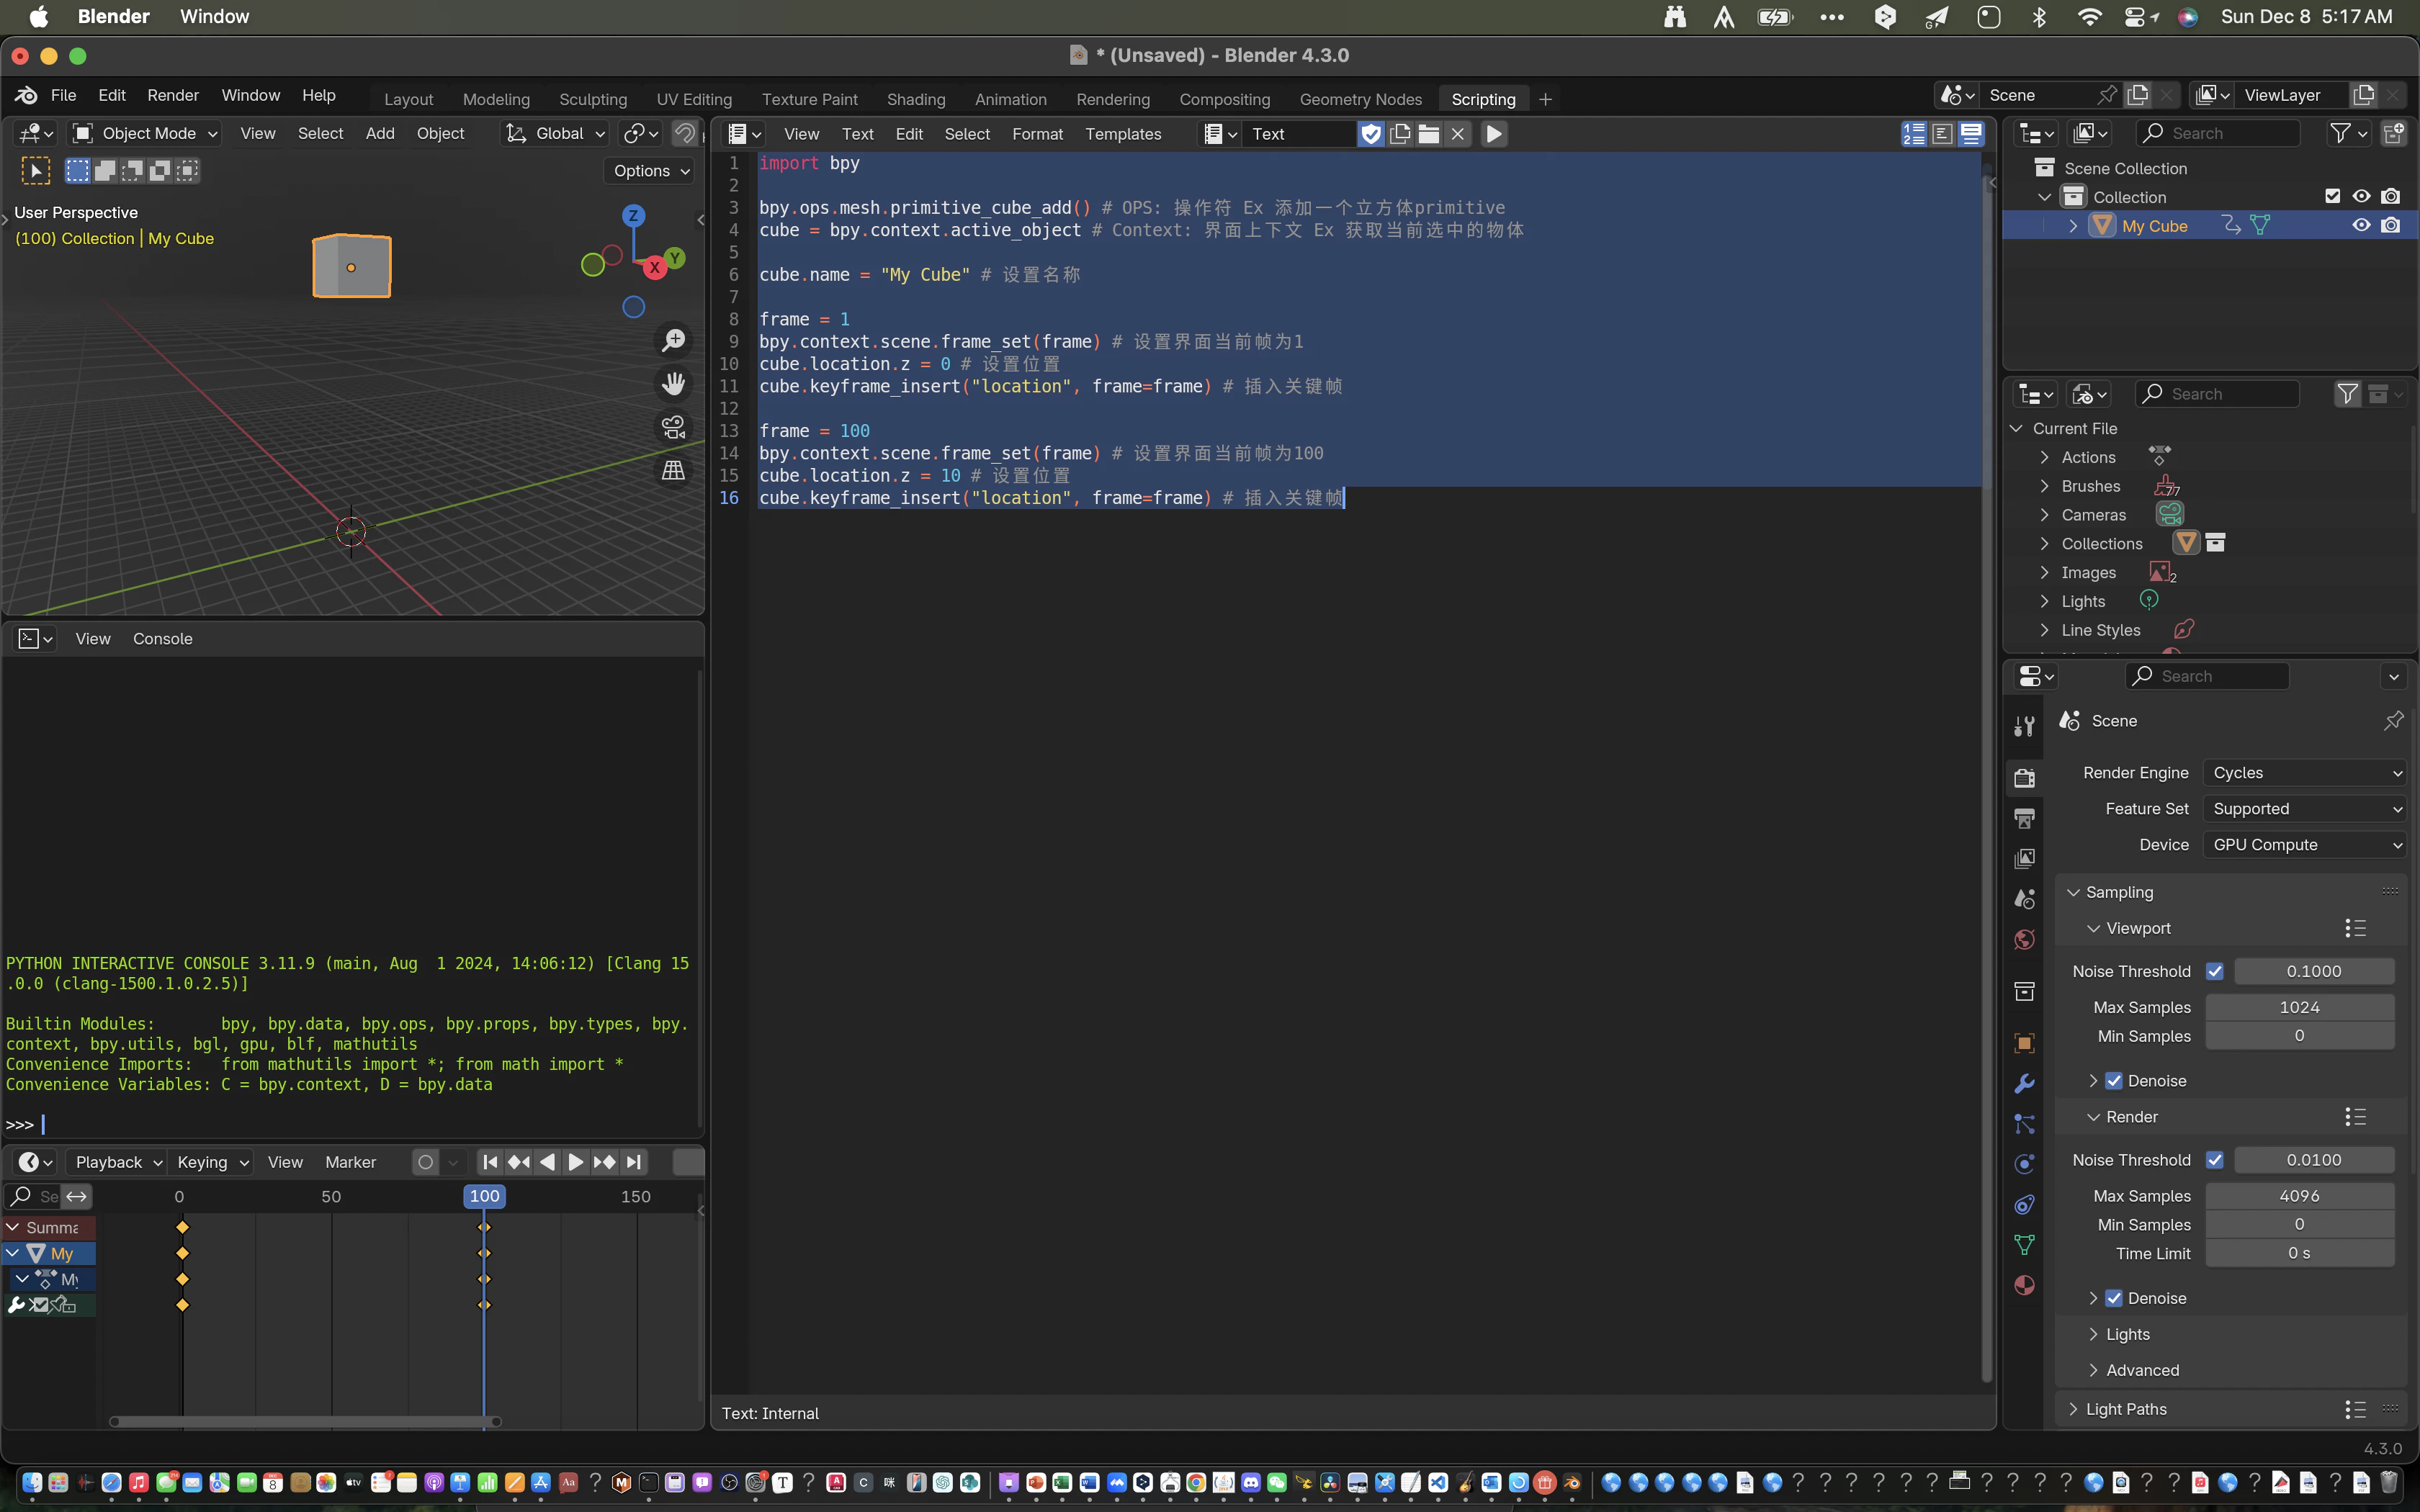
1. Project - Radial Gravitational Field Modeling
1x00 Mathematical Modeling
Assuming a mass at the center of the cartasian coords system:
We know that a gravitational field accords to the inverse square law:
Inverse Square Law
The Inverse Square Law applies to phenomena in 3D space where the intensity of a field or effect (such as light, sound, or gravitational force) decreases proportionally to the square of the distance from the source. This relationship arises because the field spreads uniformly over a spherical surface, and the surface area of a sphere grows as .
Here, is the distance from the source of the field.
So that
k is some strength coefficient
If expanded via components:
Let's extend the situation to where is not at the origin:
The final field should be the linear combination of all grav fields of the individual masses.
1x01 Let's Get Modeling!
I love OOP programing.
First, define a class:
from typing import Tuple
from math import sqrt
class Mass:
    def __init__(self, k: float, pos: Tuple[float, float, float]):
        """
        initialization method
        """
        self.k = k
        self.x = pos[0]
        self.y = pos[1]
        self.z = pos[2]
    def __call__(self, pos: Tuple[float, float, float]):
        posx = pos[0]
        posy = pos[1]
        posz = pos[2]
        r = sqrt((self.x - posx)**2 + (self.y - posy)**2 + (self.z - posz)**2)
        fieldx = -(self.k * (posx - self.x)) / (r**3)
        fieldy = -(self.k * (posx - self.y)) / (r**3)
        fieldz = -(self.k * (posx - self.z)) / (r**3)
        return (fieldx, fieldy, fieldz)
This class stores the informatino of a mass and returns it's field upon calling.
Another class:
from typing import List
class GravitationalField:
    def __init__(self, masses: List[Mass]):
        self.masses = masses
    def __call__(self, pos):
        x, y, z = 0, 0, 0
        for mass in self.masses:
            field = mass(pos)
            x += field[0]
            y += field[1]
            z += field[2]
        return (x, y, z)
This is sort of like an extended List[Mass], but we can call the linear combination of all the elements. A list does do that but a class allows for further extensions.
1x02 Scene Interactions
It won't be as fun if there's not interactibility with the object. Now, we'll be using the advantage of Blender as a 3D software:
I'm now going to give all mass objects a name with the suffix M and give them a property k: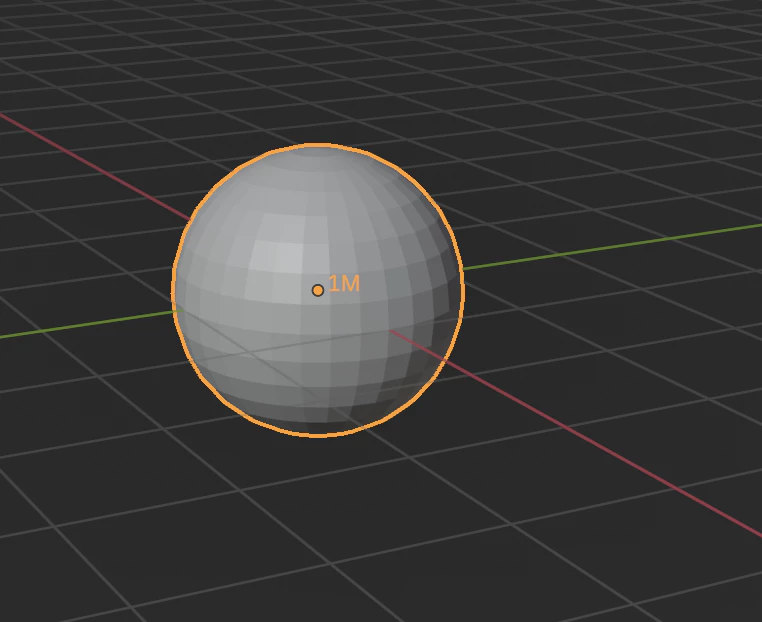
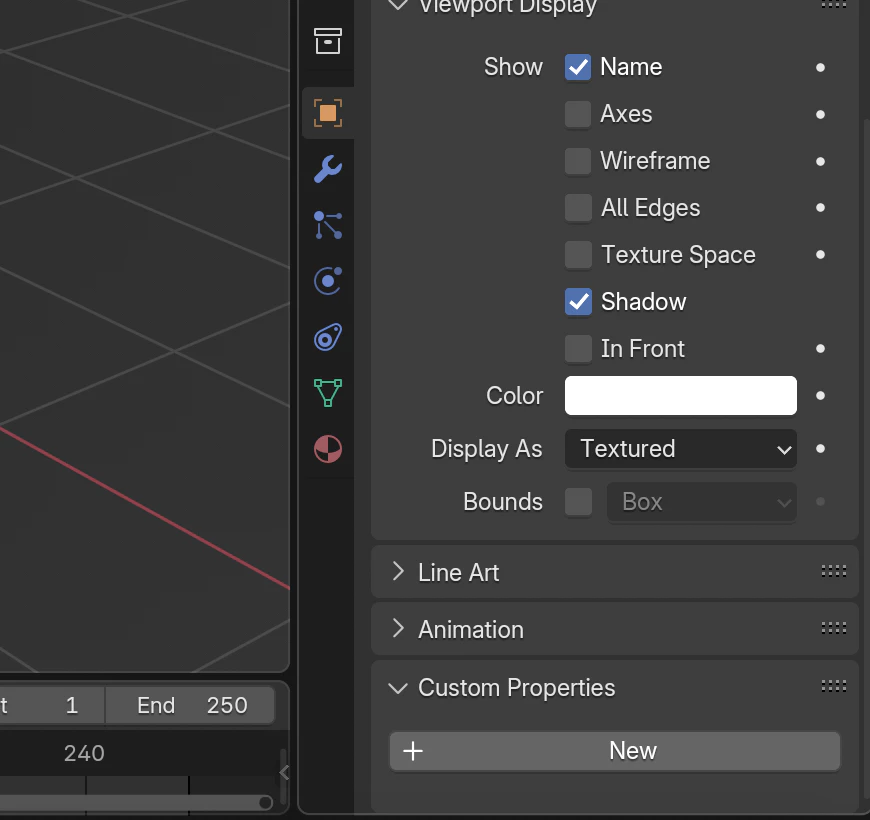
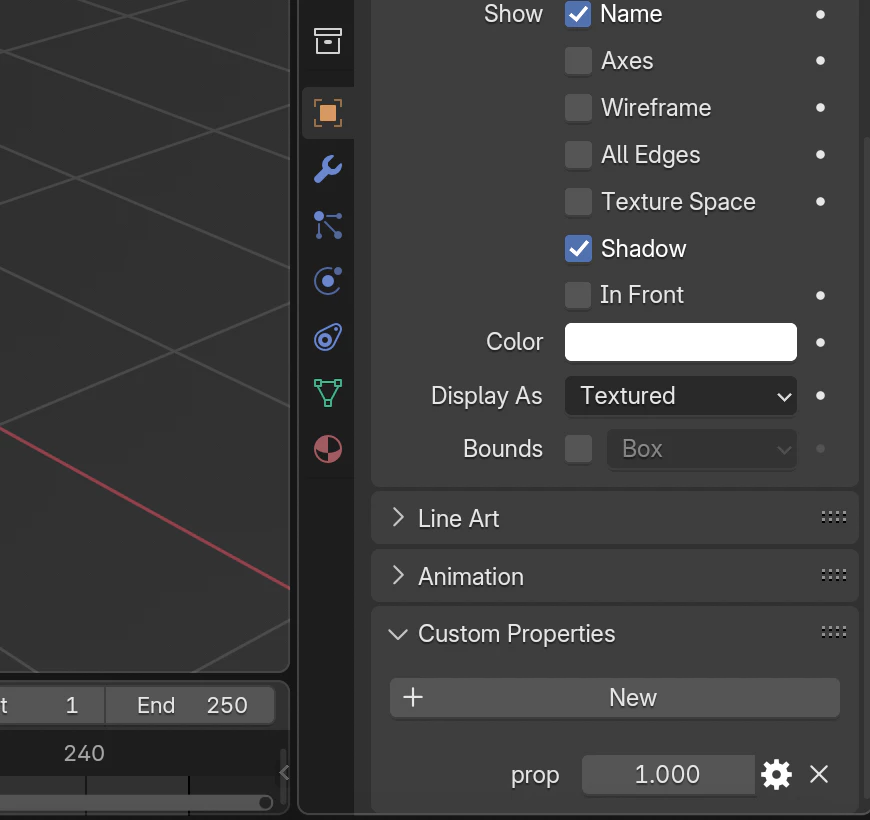
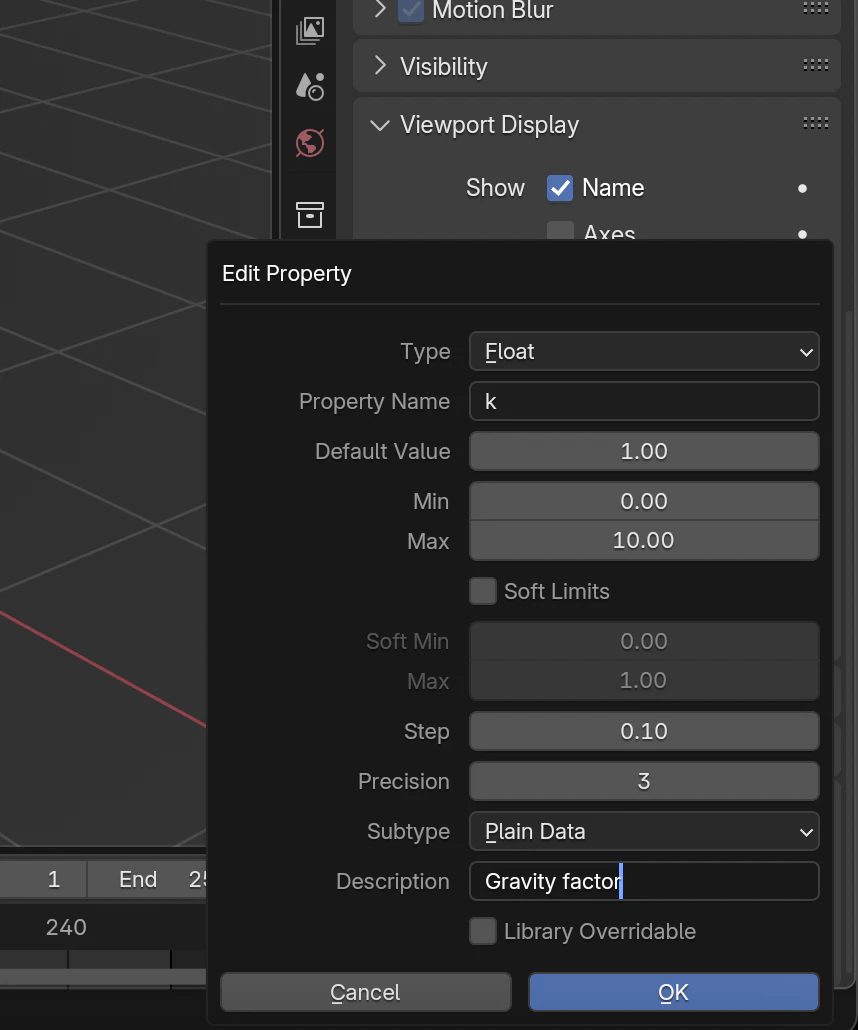
Now how do I get them?
import bpy

masses = []
for obj in bpy.context.scene.objects:
    if obj.name[-1] == 'M':
        masses.append(obj)

fields = []
for mass in masses:
    fields.append(Mass(mass['k'], mass.location))

sum = GravitationalField(fields)
Sum is now our main grav field.
2. Visualization
2x00 Mathematical Modeling
My thoughts now are to place unitvector-sized arrows to indication direction and colors for magnitude.
Then
We'll also need a map from numbers to colors. For convienience I'm going to use linear interpolation.
LERP
LERP (Linear Interpolation) is a method for calculating a value between two points based on a proportion.
This will then be a function that computes lerp:
def lerp(a, b, k):
return a + (b - a) * kTherefore we can write a pretty nice little linear interpolation function for color due to python's elegant one-liner syntax:
def color_lerp(color1, color2, k):
    r, g, b = lerp(color1[0], color2[0], k), lerp(color1[1], color2[1], k), lerp(color1[2], color2[2], k)
    return (r, g, b)
2x01 Actualization
To assign colors to objects, we need to initiate new materials. Since this doc is not focused on the blender api itself, I'll use ChatGPT-generated helper functions to do the assignment.
By the way GPT generated comments were really nice 😃
def assign_emission_shader(name, color, obj, strength=1.0):
    """
    Assign an emission shader with the specified color and strength to the given object.

    Parameters:
    - name: The name of the material to be created.
    - color: The RGB color for the emission shader (a tuple like (1.0, 0.0, 0.0) for red).
    - obj: The Blender object to which the material will be assigned.
    - strength: The strength of the emission (default is 1.0).
    """
    # Check if the object already has the material assigned
    existing_material = bpy.data.materials.get(name)

    # If the material doesn't exist, create a new one
    if not existing_material:
        material = bpy.data.materials.new(name)  # Create the material
        material.use_nodes = True  # Enable the use of nodes
        nodes = material.node_tree.nodes

        # Clear existing nodes
        for node in nodes:
            nodes.remove(node)

        # Add an Emission shader node
        emission_node = nodes.new(type='ShaderNodeEmission')
        emission_node.inputs['Color'].default_value = (*color, 1.0)  # Set the color with alpha = 1
        emission_node.inputs['Strength'].default_value = strength  # Set the emission strength

        # Add a Material Output node
        material_output_node = nodes.new(type='ShaderNodeOutputMaterial')

        # Connect the emission node to the material output
        material.node_tree.links.new(emission_node.outputs['Emission'], material_output_node.inputs['Surface'])
    else:
        material = existing_material
        # Update the existing material's color and strength
        nodes = material.node_tree.nodes
        for node in nodes:
            if isinstance(node, bpy.types.ShaderNodeEmission):
                node.inputs['Color'].default_value = (*color, 1.0)
                node.inputs['Strength'].default_value = strength
                break

    # Assign the material to the object
    if obj.data.materials:
        # If the object already has materials, replace the first one
        obj.data.materials[0] = material
    else:
        # If the object has no materials, append the new one
        obj.data.materials.append(material)
Then this should work as a shader assigning script for each of the masses:
s = 4 # Add to the start of code
for obj in masses:
    k = obj['k']
    c1 = (0.7, 0.3, 0.1) # Change to your preference
    c2 = (0.1, 0.3, 0.7) # Change to your preference
    color = color_lerp(c1, c2, k)
    assign_emission_shader(obj.name, color, obj, s)
Deleting Materials
If you've decided to make some adjustments to you code, but it won't update, it's probably because of blender's data system. To cope with that, you'll need this script:
for material in bpy.data.materials:
    if material.name[-1] == "M":
        bpy.data.materials.remove(material)
Add it to the start of your main script.
Now, running the script you should see that we have a correctly assiged material to the objects: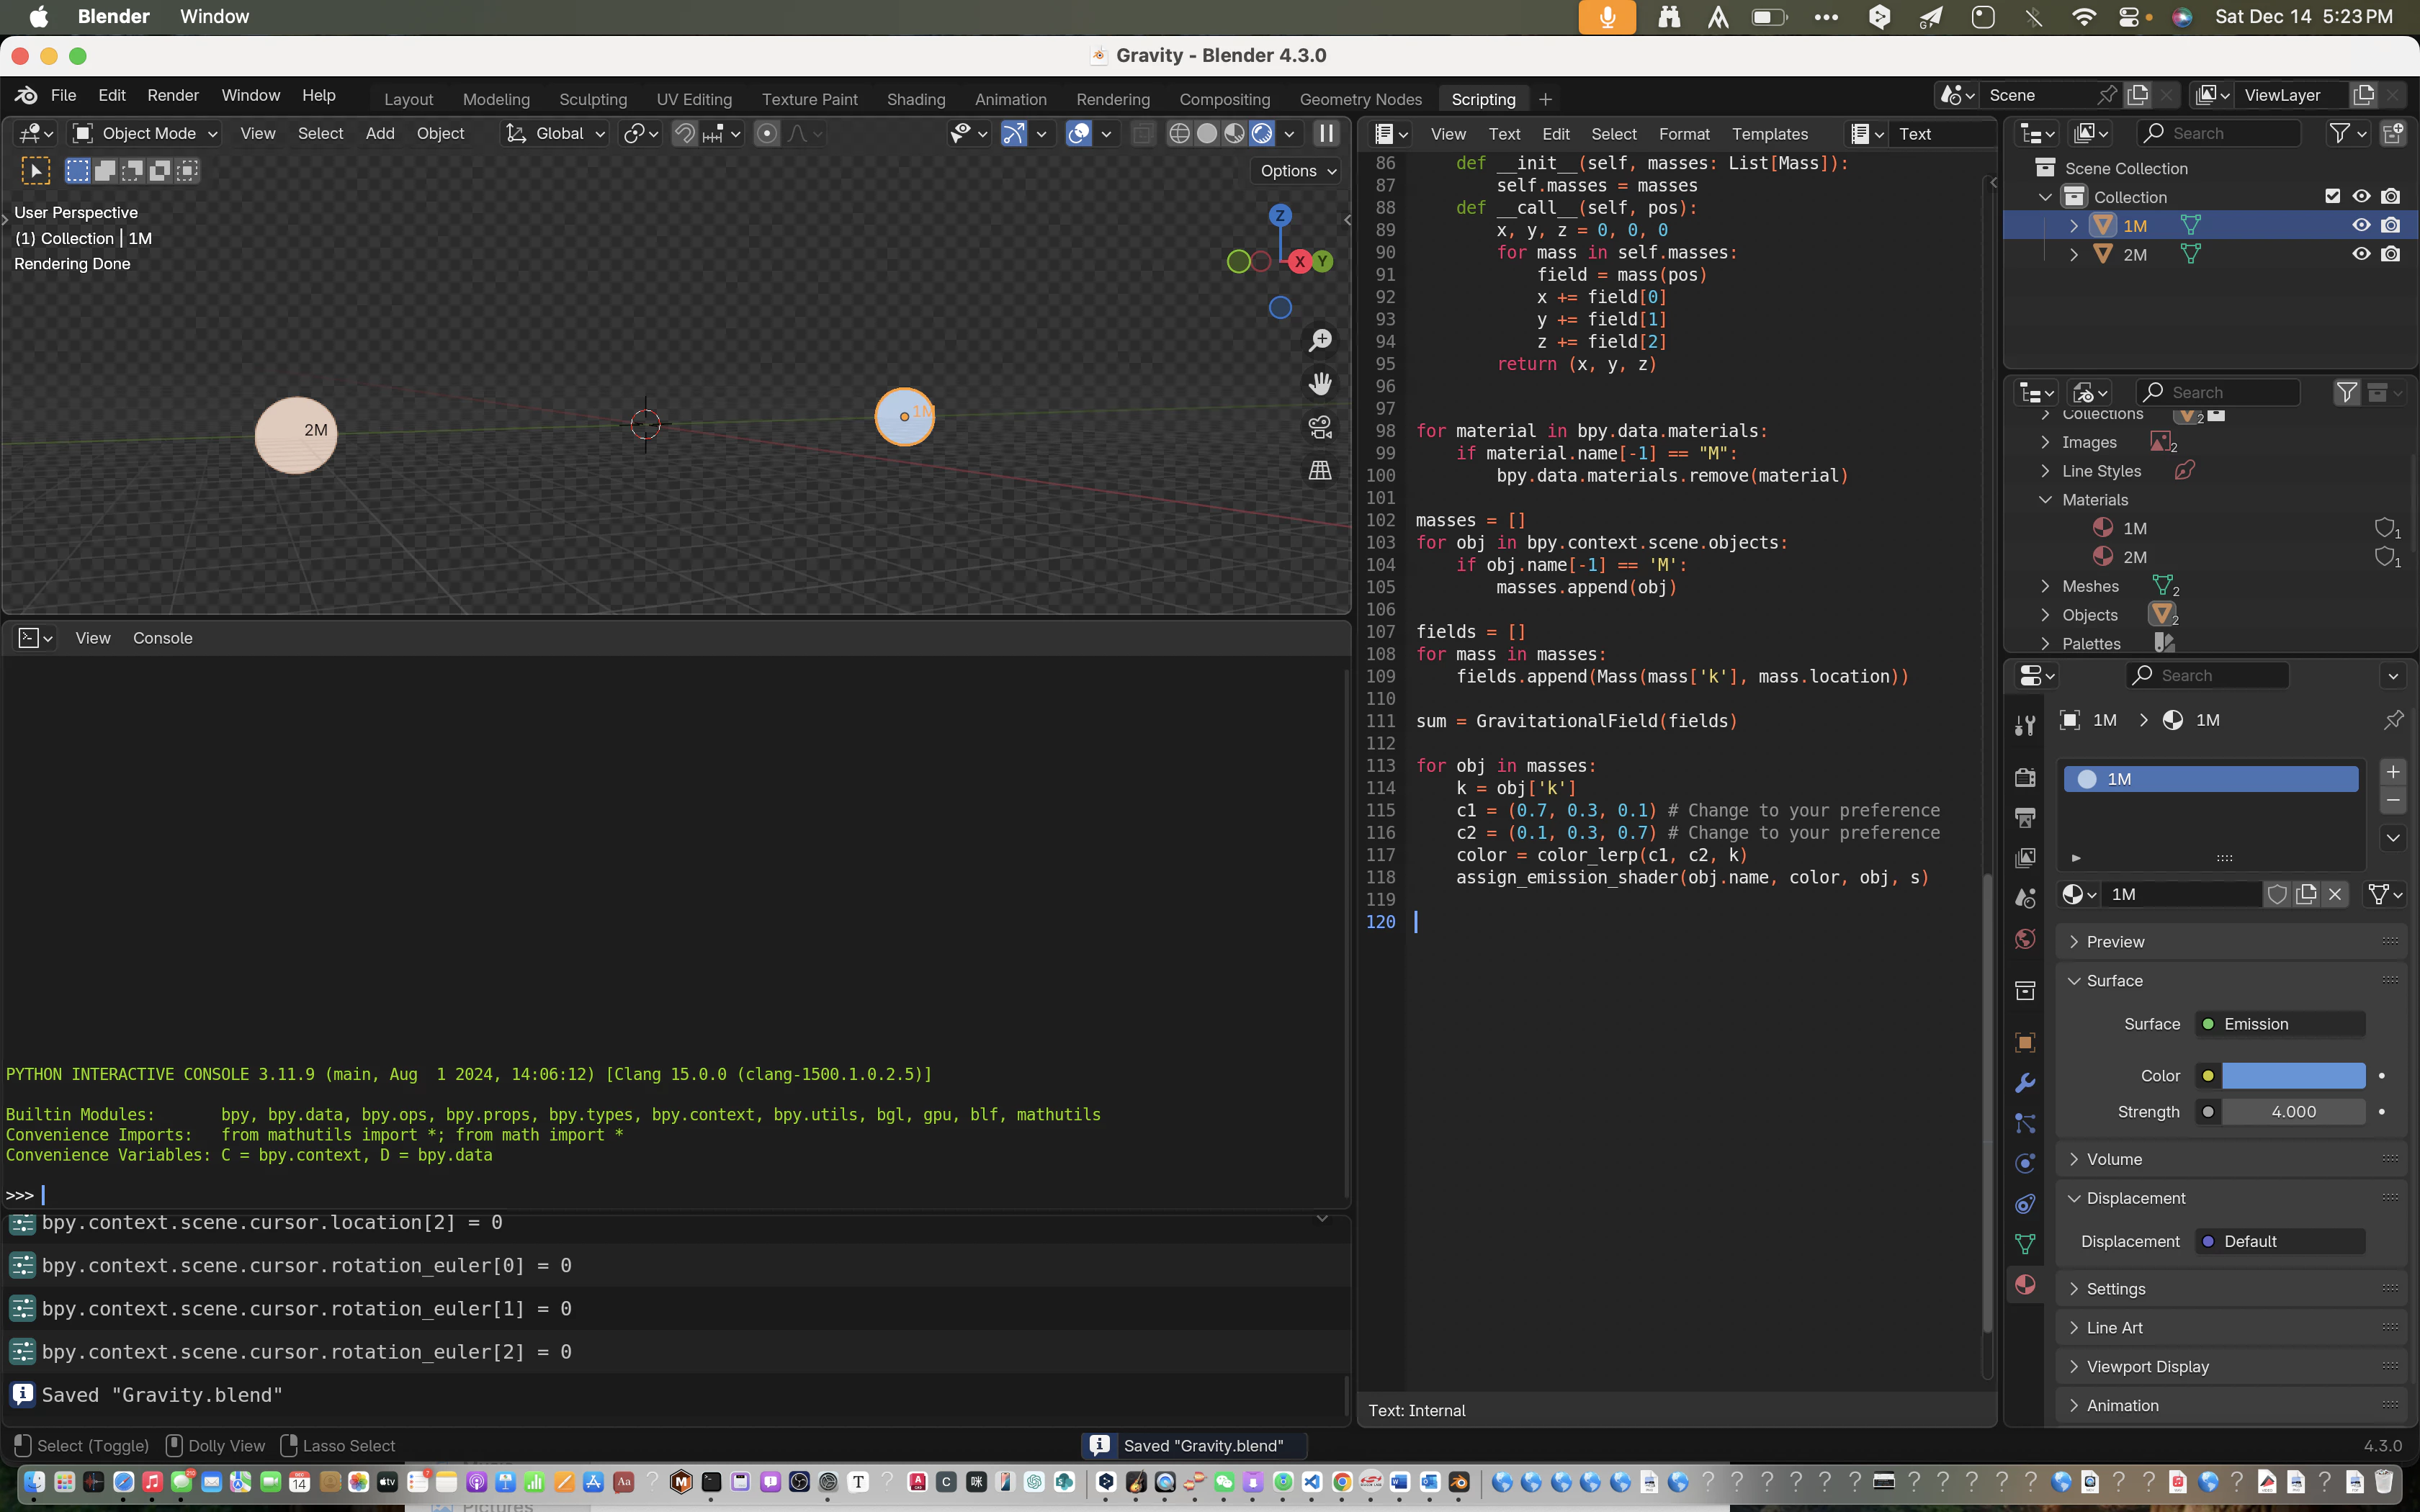
To be continued